SETTING THE TIME
6.Press and hold the “SET” button for 5 seconds.
7.The hour will begin to flash.
8.Press and release the “+” button to advance the hour to your desired hour.
9.Press and release the “SET” button to move to the minute setting.
10.The minutes will begin to flash.
11.Press and release the “+” button to set the minutes.
12.Press and release the “SET” button to activate the clock.
Note: There is “PM” displayed to the left of the hour when between noon and midnight. During the AM hours this area will be blank.
FEATURES
A. MINIMUM AND MAXIMUM TEMPERATURES
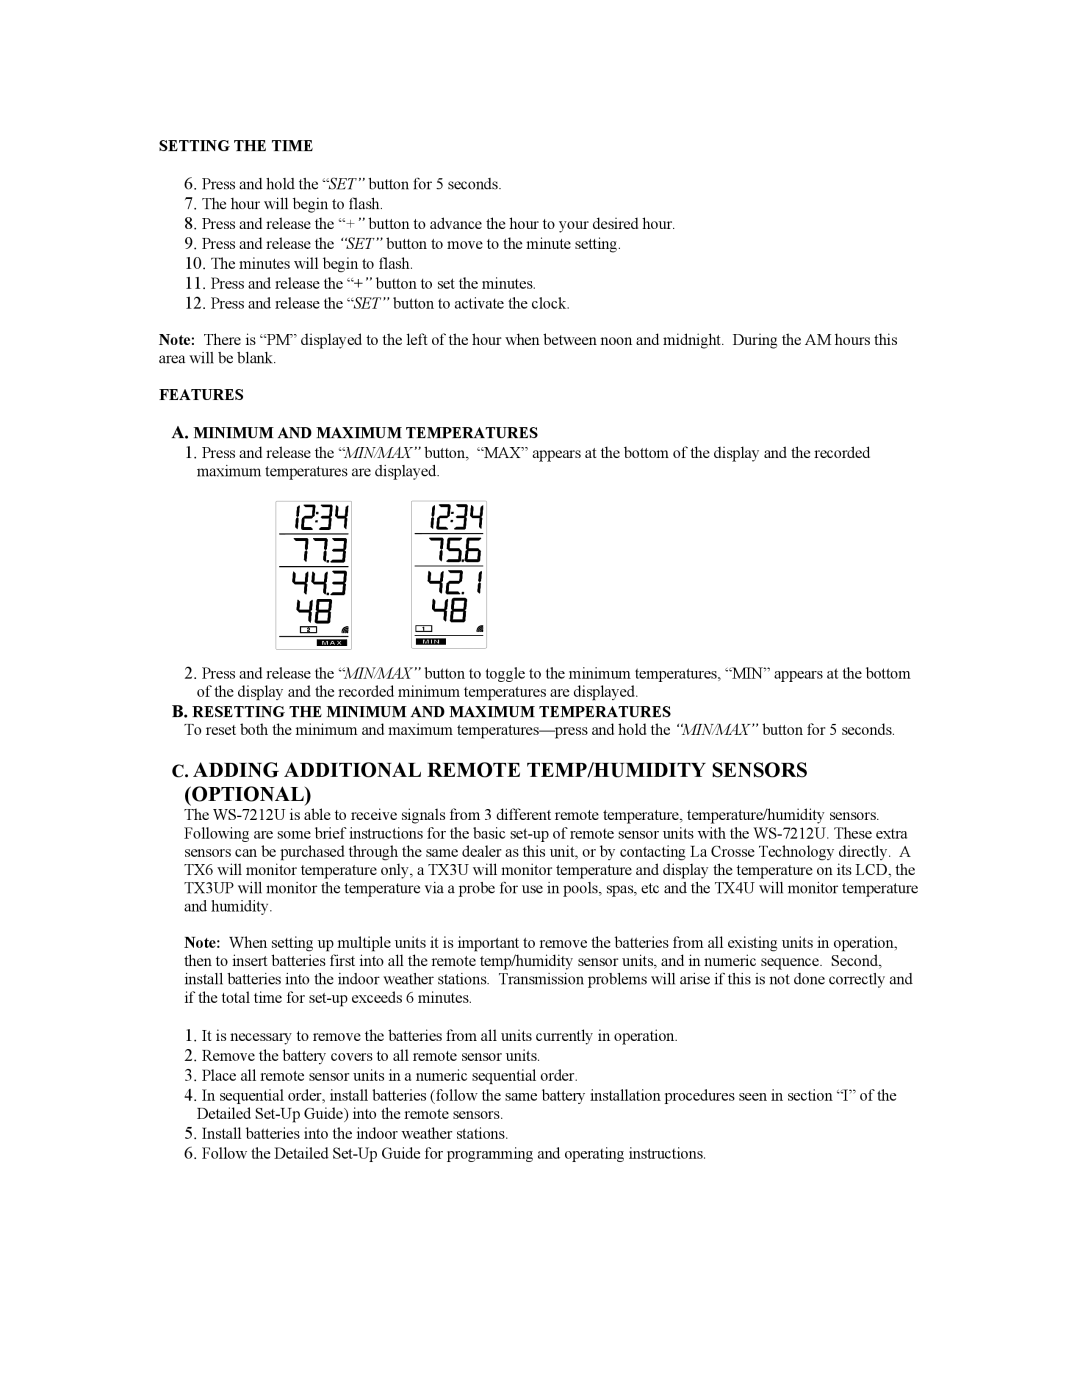
1.Press and release the “MIN/MAX” button, “MAX” appears at the bottom of the display and the recorded maximum temperatures are displayed.
2.Press and release the “MIN/MAX” button to toggle to the minimum temperatures, “MIN” appears at the bottom of the display and the recorded minimum temperatures are displayed.
B.RESETTING THE MINIMUM AND MAXIMUM TEMPERATURES
To reset both the minimum and maximum
C. ADDING ADDITIONAL REMOTE TEMP/HUMIDITY SENSORS (OPTIONAL)
The
Note: When setting up multiple units it is important to remove the batteries from all existing units in operation, then to insert batteries first into all the remote temp/humidity sensor units, and in numeric sequence. Second, install batteries into the indoor weather stations. Transmission problems will arise if this is not done correctly and if the total time for
1.It is necessary to remove the batteries from all units currently in operation.
2.Remove the battery covers to all remote sensor units.
3.Place all remote sensor units in a numeric sequential order.
4.In sequential order, install batteries (follow the same battery installation procedures seen in section “I” of the Detailed
5.Install batteries into the indoor weather stations.
6.Follow the Detailed