After both indoor temperature and outdoor temperature and humidity are displayed for 10 minutes you can place your remote temp/humidity sensor outdoors and set your time.
Notes on Outdoor Sensor Placement
The remote temp/humidity sensor should be placed in a dry, shaded area. Fog and mist will not harm your remote temp/humidity sensor but direct rain must be avoided.
The remote temp/humidity sensor has a range of 80 feet. Any walls that the signal will have to pass through will reduce distance. An outdoor wall or window can have up to 30 feet of resistance and an interior wall can have up to 20 feet of resistance. Your distance plus resistance should not exceed 80 ft. in a straight line.
Notes on Weather Station Placement
The 80 ft distance is between each indoor weather station and the temp/humidity sensor independently. The placement of one indoor weather station does not affect the placement of the second indoor weather station.
To complete the set up of your indoor weather stations after the 10 minutes have passed, please follow the steps below.
1.Press and hold the “SET” button for five seconds.
2.The hour will now be flashing.
a. Press and release the “+” button until the correct hour is shown.
Note: There is “PM” displayed to the left of the hour when between noon and midnight. During the AM hours this area will be blank.
b.When the correct hour is shown, press and release the “SET” button once.
3.The minutes will now be flashing.
a.Press and release the “+” button until the correct minutes are displayed.
Press and release the SET button once more and you are done.
DETAILED SETUP GUIDE
I. BATTERY INSTALLATION
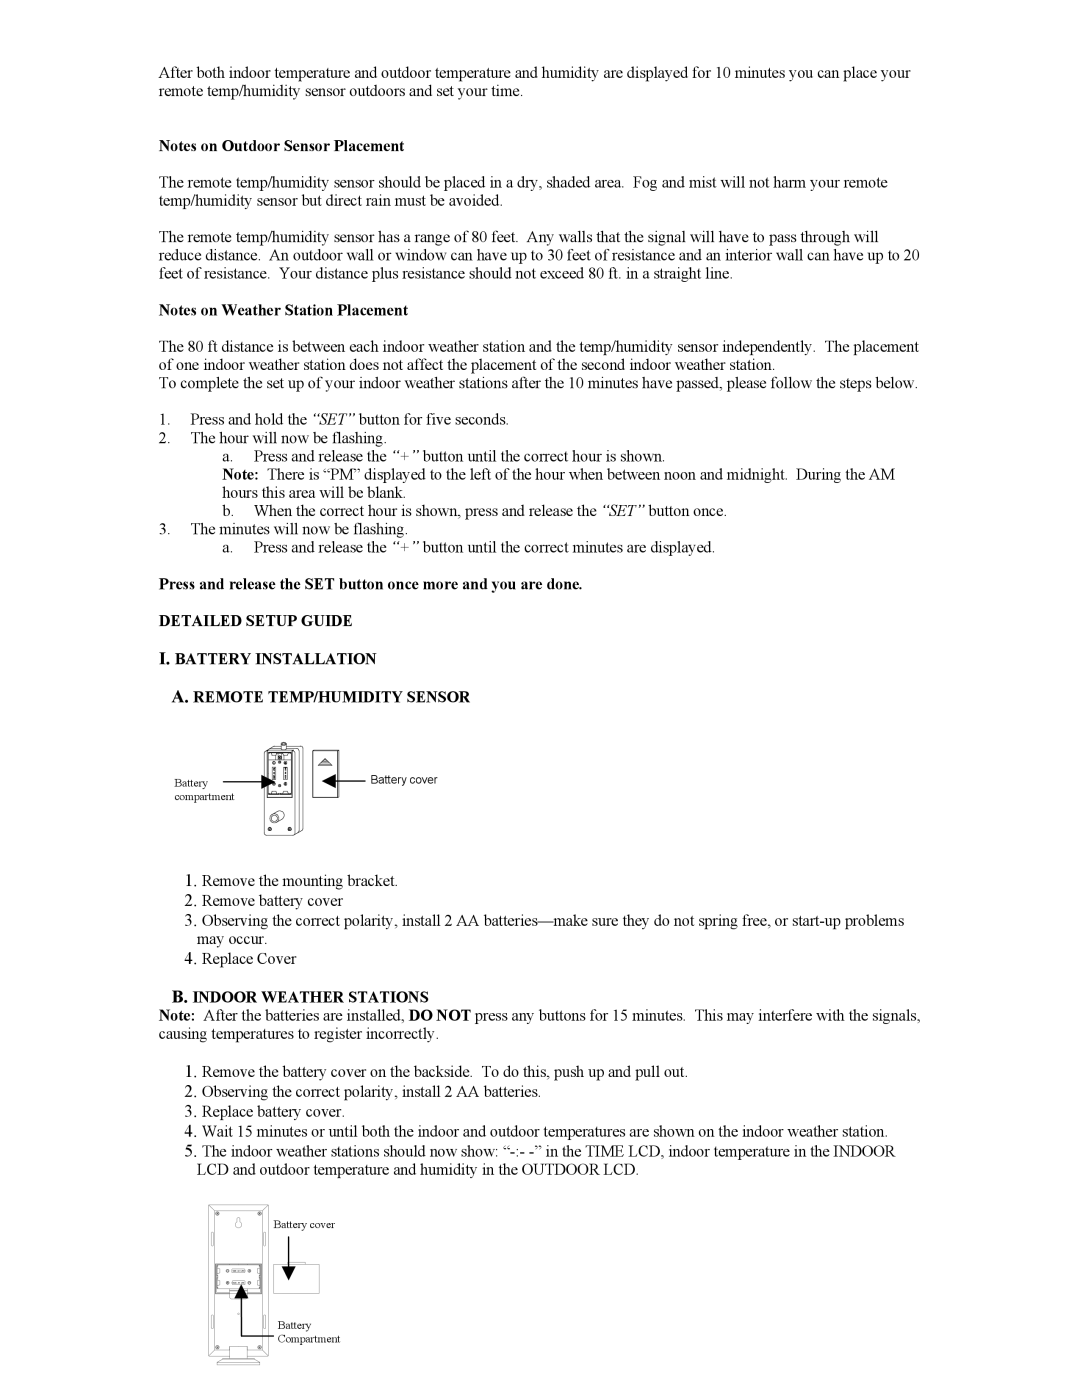
A. REMOTE TEMP/HUMIDITY SENSOR
Battery ![]()
![]() compartment
compartment
Battery cover
1.Remove the mounting bracket.
2.Remove battery cover
3.Observing the correct polarity, install 2 AA
4.Replace Cover
B. INDOOR WEATHER STATIONS
Note: After the batteries are installed, DO NOT press any buttons for 15 minutes. This may interfere with the signals, causing temperatures to register incorrectly.
1.Remove the battery cover on the backside. To do this, push up and pull out.
2.Observing the correct polarity, install 2 AA batteries.
3.Replace battery cover.
4.Wait 15 minutes or until both the indoor and outdoor temperatures are shown on the indoor weather station.
5.The indoor weather stations should now show:
Battery cover
Battery Compartment