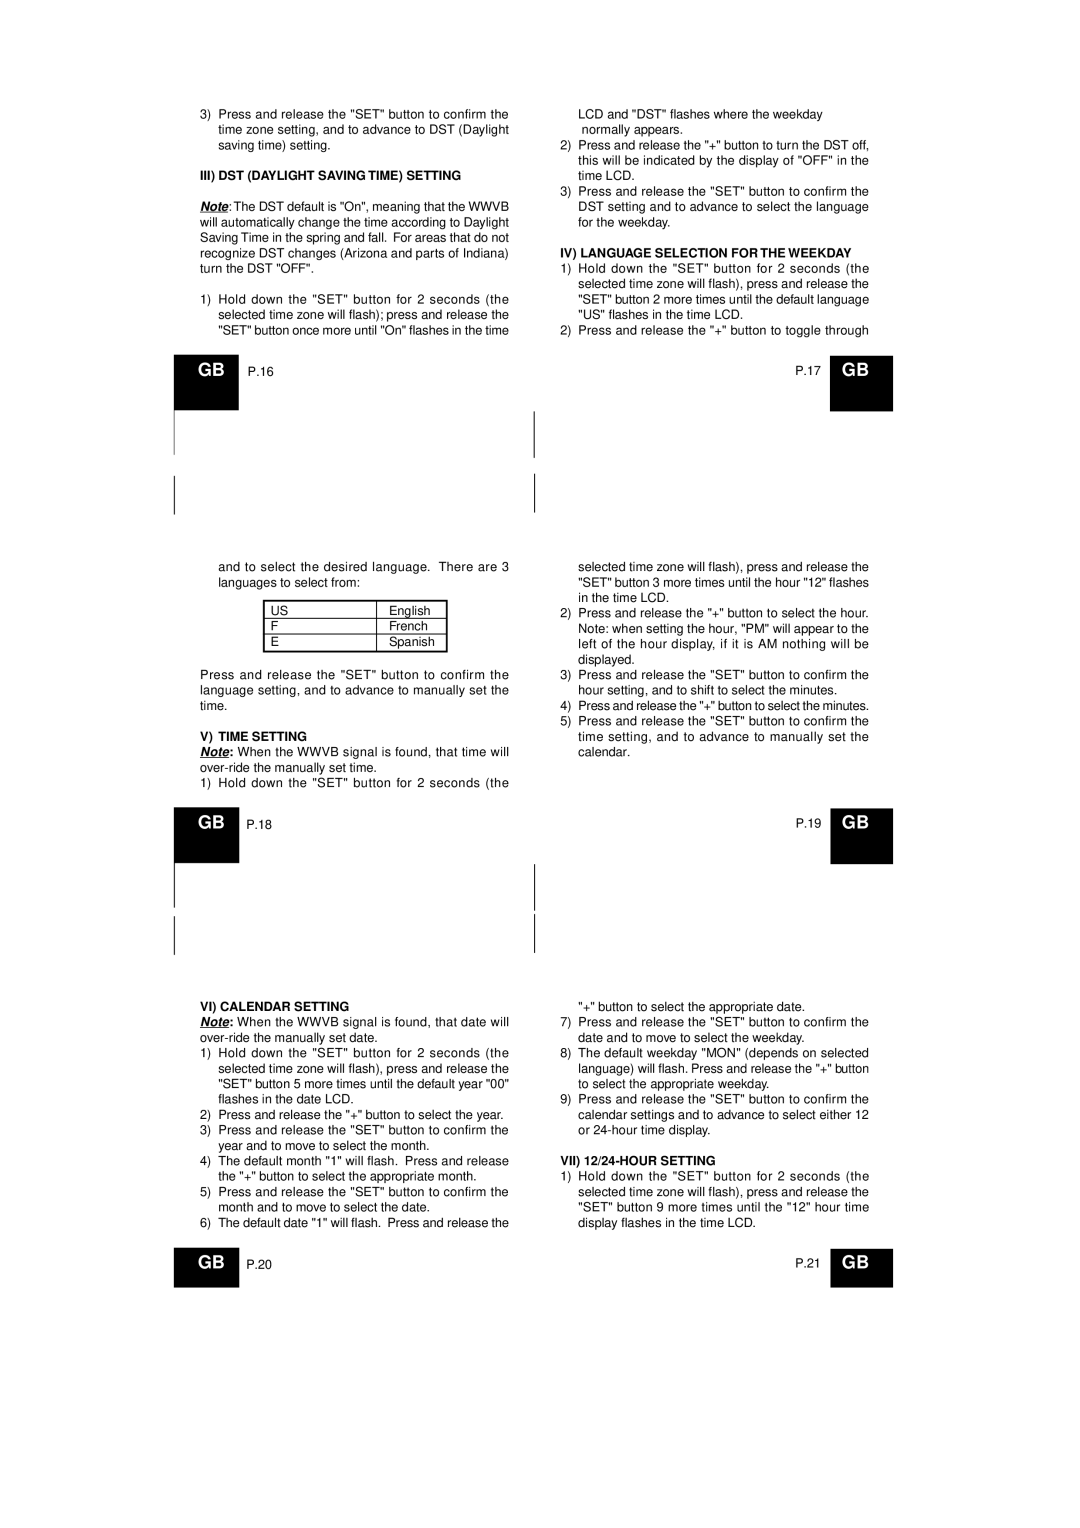
3)Press and release the "SET" button to confirm the time zone setting, and to advance to DST (Daylight saving time) setting.

III) DST (DAYLIGHT SAVING TIME) SETTING

Note: The DST default is "On", meaning that the WWVB will automatically change the time according to Daylight Saving Time in the spring and fall. For areas that do not recognize DST changes (Arizona and parts of Indiana) turn the DST "OFF".

1)Hold down the "SET" button for 2 seconds (the selected time zone will flash); press and release the "SET" button once more until "On" flashes in the time

GB P.16

and to select the desired language. There are 3 languages to select from:

US

English

F

French

E

Spanish

Press and release the "SET" button to confirm the language setting, and to advance to manually set the time.

V) TIME SETTING

Note: When the WWVB signal is found, that time will over-ride the manually set time.

1) Hold down the "SET" button for 2 seconds (the GB P.18

VI) CALENDAR SETTING

Note: When the WWVB signal is found, that date will over-ride the manually set date.

1)Hold down the "SET" button for 2 seconds (the selected time zone will flash), press and release the "SET" button 5 more times until the default year "00" flashes in the date LCD.

2)Press and release the "+" button to select the year.

3)Press and release the "SET" button to confirm the year and to move to select the month.

4)The default month "1" will flash. Press and release the "+" button to select the appropriate month.

5)Press and release the "SET" button to confirm the month and to move to select the date.

6)The default date "1" will flash. Press and release the

GB P.20

LCD and "DST" flashes where the weekday normally appears.

2)Press and release the "+" button to turn the DST off, this will be indicated by the display of "OFF" in the time LCD.

3)Press and release the "SET" button to confirm the DST setting and to advance to select the language for the weekday.

IV) LANGUAGE SELECTION FOR THE WEEKDAY

1)Hold down the "SET" button for 2 seconds (the selected time zone will flash), press and release the "SET" button 2 more times until the default language "US" flashes in the time LCD.

2)Press and release the "+" button to toggle through

P.17 GB

selected time zone will flash), press and release the "SET" button 3 more times until the hour "12" flashes in the time LCD.

2)Press and release the "+" button to select the hour. Note: when setting the hour, "PM" will appear to the left of the hour display, if it is AM nothing will be displayed.

3)Press and release the "SET" button to confirm the hour setting, and to shift to select the minutes.

4)Press and release the "+" button to select the minutes.

5)Press and release the "SET" button to confirm the time setting, and to advance to manually set the calendar.

P.19 GB

"+" button to select the appropriate date.

7)Press and release the "SET" button to confirm the date and to move to select the weekday.

8)The default weekday "MON" (depends on selected language) will flash. Press and release the "+" button to select the appropriate weekday.

9)Press and release the "SET" button to confirm the calendar settings and to advance to select either 12 or 24-hour time display.

VII) 12/24-HOUR SETTING

1)Hold down the "SET" button for 2 seconds (the selected time zone will flash), press and release the "SET" button 9 more times until the "12" hour time display flashes in the time LCD.

P.21 GB

Page 4
Image 4
La Crosse Technology WS-8054U III DST Daylight Saving Time Setting, VI Calendar Setting, VII 12/24-HOUR Setting

WS-8054U specifications

The La Crosse Technology WS-8054U is a sophisticated weather station designed for those who are passionate about tracking and understanding weather patterns. This all-in-one unit offers a range of features that make it ideal for both amateur weather enthusiasts and experienced forecasters alike.

One of the standout features of the WS-8054U is its ability to provide real-time data on outdoor temperature and humidity, indoor temperature, and barometric pressure. The device uses advanced wireless technology to transmit data from its outdoor sensor to the main display unit, enabling users to monitor conditions without having to step outside. The outdoor sensor has a range of up to 330 feet, allowing for flexibility in installation and ensuring reliable readings.

The WS-8054U also boasts an easy-to-read LCD screen that displays a wealth of information. Users can view current temperature and humidity readings, as well as historical data trends. The device offers customizable settings, allowing users to set alarms for extreme temperature conditions, thereby ensuring they are alerted when significant weather changes occur.

Another impressive feature of the WS-8054U is its ability to forecast the weather. Leveraging an innovative weather forecasting algorithm, the unit can predict weather changes up to 12 hours in advance, providing users with timely information to help plan their day. The display includes weather icons that represent the forecasted conditions, making it easy to interpret.

Furthermore, the WS-8054U is equipped with a moon phase indicator, which visually displays the current phase of the moon. This feature is especially beneficial for those interested in lunar activities or gardening, as it can influence specific planting and harvesting times.

The unit operates on batteries, making it easy to place in various locations without the need for a power outlet. The durable design, coupled with its wireless technology, ensures that it can withstand the elements, offering reliable performance over time.

In summary, the La Crosse Technology WS-8054U combines functionality and convenience in a sleek package. Its comprehensive feature set, including real-time readings, weather forecasting, and easy installation, positions it as a top choice for anyone looking to gain insightful weather data from the comfort of their home. Whether for personal use or for educational purposes, the WS-8054U is sure to enhance any weather-watching experience.