the outdoor temp, this means that the sensor is either located too close or too far from the wireless display. Please adjust the location of the
Mounting the Units
The
The sensor can be set on a table or mounted onto a wall using the included screws.
Mounting the Sensor with Screws
1. Remove the mounting bracket from the
2.Place the mounting bracket over
the desired location. 3. Mark the mounting surface with a
pencil through the two screw holes of the bracket.
4. Screw the mounting bracket onto
the mounting surface. Ensure that the screws are tight against the bracket.
5.Insert the
Table Standing and Other Mounting Options
With the mounting bracket installed at the
bottom or on the top of the
sensor, the user can place it on any flat surface.
IMPORTANT NOTE: Before permanently
attaching the
all units in the desired locations to check that the outdoor temperature readings are
being received. In the event that the signal is not received, relocate the
The Wireless Display
The wireless display can be set on a table or mounted onto a wall.
Table Standing
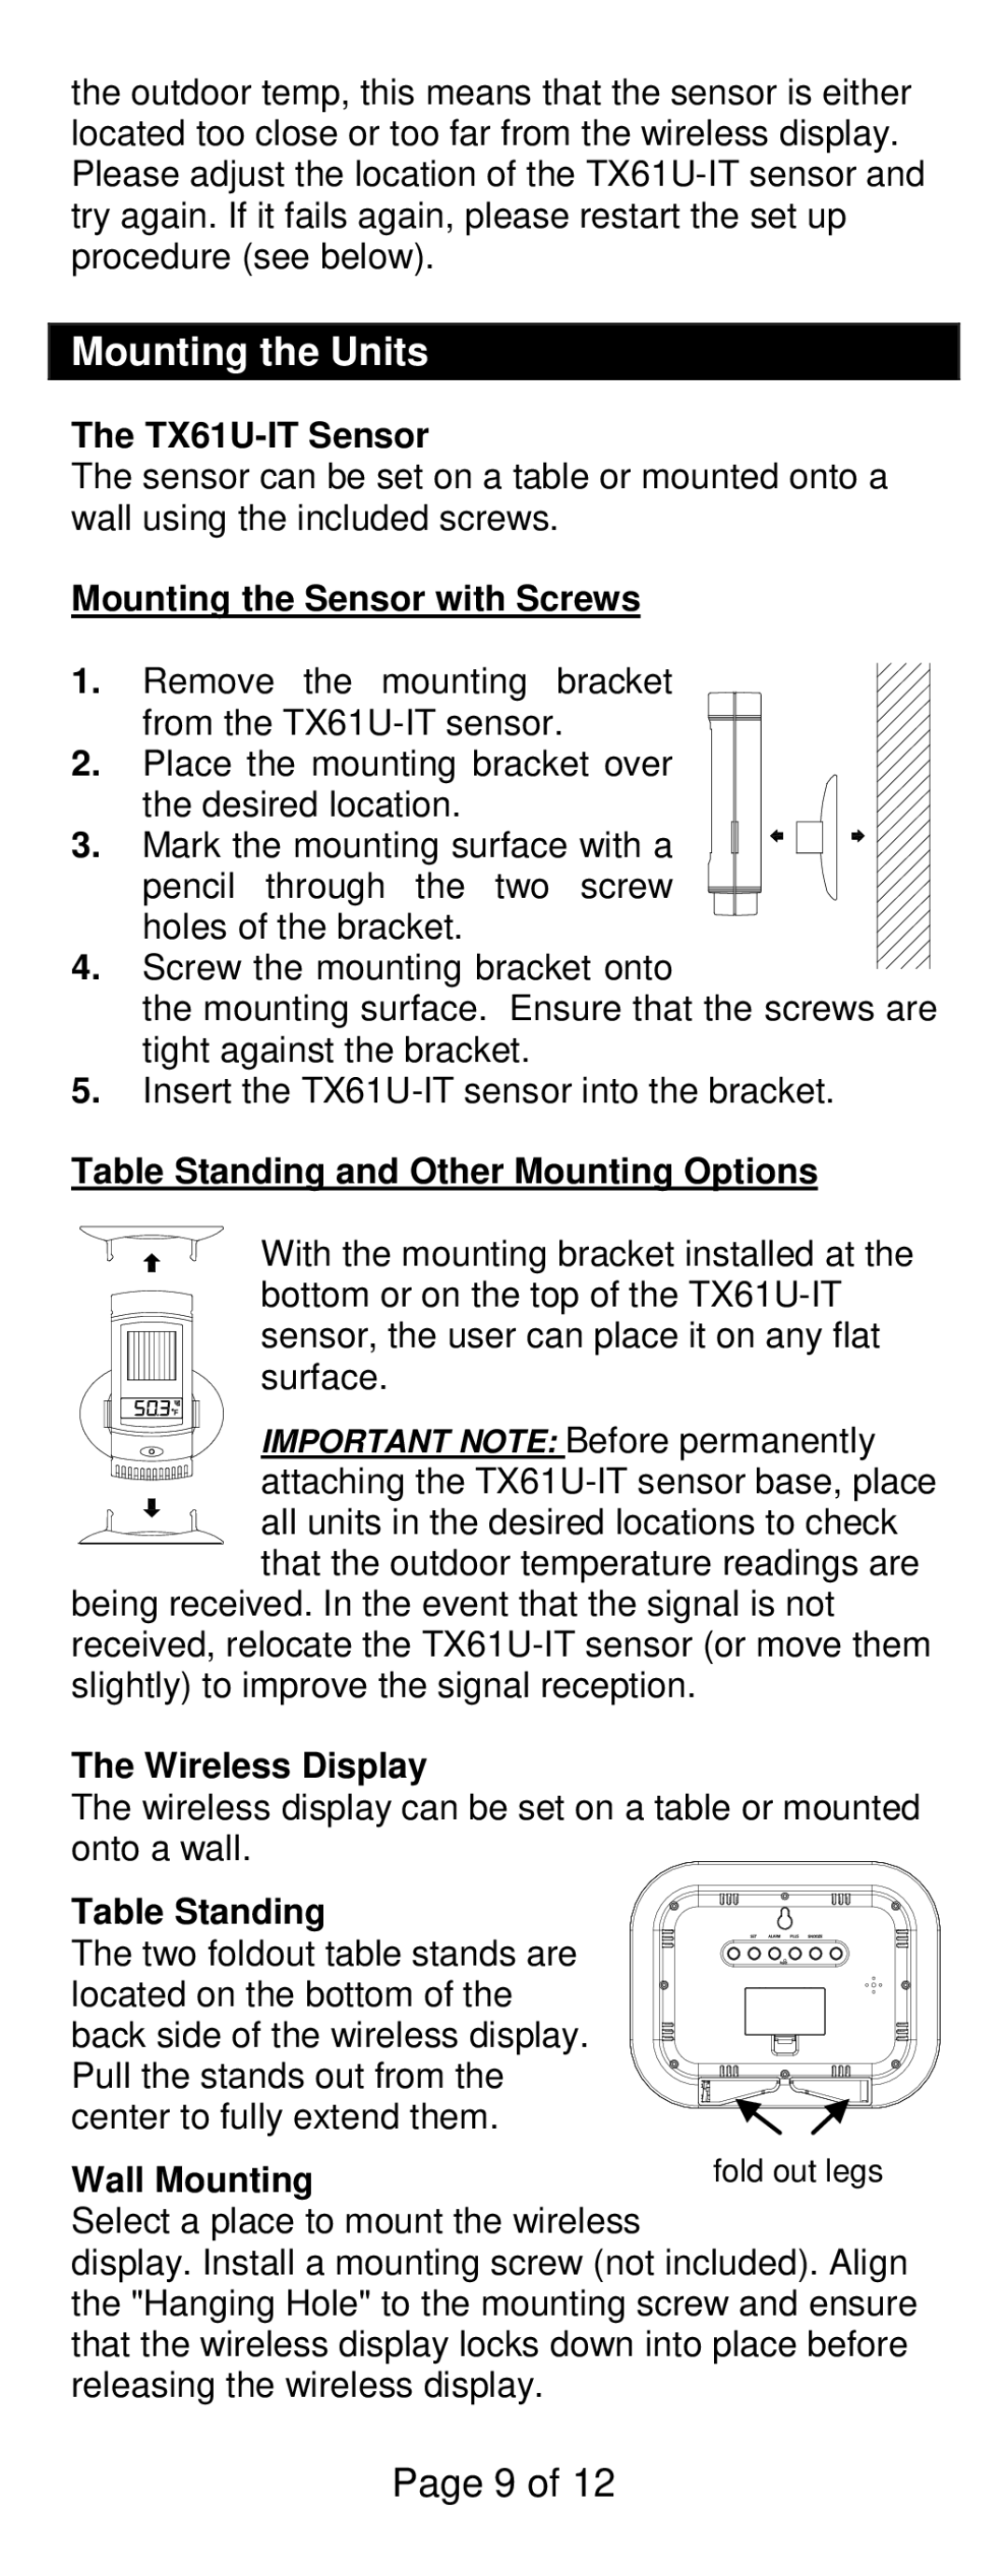
The two foldout table stands are located on the bottom of the back side of the wireless display. Pull the stands out from the center to fully extend them.
Wall Mounting | fold out legs |
Select a place to mount the wireless
display. Install a mounting screw (not included). Align the "Hanging Hole" to the mounting screw and ensure that the wireless display locks down into place before releasing the wireless display.
Page 9 of 12
