attempted at the full hour between 12:00 am to 6:00 am. For best reception, place the display with the front or back facing Colorado. After a successful reception, no more reception attempt would be made until the following day.
If the display is in an area of your home where the WWVB signal cannot be received, you can set the date and time manually.
In either case, the Time Zone must be set manually.
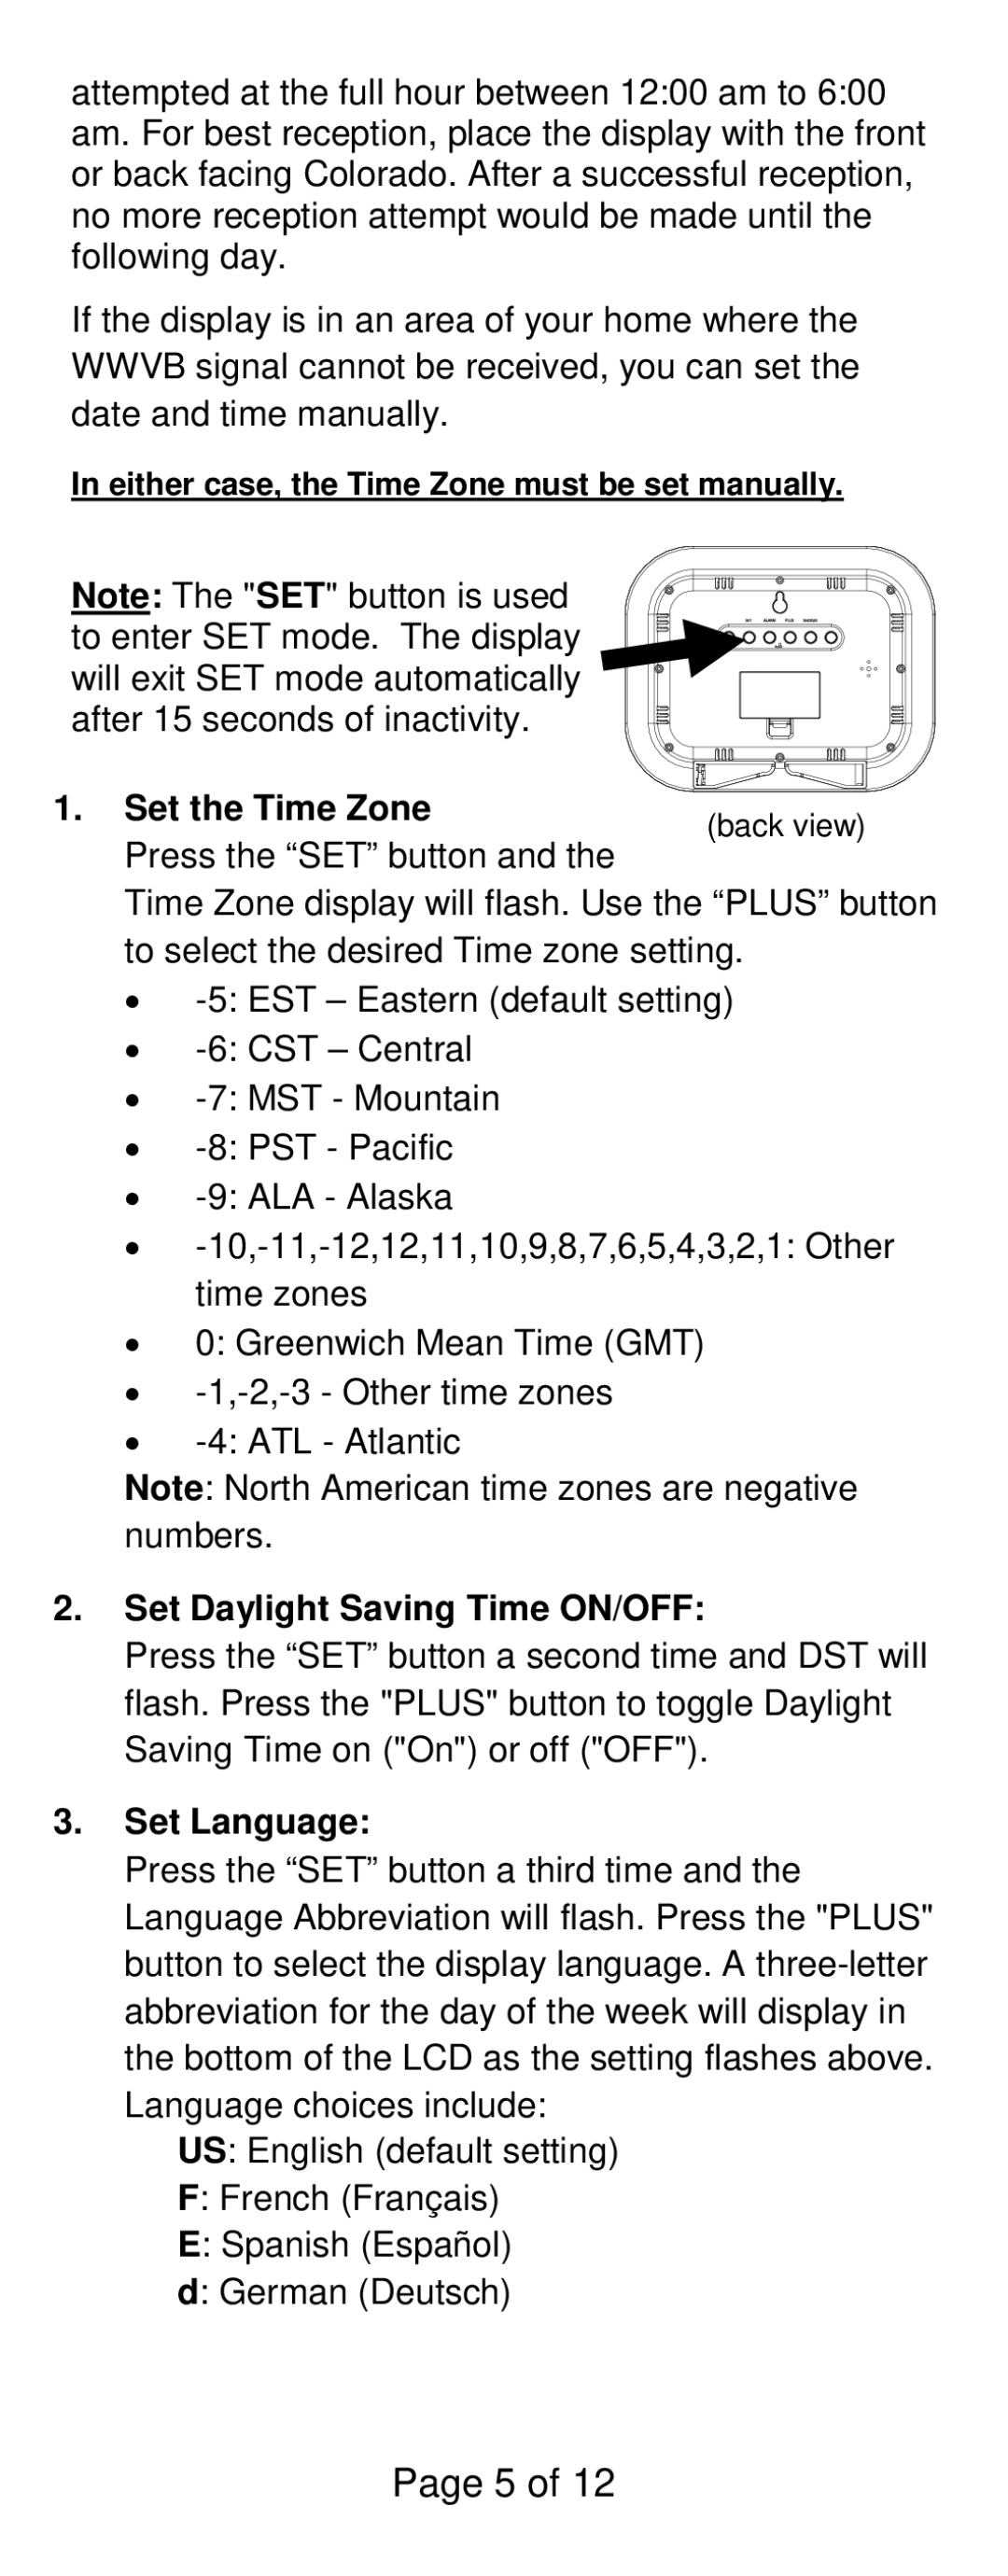
Note: The "SET" button is used to enter SET mode. The display will exit SET mode automatically after 15 seconds of inactivity.
1. Set the Time Zone | (back view) | |
Press the “SET” button and the | ||
|
Time Zone display will flash. Use the “PLUS” button to select the desired Time zone setting.
•
•
•
•
•
•
•0: Greenwich Mean Time (GMT)
•
•
Note: North American time zones are negative numbers.
2.Set Daylight Saving Time ON/OFF:
Press the “SET” button a second time and DST will flash. Press the "PLUS" button to toggle Daylight Saving Time on ("On") or off ("OFF").
3.Set Language:
Press the “SET” button a third time and the Language Abbreviation will flash. Press the "PLUS" button to select the display language. A
US: English (default setting)
F: French (Français)
E: Spanish (Español)
d: German (Deutsch)
Page 5 of 12
