The default is ON for the daylight saving time setting
1.DST starts flashing in the top left black bar and ‘’on” flashing in the bottom left section above the city selection.
2.Use the CH/+ key to toggle between and select on or off.
3.Confirm selection with the SET key and enter the Radio Controlled Time Reception ON/OFF Setting.
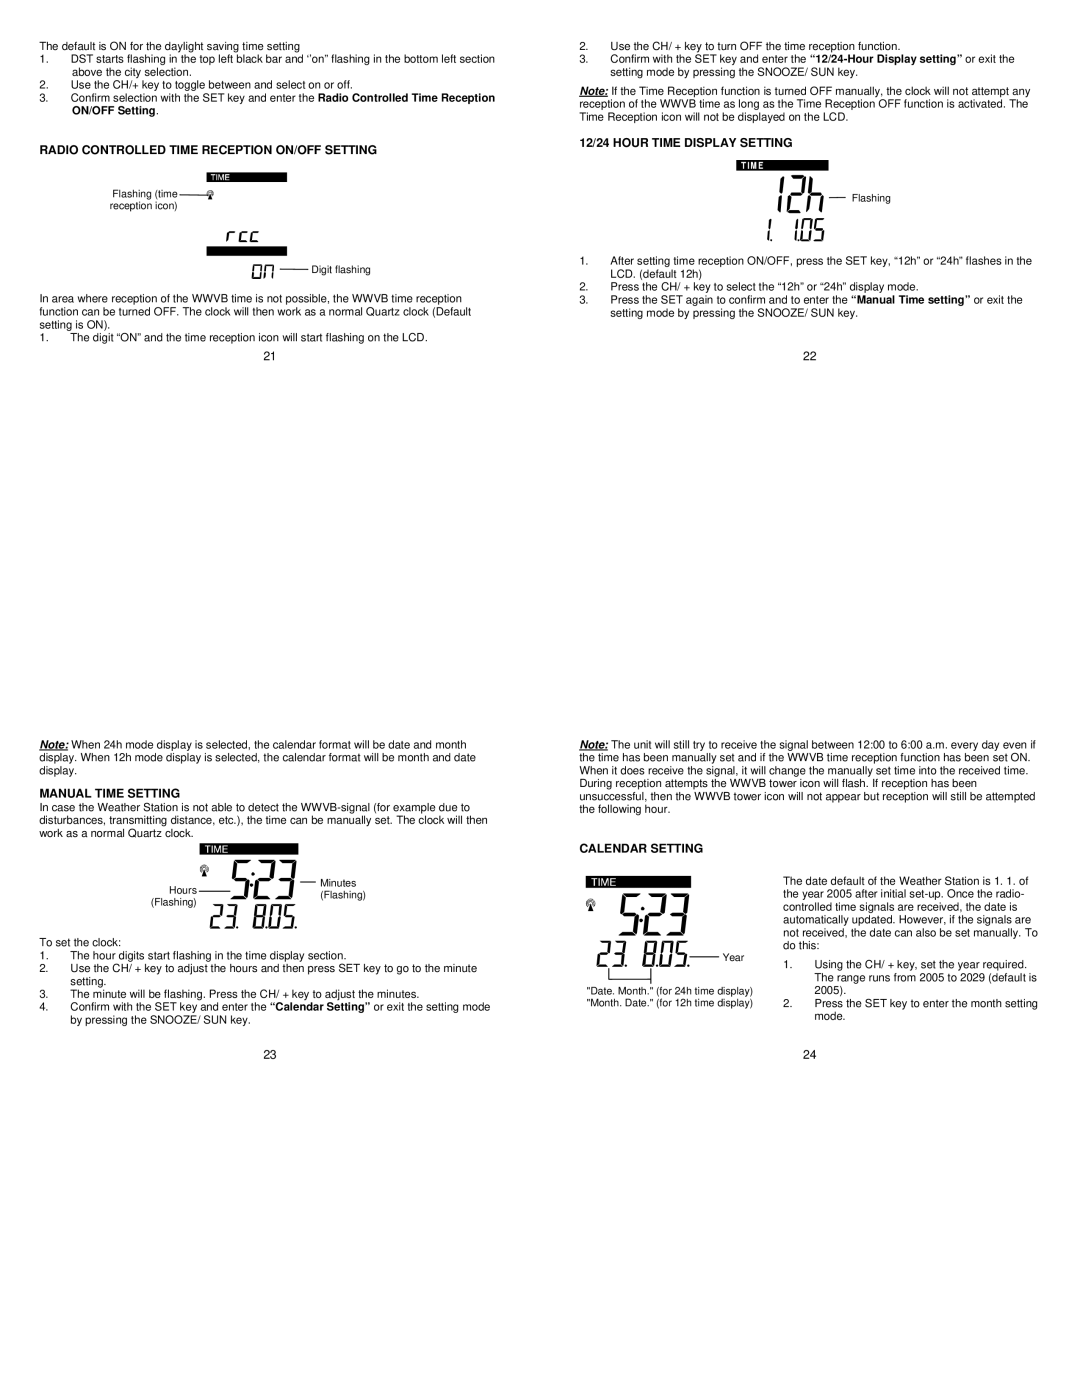
RADIO CONTROLLED TIME RECEPTION ON/OFF SETTING
Flashing (time ![]()
![]() reception icon)
reception icon)
![]()
![]()
![]()
![]()
![]() Digit flashing
Digit flashing
In area where reception of the WWVB time is not possible, the WWVB time reception function can be turned OFF. The clock will then work as a normal Quartz clock (Default setting is ON).
1.The digit “ON” and the time reception icon will start flashing on the LCD.
21
Note: When 24h mode display is selected, the calendar format will be date and month display. When 12h mode display is selected, the calendar format will be month and date display.
MANUAL TIME SETTING
In case the Weather Station is not able to detect the
2.Use the CH/ + key to turn OFF the time reception function.
3.Confirm with the SET key and enter the
Note: If the Time Reception function is turned OFF manually, the clock will not attempt any reception of the WWVB time as long as the Time Reception OFF function is activated. The Time Reception icon will not be displayed on the LCD.
12/24 HOUR TIME DISPLAY SETTING
Flashing
1.After setting time reception ON/OFF, press the SET key, “12h” or “24h” flashes in the LCD. (default 12h)
2.Press the CH/ + key to select the “12h” or “24h” display mode.
3.Press the SET again to confirm and to enter the “Manual Time setting” or exit the setting mode by pressing the SNOOZE/ SUN key.
22
Note: The unit will still try to receive the signal between 12:00 to 6:00 a.m. every day even if the time has been manually set and if the WWVB time reception function has been set ON. When it does receive the signal, it will change the manually set time into the received time.
During reception attempts the WWVB tower icon will flash. If reception has been unsuccessful, then the WWVB tower icon will not appear but reception will still be attempted the following hour.
CALENDAR SETTING
Hours |
|
|
| Minutes |
|
|
| ||
|
|
| (Flashing) | |
(Flashing) |
|
|
| |
|
|
|
|
To set the clock:
1.The hour digits start flashing in the time display section.
2.Use the CH/ + key to adjust the hours and then press SET key to go to the minute setting.
3.The minute will be flashing. Press the CH/ + key to adjust the minutes.
4.Confirm with the SET key and enter the “Calendar Setting” or exit the setting mode by pressing the SNOOZE/ SUN key.
Year
"Date. Month." (for 24h time display) "Month. Date." (for 12h time display)
The date default of the Weather Station is 1. 1. of the year 2005 after initial
1.Using the CH/ + key, set the year required. The range runs from 2005 to 2029 (default is 2005).
2.Press the SET key to enter the month setting mode.
23
24