∙Time zone option ±12 hours
∙Alarm with snooze function
∙Daylight saving time (DST) function
∙Weather forecasting with 15
∙Weather forecasting icon sensitivity setting
∙Temperature display in Fahrenheit (°F) or degrees Celsius (°C) selectable
∙Indoor and outdoor temperature display with MIN/MAX recording
∙Indoor humidity reading displayed as RH% with MIN/MAX recordings
∙All MIN/MAX temperature recordings show date and time received
∙All MIN/MAX recordings can be reset
∙Display of sunrise time, sunset time and sun duration in 99 cities
∙12 Moon phases display throughout the year
∙Can take up to three outdoor transmitters
∙LCD contrast setting
∙Low battery indicator
∙LED backlight
∙Table standing/ Wall mounting
5
displayed on the Weather station. If this does not happen after 3 minutes, the batteries will need to be removed from both units and reset from step 1.
4.In order to ensure sufficient 915 MHz transmission however, this should under good conditions be a distance no more than 330 feet (100 meters) in open air between the final position of the Weather Station and the transmitter (see notes on “Positioning” and “915 MHz Reception”).
5.Once the remote temperature has been received and displayed on the Weather station, the WWVB time (radio controlled time) code reception is automatically started. This takes typically between
When more than one transmitter is used
1.User shall remove all the batteries from the Weather Station and transmitters and wait for 60 seconds if setting has been done with one transmitter before.
2.Insert the batteries to the first transmitter.
3.Within 30 seconds of powering up the first transmitter, insert the batteries to the Weather Station. Once the batteries are in place, all segments of the LCD will light up briefly. Following this, the time (shown as 12:00) and the weather girl icon will be displayed. If they are not shown in the LCD after 60 seconds, remove the batteries and wait for at least 60 seconds before reinserting them.
4.The outdoor temperature from the first transmitter (channel 1) should then be displayed on the Weather station. Also, the signal reception icon will be displayed. If
7
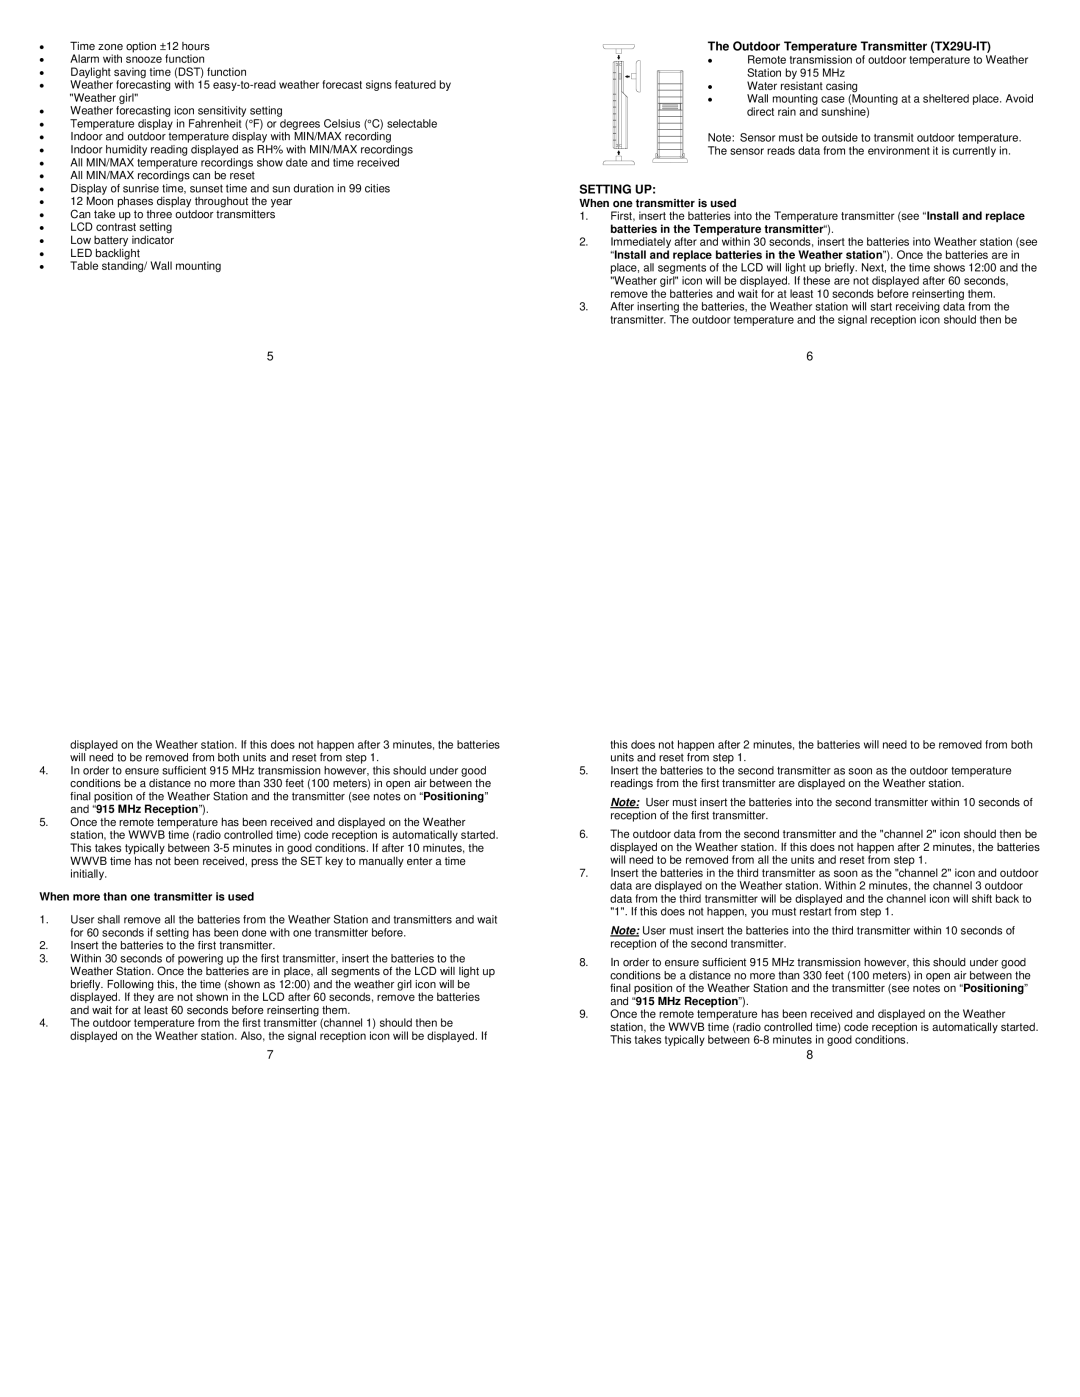
The Outdoor Temperature Transmitter (TX29U-IT)
∙ Remote transmission of outdoor temperature to Weather Station by 915 MHz
∙ Water resistant casing
∙ Wall mounting case (Mounting at a sheltered place. Avoid direct rain and sunshine)
Note: Sensor must be outside to transmit outdoor temperature.
The sensor reads data from the environment it is currently in.
SETTING UP:
When one transmitter is used
1.First, insert the batteries into the Temperature transmitter (see “Install and replace batteries in the Temperature transmitter“).
2.Immediately after and within 30 seconds, insert the batteries into Weather station (see “Install and replace batteries in the Weather station”). Once the batteries are in place, all segments of the LCD will light up briefly. Next, the time shows 12:00 and the "Weather girl" icon will be displayed. If these are not displayed after 60 seconds, remove the batteries and wait for at least 10 seconds before reinserting them.
3.After inserting the batteries, the Weather station will start receiving data from the transmitter. The outdoor temperature and the signal reception icon should then be
6
this does not happen after 2 minutes, the batteries will need to be removed from both units and reset from step 1.
5.Insert the batteries to the second transmitter as soon as the outdoor temperature readings from the first transmitter are displayed on the Weather station.
Note: User must insert the batteries into the second transmitter within 10 seconds of reception of the first transmitter.
6.The outdoor data from the second transmitter and the "channel 2" icon should then be displayed on the Weather station. If this does not happen after 2 minutes, the batteries will need to be removed from all the units and reset from step 1.
7.Insert the batteries in the third transmitter as soon as the "channel 2" icon and outdoor data are displayed on the Weather station. Within 2 minutes, the channel 3 outdoor data from the third transmitter will be displayed and the channel icon will shift back to "1". If this does not happen, you must restart from step 1.
Note: User must insert the batteries into the third transmitter within 10 seconds of reception of the second transmitter.
8.In order to ensure sufficient 915 MHz transmission however, this should under good conditions be a distance no more than 330 feet (100 meters) in open air between the final position of the Weather Station and the transmitter (see notes on “Positioning” and “915 MHz Reception”).
9.Once the remote temperature has been received and displayed on the Weather station, the WWVB time (radio controlled time) code reception is automatically started. This takes typically between
8