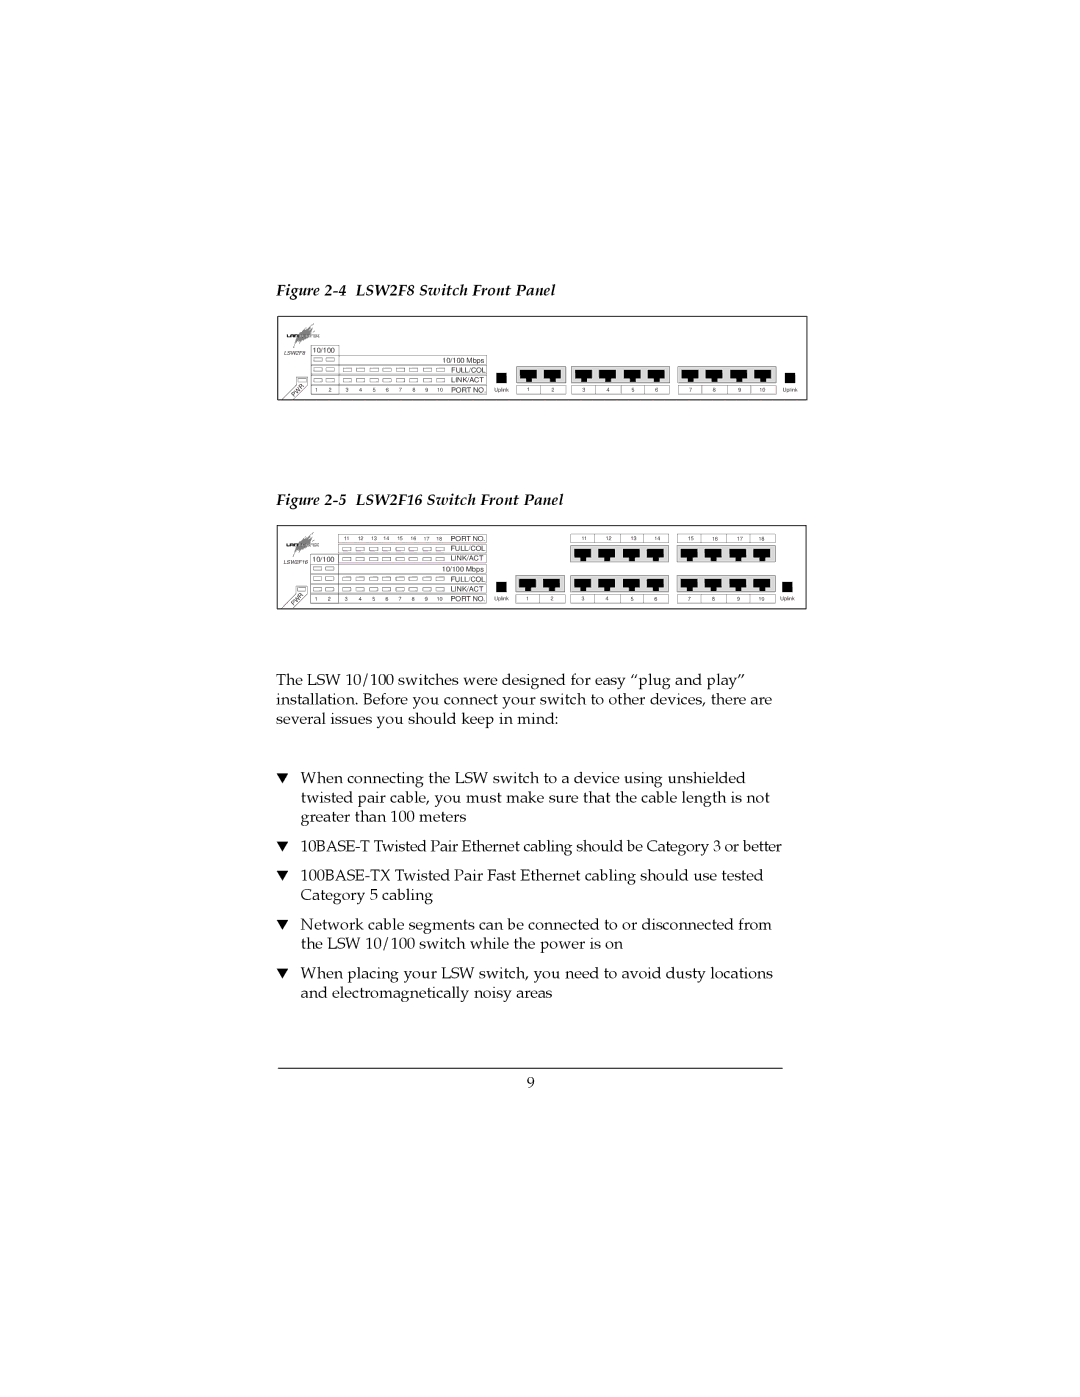
Figure 2-4 LSW2F8 Switch Front Panel
LSW2F8 | 10/100 |
|
|
|
|
|
|
|
|
|
|
|
|
|
|
|
|
|
|
|
|
| |
|
|
|
|
|
|
|
|
|
| 10/100 Mbps |
|
|
|
|
|
|
|
|
|
|
|
| |
|
|
|
|
|
|
|
|
|
|
| FULL/COL |
|
|
|
|
|
|
|
|
|
|
|
|
|
|
|
|
|
|
|
|
|
|
| LINK/ACT |
|
|
|
|
|
|
|
|
|
|
|
|
PWR | 1 | 2 | 3 | 4 | 5 | 6 | 7 | 8 | 9 | 10 | PORT NO. | Uplink | 1 | 2 | 3 | 4 | 5 | 6 | 7 | 8 | 9 | 10 | Uplink |
|
|
|
|
|
|
|
|
|
|
|
|
|
|
|
|
|
|
|
|
|
|
| |
Figure 2-5 LSW2F16 Switch Front Panel
|
|
| 11 | 12 | 13 | 14 | 15 | 16 | 17 | 18 | PORT NO. |
|
|
| 11 | 12 | 13 | 14 | 15 | 16 | 17 | 18 |
|
|
|
|
|
|
|
|
|
|
|
|
|
|
|
|
|
|
|
|
|
|
|
| |
|
|
|
|
|
|
|
|
|
|
| FULL/COL |
|
|
|
|
|
|
|
|
|
|
|
|
LSW2F16 | 10/100 |
|
|
|
|
|
|
|
| LINK/ACT |
|
|
|
|
|
|
|
|
|
|
|
| |
|
|
|
|
|
|
|
|
|
| 10/100 Mbps |
|
|
|
|
|
|
|
|
|
|
|
| |
|
|
|
|
|
|
|
|
|
|
| FULL/COL |
|
|
|
|
|
|
|
|
|
|
|
|
|
|
|
|
|
|
|
|
|
|
| LINK/ACT |
|
|
|
|
|
|
|
|
|
|
|
|
PWR | 1 | 2 | 3 | 4 | 5 | 6 | 7 | 8 | 9 | 10 | PORT NO. | Uplink | 1 | 2 | 3 | 4 | 5 | 6 | 7 | 8 | 9 | 10 | Uplink |
|
|
|
|
|
|
|
|
|
|
|
|
|
|
|
|
|
|
|
|
|
|
| |
The LSW 10/100 switches were designed for easy Òplug and playÓ installation. Before you connect your switch to other devices, there are several issues you should keep in mind:
▼When connecting the LSW switch to a device using unshielded twisted pair cable, you must make sure that the cable length is not greater than 100 meters
▼
▼
▼Network cable segments can be connected to or disconnected from the LSW 10/100 switch while the power is on
▼When placing your LSW switch, you need to avoid dusty locations and electromagnetically noisy areas
9