Lenovo 2572MB1 manual Manual image setup

Models: 2572MB1

1 38
Download 38 pages 40.62 Kb
Page 28
Image 28

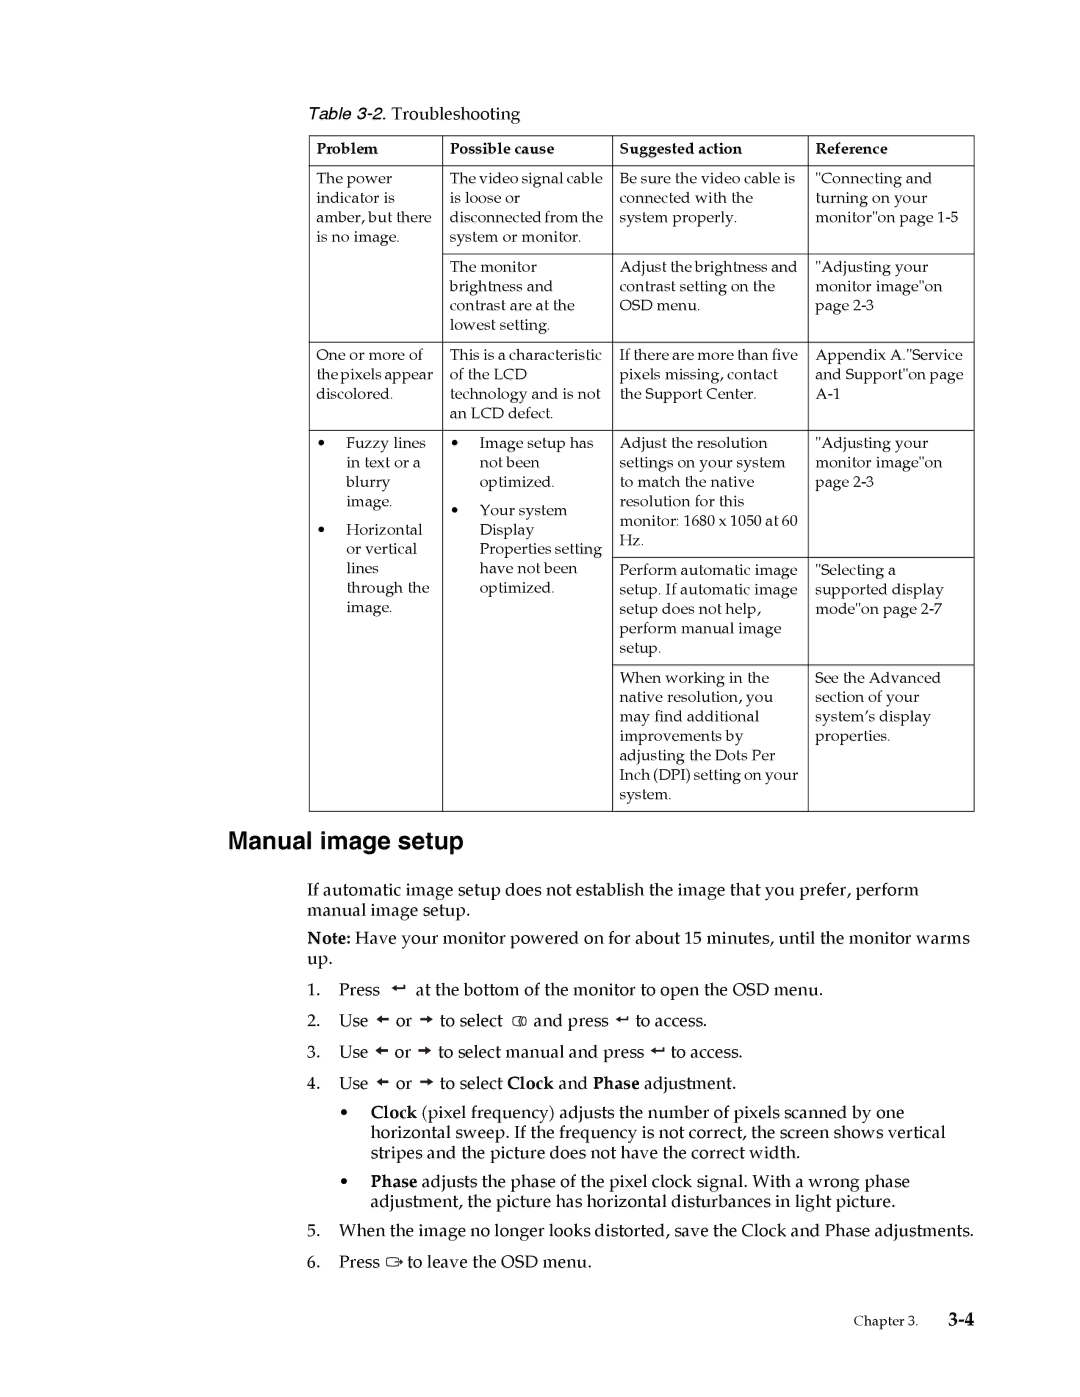
Table 3-2.Troubleshooting

Problem

Possible cause

Suggested action

Reference


The power

The video signal cable

Be sure the video cable is

"Connecting and

indicator is

is loose or

connected with the

turning on your

amber, but there

disconnected from the

system properly.

monitor"on page 1-5

is no image.

system or monitor.


The monitor

Adjust the brightness and

"Adjusting your


brightness and

contrast setting on the

monitor image"on


contrast are at the

OSD menu.

page 2-3


lowest setting.


One or more of

This is a characteristic

If there are more than five

Appendix A."Service

the pixels appear

of the LCD

pixels missing, contact

and Support"on page

discolored.

technology and is not

the Support Center.

A-1


an LCD defect.


Fuzzy lines

Image setup has

Adjust the resolution

"Adjusting your


in text or a


not been

settings on your system

monitor image"on


blurry


optimized.

to match the native

page 2-3


image.

Your system

resolution for this


Horizontal

monitor: 1680 x 1050 at 60


Display


Hz.


or vertical


Properties setting


lines


have not been

Perform automatic image

"Selecting a


through the


optimized.

setup. If automatic image

supported display


image.


setup does not help,

mode"on page 2-7


perform manual image


setup.


When working in the

See the Advanced


native resolution, you

section of your


may find additional

system’s display


improvements by

properties.


adjusting the Dots Per


Inch (DPI) setting on your


system.


Manual image setup

If automatic image setup does not establish the image that you prefer, perform manual image setup.

Note: Have your monitor powered on for about 15 minutes, until the monitor warms up.

1.Press at the bottom of the monitor to open the OSD menu.

2.Use or to select and press to access.

3.Use or to select manual and press to access.

4.Use or to select Clock and Phase adjustment.

Clock (pixel frequency) adjusts the number of pixels scanned by one horizontal sweep. If the frequency is not correct, the screen shows vertical stripes and the picture does not have the correct width.

Phase adjusts the phase of the pixel clock signal. With a wrong phase adjustment, the picture has horizontal disturbances in light picture.

5.When the image no longer looks distorted, save the Clock and Phase adjustments.

6.Press to leave the OSD menu.

Chapter 3. 3-4

Page 28
Image 28
Lenovo 2572MB1 manual Manual image setup

2572MB1 specifications

The Lenovo 2572MB1 is a laptop that encapsulates cutting-edge technology and user-centric design, catering to the needs of both casual users and professionals. This machine stands out for its impressive blend of performance, portability, and durability, making it a reliable choice for on-the-go computing.

One of the main features of the Lenovo 2572MB1 is its powerful processing capability. Powered by Intel's latest processors, it offers exceptional performance, facilitating multitasking and running demanding applications with ease. The combination of high clock speeds and multiple cores allows users to experience smooth performance, whether they’re working on productivity software, engaging in graphics design, or enjoying high-definition multimedia content.

The laptop boasts a high-resolution display that enhances visual clarity and vibrancy. With its Full HD or even 4K options, users can enjoy stunning visuals for both work and leisure. The anti-glare technology further adds to the usability of the device, reducing eye strain even during extended usage, making it ideal for professionals who work in various lighting conditions.

Portability is another strong suit of the Lenovo 2572MB1. With a lightweight design and slim profile, this laptop can easily fit into a backpack or briefcase, allowing for easy transport. Its robust battery life ensures that users can stay productive throughout the day without the constant need for recharging.

Connectivity features are also noteworthy. The Lenovo 2572MB1 comes equipped with multiple USB 3.0 and USB-C ports, an HDMI output, and an Ethernet port, ensuring versatility when it comes to peripheral devices. Wireless connectivity is robust with Wi-Fi 6 support, enabling faster data transfer rates and improved network reliability.

In terms of build quality, Lenovo has engineered the 2572MB1 with durability in mind. The chassis is constructed from high-quality materials that withstand daily wear and tear, providing a long-lasting device. The keyboard features a spill-resistant design, and the touchpad is responsive, enhancing the overall user experience.

Lastly, the Lenovo 2572MB1 is capable of incorporating various security features, including fingerprint recognition and facial recognition technology, which safeguard sensitive data and offer peace of mind for the user.

In summary, the Lenovo 2572MB1 is a powerful, versatile, and durable laptop that meets the demands of modern computing. With its premium build, high-performance components, and user-friendly features, it is an excellent choice for anyone looking for a dependable device that excels in both productivity and entertainment.