7.For a
Figure 13. Installing a retainer bracket
8.For a
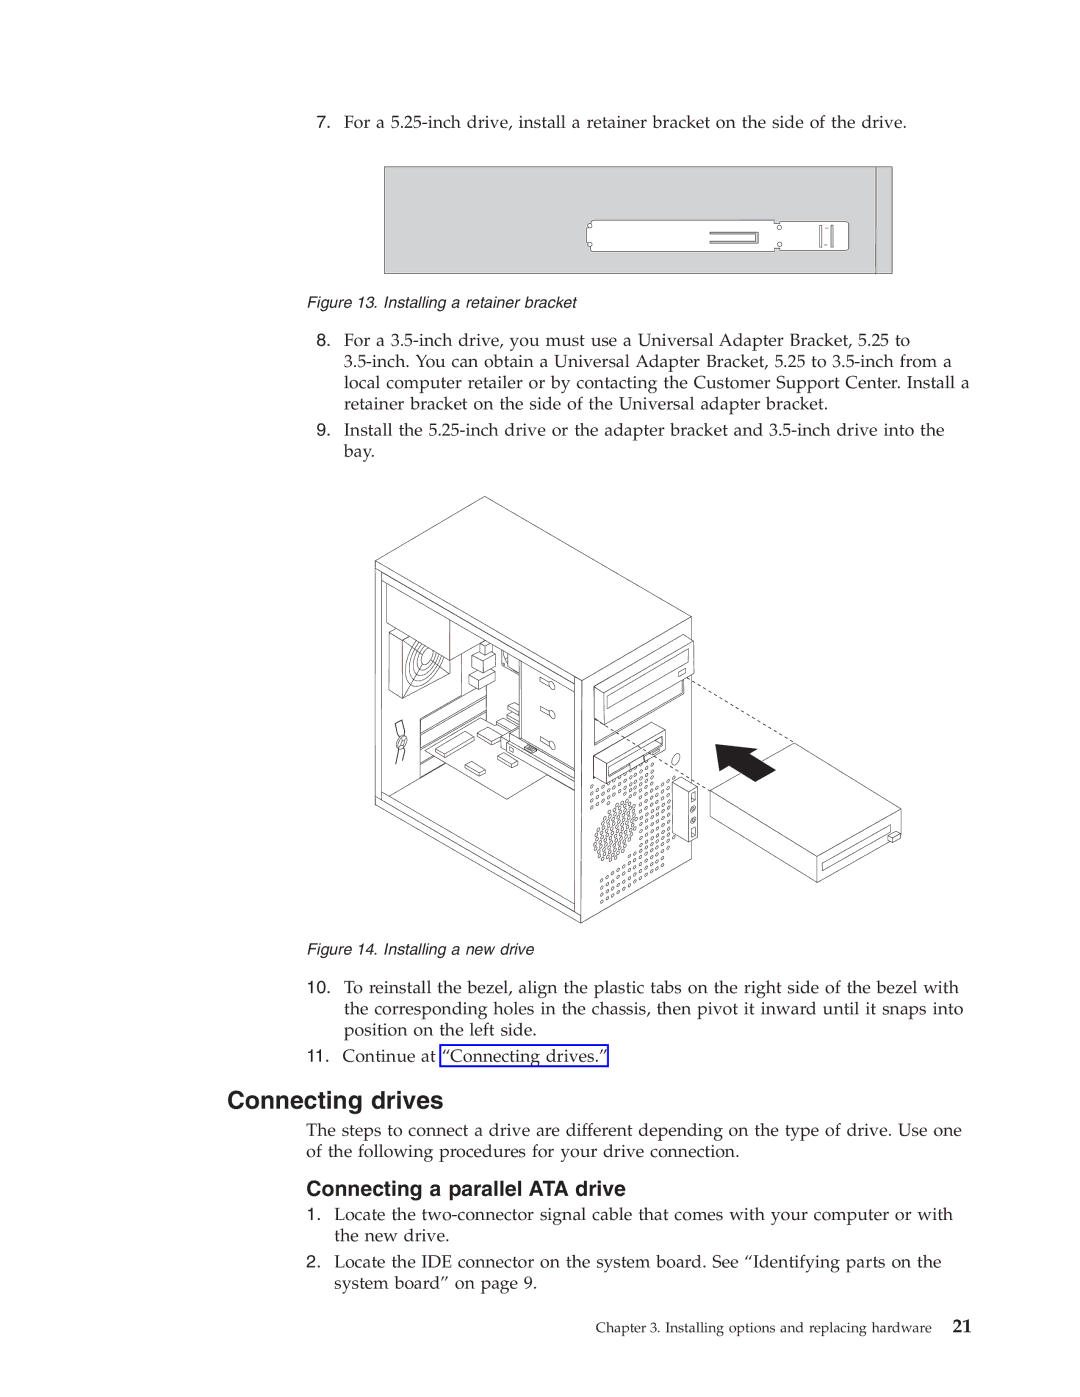
9.Install the
Figure 14. Installing a new drive
10.To reinstall the bezel, align the plastic tabs on the right side of the bezel with the corresponding holes in the chassis, then pivot it inward until it snaps into position on the left side.
11.Continue at “Connecting drives.”
Connecting drives
The steps to connect a drive are different depending on the type of drive. Use one of the following procedures for your drive connection.
Connecting a parallel ATA drive
1.Locate the
2.Locate the IDE connector on the system board. See “Identifying parts on the system board” on page 9.
Chapter 3. Installing options and replacing hardware 21