Faxing

Sending a fax

1Place your original document in the automatic document feeder faceup, short-edge first.

2Adjust the paper guides.

3Touch Fax on the home screen.

4Enter the fax number using the numbers on the touch screen or keypad.

Add recipients by touching next and then entering the recipient's telephone number or shortcut number, or search the address book.

Note: To place a two-second dialing pause within a fax number, use the Dial Pause button.

The dial pause will appear as a comma in the Fax to: box. Use this feature if you need to dial an outside line first.

5Touch Fax It.

Printing

Printing a document

1Open the file you want to print.

2From the File menu, select Print.

3Verify that the correct printer is selected in the dialog box.

4Modify the printer settings as appropriate (such as the pages you want to print or the number of copies).

Note: Click Properties or Setup to adjust printer settings not available from the first screen, and click OK.

5Click OK or Print to send the job to the selected printer.

Printing a confidential job

1With the file open, select File Print.

2Click Properties. (If there is no Properties button, click Setup, and then click Properties.)

3Depending on the operating system, you may have to click the Other Options tab, and then click Print and Hold.

4Enter a User Name and PIN.

5Send your job to the printer.

Go to the printer when you are ready to retrieve your confidential print job.

6Touch Held jobs on the home screen.

7Touch your user name.

Note: If your name does not appear, touch the down arrow until your name appears, or touch Search Held Jobs if there are a large number of held jobs in the printer.

8Select Confidential Jobs.

9Enter your PIN.

10Touch the job you want to print.

11Touch Print, or touch + to input the number of copies, and then touch Print.

Note: After your job prints, it is deleted from printer memory.

Printing from a USB flash memory device

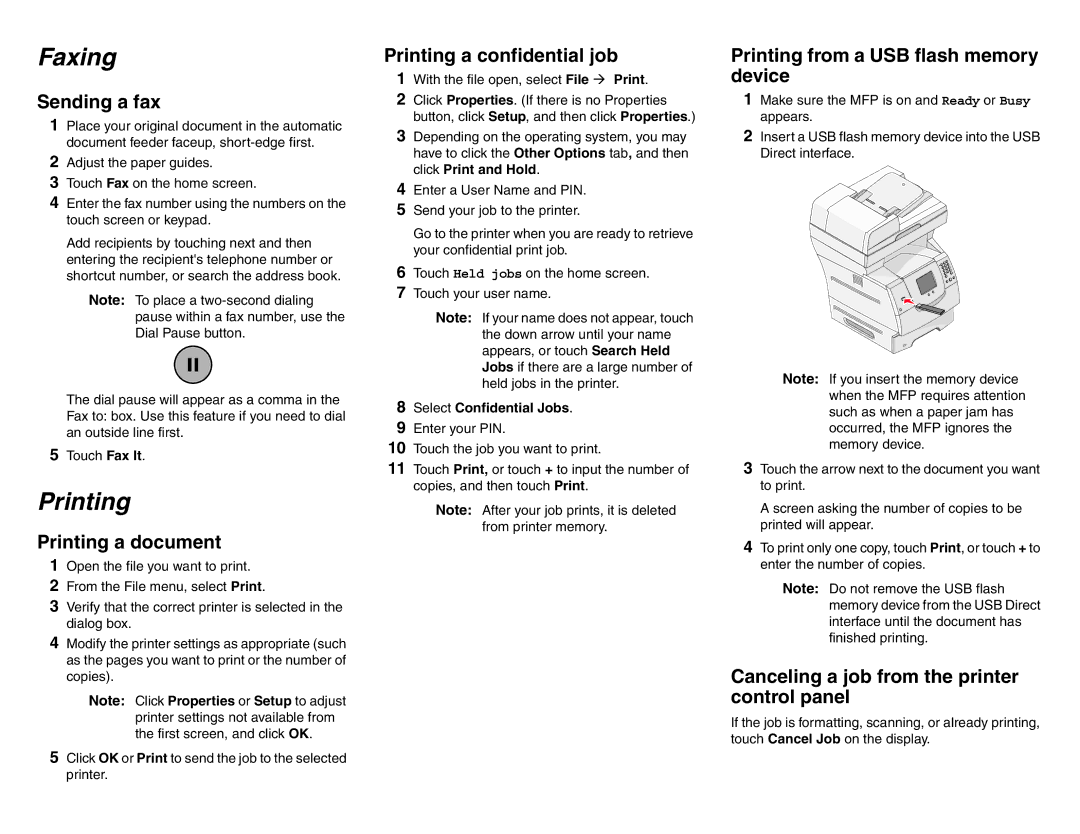
1Make sure the MFP is on and Ready or Busy appears.

2Insert a USB flash memory device into the USB Direct interface.

Note: If you insert the memory device when the MFP requires attention such as when a paper jam has occurred, the MFP ignores the memory device.

3Touch the arrow next to the document you want to print.

A screen asking the number of copies to be printed will appear.

4To print only one copy, touch Print, or touch + to enter the number of copies.

Note: Do not remove the USB flash memory device from the USB Direct interface until the document has finished printing.

Canceling a job from the printer control panel

If the job is formatting, scanning, or already printing, touch Cancel Job on the display.

Page 4
Image 4
Lexmark X642 manual Faxing, Printing

X642 specifications

The Lexmark X642 is a versatile monochrome laser multifunction printer designed for businesses that require efficient printing, scanning, copying, and faxing capabilities in a compact design. This model is particularly renowned for its reliability and high-performance output, making it a valuable asset for any office environment.

One of the standout features of the Lexmark X642 is its impressive print speed. It can produce up to 40 pages per minute (ppm), ensuring that large print jobs are completed swiftly. This is coupled with a first-page-out time as fast as 6.5 seconds, which significantly reduces waiting times. The printer supports a resolution of up to 1200 x 1200 dots per inch (dpi), resulting in sharp and clear text, along with detailed graphics.

The X642 is equipped with various connectivity options to meet the demands of modern workplaces. It includes USB, Ethernet, and an optional wireless interface, allowing users to connect multiple devices seamlessly. Additionally, it supports various operating systems, making it versatile for different IT environments.

Another excellent aspect of the Lexmark X642 is its scanning capabilities. It features a flatbed scanner and an automatic document feeder (ADF) that can handle up to 50 sheets. This allows users to scan multiple pages quickly, enhancing productivity. The scanning resolution is commendable, with an optical resolution of up to 600 x 600 dpi, making it suitable for detailed documents.

In terms of energy efficiency, the X642 incorporates energy-saving technologies, such as Energy Star certification, which helps reduce overall power consumption. This is beneficial not only for the environment but also for reducing operating costs.

Durability and longevity are essential characteristics of the X642. It is designed to handle high-volume tasks, with a monthly duty cycle capable of reaching 75,000 pages. This robustness makes it ideal for busy offices that demand a reliable printer that can withstand extensive use.

Lastly, the Lexmark X642 is equipped with advanced security features. It includes support for secure printing and document management, ensuring that sensitive information is protected throughout the printing process. Overall, the Lexmark X642 encapsulates a blend of speed, versatility, and security, making it a solid choice for organizations looking to enhance their productivity while maintaining high-quality output.