更多难得资料请到江南家电维修论坛免费下载! http://bbs.520101.com
5. Adjusting the White Balance
5.1 Overview
-Purpose and principle for adjusting the white balance
-Purpose : Adjust the white balance to reduce the deviation of the module.
-Principle: The full dynamic range of the module when the RGB gain on the OSD is 192. In order to adjust the white balance with no saturation of the full dynamic range and the data, fix one of the RGB gains to 192 and decrease the remaining two gains to adjust
5.2 Device to use
1)Color Analyzer :
2)Computer to adjust (needed for the automatic adjustment, possible to communicate with the
3)Adjustment remote controller
4)Video Signal Generator
=> Applied only when the inner pattern cannot be used
*Use the Color Analyzer with the matrix calibrated by the CS- 1000
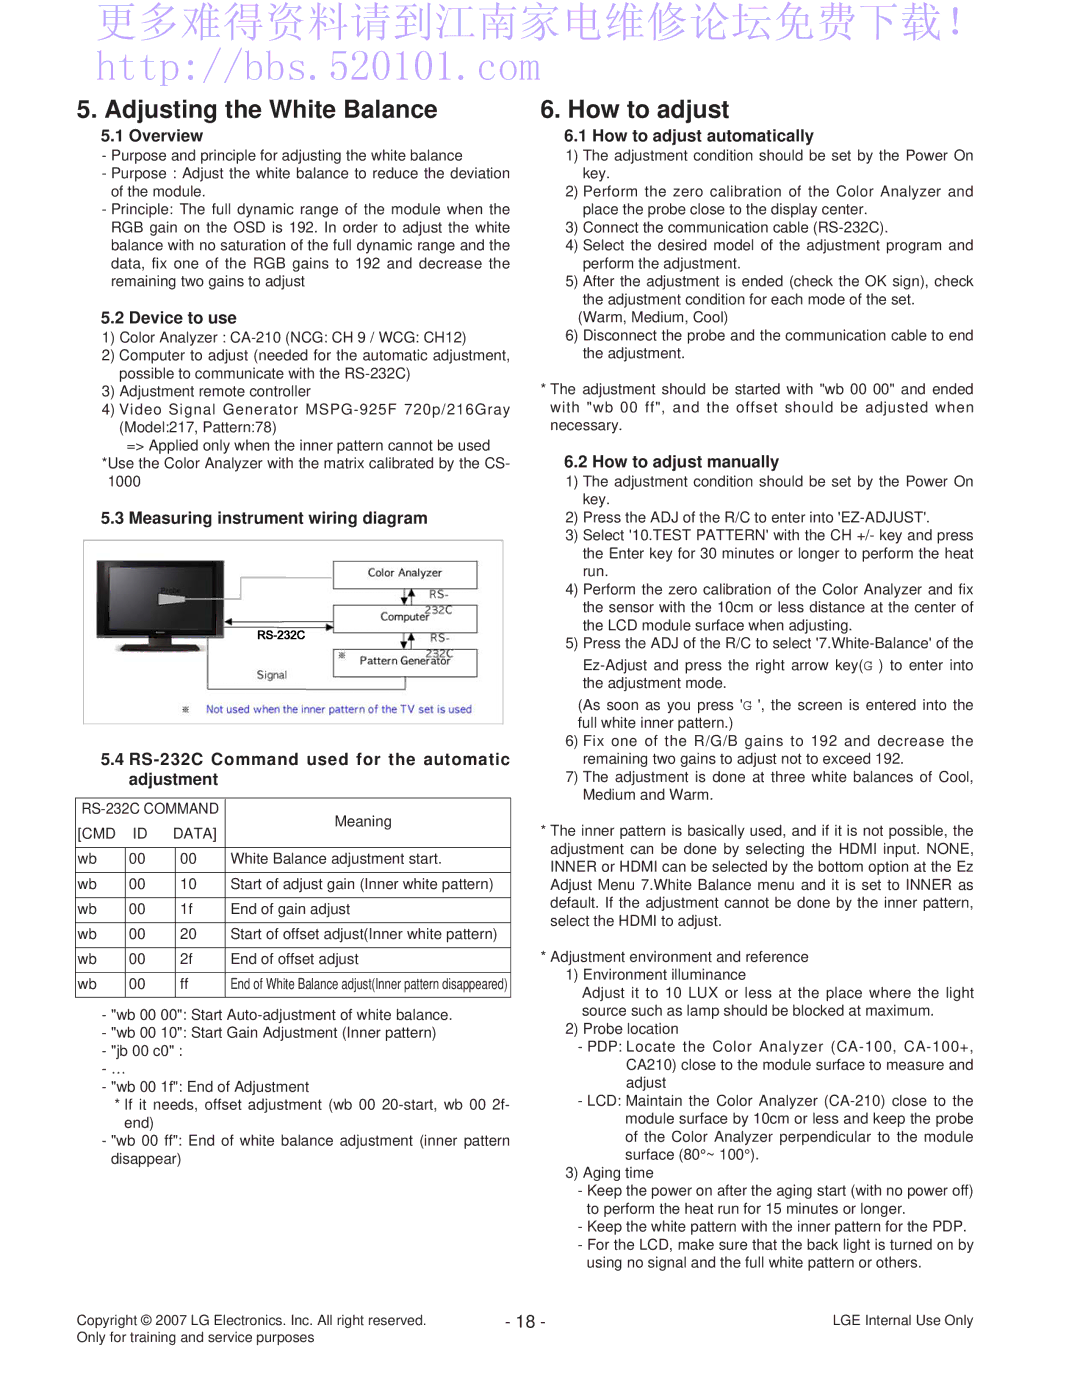
5.3 Measuring instrument wiring diagram
5.4
Meaning | |||||
[CMD | ID | DATA] | |||
| |||||
|
|
|
|
| |
wb | 00 |
| 00 | White Balance adjustment start. | |
|
|
|
|
| |
wb | 00 |
| 10 | Start of adjust gain (Inner white pattern) | |
|
|
|
|
| |
wb | 00 |
| 1f | End of gain adjust | |
|
|
|
|
| |
wb | 00 |
| 20 | Start of offset adjust(Inner white pattern) | |
|
|
|
|
| |
wb | 00 |
| 2f | End of offset adjust | |
|
|
|
|
| |
wb | 00 |
| ff | End of White Balance adjust(Inner pattern disappeared) | |
|
|
|
|
| |
-"wb 00 00": Start
-"wb 00 10": Start Gain Adjustment (Inner pattern)
-"jb 00 c0" :
-…
-"wb 00 1f": End of Adjustment
*If it needs, offset adjustment (wb 00
-"wb 00 ff": End of white balance adjustment (inner pattern disappear)
6. How to adjust
6.1 How to adjust automatically
1)The adjustment condition should be set by the Power On key.
2)Perform the zero calibration of the Color Analyzer and place the probe close to the display center.
3)Connect the communication cable
4)Select the desired model of the adjustment program and perform the adjustment.
5)After the adjustment is ended (check the OK sign), check the adjustment condition for each mode of the set.
(Warm, Medium, Cool)
6)Disconnect the probe and the communication cable to end the adjustment.
*The adjustment should be started with "wb 00 00" and ended with "wb 00 ff", and the offset should be adjusted when necessary.
6.2 How to adjust manually
1)The adjustment condition should be set by the Power On key.
2)Press the ADJ of the R/C to enter into
3)Select '10.TEST PATTERN' with the CH +/- key and press the Enter key for 30 minutes or longer to perform the heat run.
4)Perform the zero calibration of the Color Analyzer and fix the sensor with the 10cm or less distance at the center of the LCD module surface when adjusting.
5)Press the ADJ of the R/C to select
(As soon as you press 'G ', the screen is entered into the full white inner pattern.)
6)Fix one of the R/G/B gains to 192 and decrease the remaining two gains to adjust not to exceed 192.
7)The adjustment is done at three white balances of Cool, Medium and Warm.
*The inner pattern is basically used, and if it is not possible, the adjustment can be done by selecting the HDMI input. NONE, INNER or HDMI can be selected by the bottom option at the Ez Adjust Menu 7.White Balance menu and it is set to INNER as default. If the adjustment cannot be done by the inner pattern, select the HDMI to adjust.
*Adjustment environment and reference
1)Environment illuminance
Adjust it to 10 LUX or less at the place where the light source such as lamp should be blocked at maximum.
2)Probe location
-PDP: Locate the Color Analyzer
-LCD: Maintain the Color Analyzer
3)Aging time
-Keep the power on after the aging start (with no power off) to perform the heat run for 15 minutes or longer.
-Keep the white pattern with the inner pattern for the PDP.
-For the LCD, make sure that the back light is turned on by using no signal and the full white pattern or others.
Copyright © 2007 LG Electronics. Inc. All right reserved. | - 18 - | LGE Internal Use Only |
Only for training and service purposes |
|
|
