Part 3 INSTALL THE RANGE
3ELECTRICAL CONNECTION REQUIREMENTS
The range must be installed in accordance with Local and Canadian Electrical Codes (latest edition). See rating plate for total connected Amp rating. This model was shipped direct from the factory with Service cord attached. There are no range connections necessary.
Note: Cord replacement
Only a range cord rated at 40 amps with 120/240 minimum volt range is required. If a 50 amp range cord is used, it should be marked for use with 13⁄8” diameter connection openings.
4ANTI-TIP DEVICE INSTALLATION
![]() WARNING
WARNING
• DO NOT step or sit on the door. Install the
-The range could be tipped and injury might result from spilled hot liquid, food, or the range itself.
-If the range is pulled away from the wall for cleaning, service, or any other reason, ensure that the Anti- Tip Device is properly reengaged when the range is pushed back against the wall.
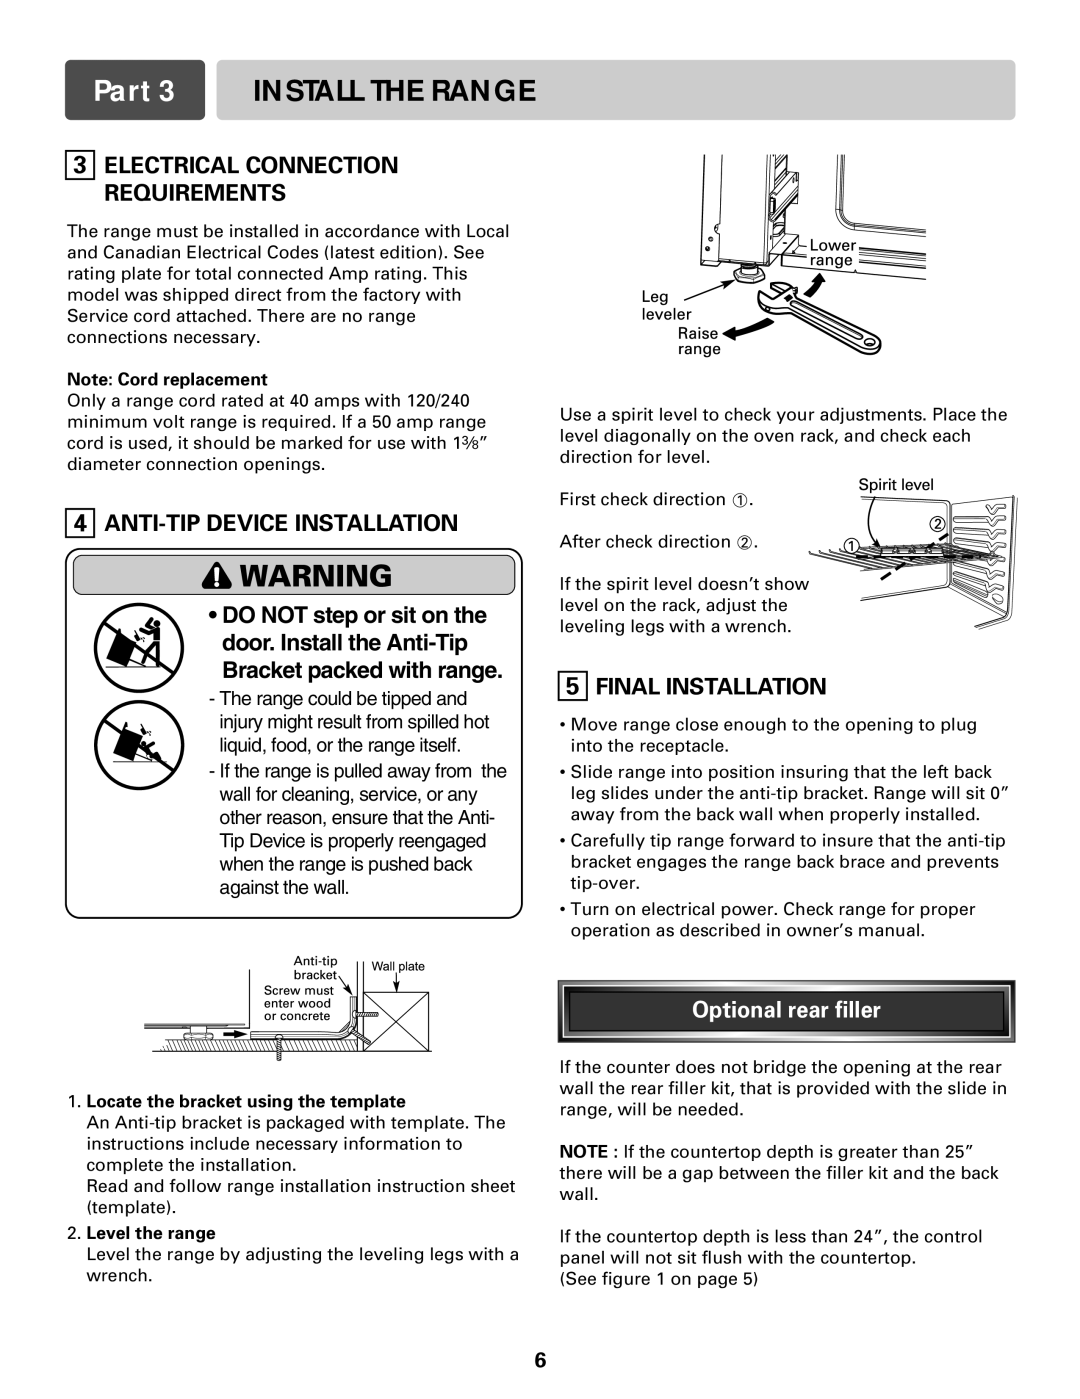
Use a spirit level to check your adjustments. Place the level diagonally on the oven rack, and check each direction for level.
First check direction 1 .
After check direction 2 .
If the spirit level doesn’t show level on the rack, adjust the leveling legs with a wrench.
5FINAL INSTALLATION
•Move range close enough to the opening to plug into the receptacle.
•Slide range into position insuring that the left back leg slides under the
•Carefully tip range forward to insure that the
•Turn on electrical power. Check range for proper operation as described in owner’s manual.
1.Locate the bracket using the template
An
Read and follow range installation instruction sheet (template).
2.Level the range
Level the range by adjusting the leveling legs with a wrench.
Optional rear filler
If the counter does not bridge the opening at the rear wall the rear filler kit, that is provided with the slide in range, will be needed.
NOTE : If the countertop depth is greater than 25” there will be a gap between the filler kit and the back wall.
If the countertop depth is less than 24”, the control panel will not sit flush with the countertop.
(See figure 1 on page 5)
6