
LRSC 26980TT specifications
The LG Electronics LRSC 26980TT is a remarkable refrigerator that combines style, performance, and innovative technology, making it an ideal choice for modern kitchens. This model features a sleek stainless steel finish that not only enhances the aesthetic appeal of any kitchen but also provides durability and resistance to fingerprints, ensuring that it remains looking new even after extensive use.One of the standout features of the LRSC 26980TT is its spacious interior, which offers a generous storage capacity. With a total volume of around 26.0 cubic feet, users can conveniently store a wide variety of groceries, from large party trays to bulk condiments. The French door design adds to the convenience, providing easy access to fresh fruits, vegetables, and everyday essentials while keeping frozen items at a comfortable reach below.
The refrigerator incorporates LG's Smart cooling system that maintains optimal temperatures for both the fridge and freezer compartments, ensuring the longevity and freshness of stored food. This innovative system uses multiple airflow vents to distribute air evenly, while the linear compressor adjusts cooling power based on the conditions within, resulting in higher energy efficiency and quieter operation.
In terms of energy efficiency, the LRSC 26980TT is designed to adhere to strict ENERGY STAR guidelines, consuming less energy without compromising performance. This not only contributes to lower utility bills but also supports environmentally friendly practices.
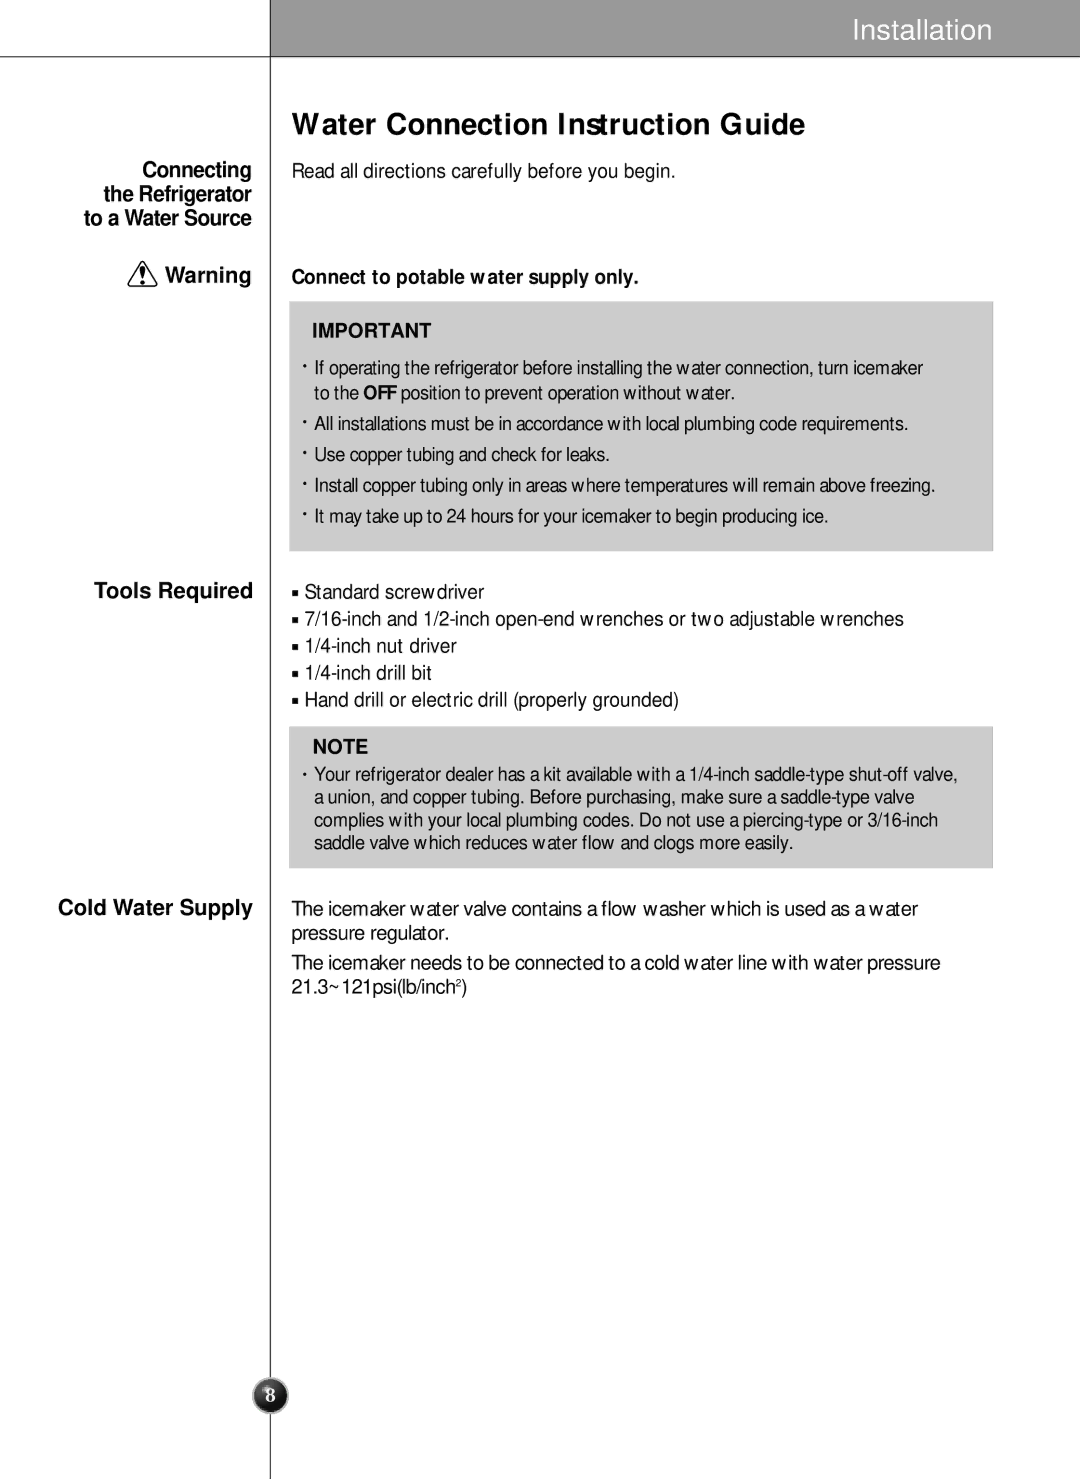
The unit is equipped with advanced filtration technology, featuring a water and ice dispenser that provides clean and crisp water along with freshly made ice. The filtration system ensures that the water is free of impurities, providing peace of mind to users while enhancing the overall experience.
Additionally, the LG Smart Diagnosis feature allows users to troubleshoot issues quickly through a smartphone app. This technology connects with the refrigerator to identify problems, reducing downtime and ensuring efficient service.
Overall, the LG Electronics LRSC 26980TT exemplifies a fusion of sophisticated design and cutting-edge technology, making it a valuable addition to any kitchen. Its features, including spacious storage, energy efficiency, advanced cooling, and smart technology, make it a standout choice for families looking for reliability and style in their home appliances.