User Menus
Adjusting the OSD (On-Screen Display)
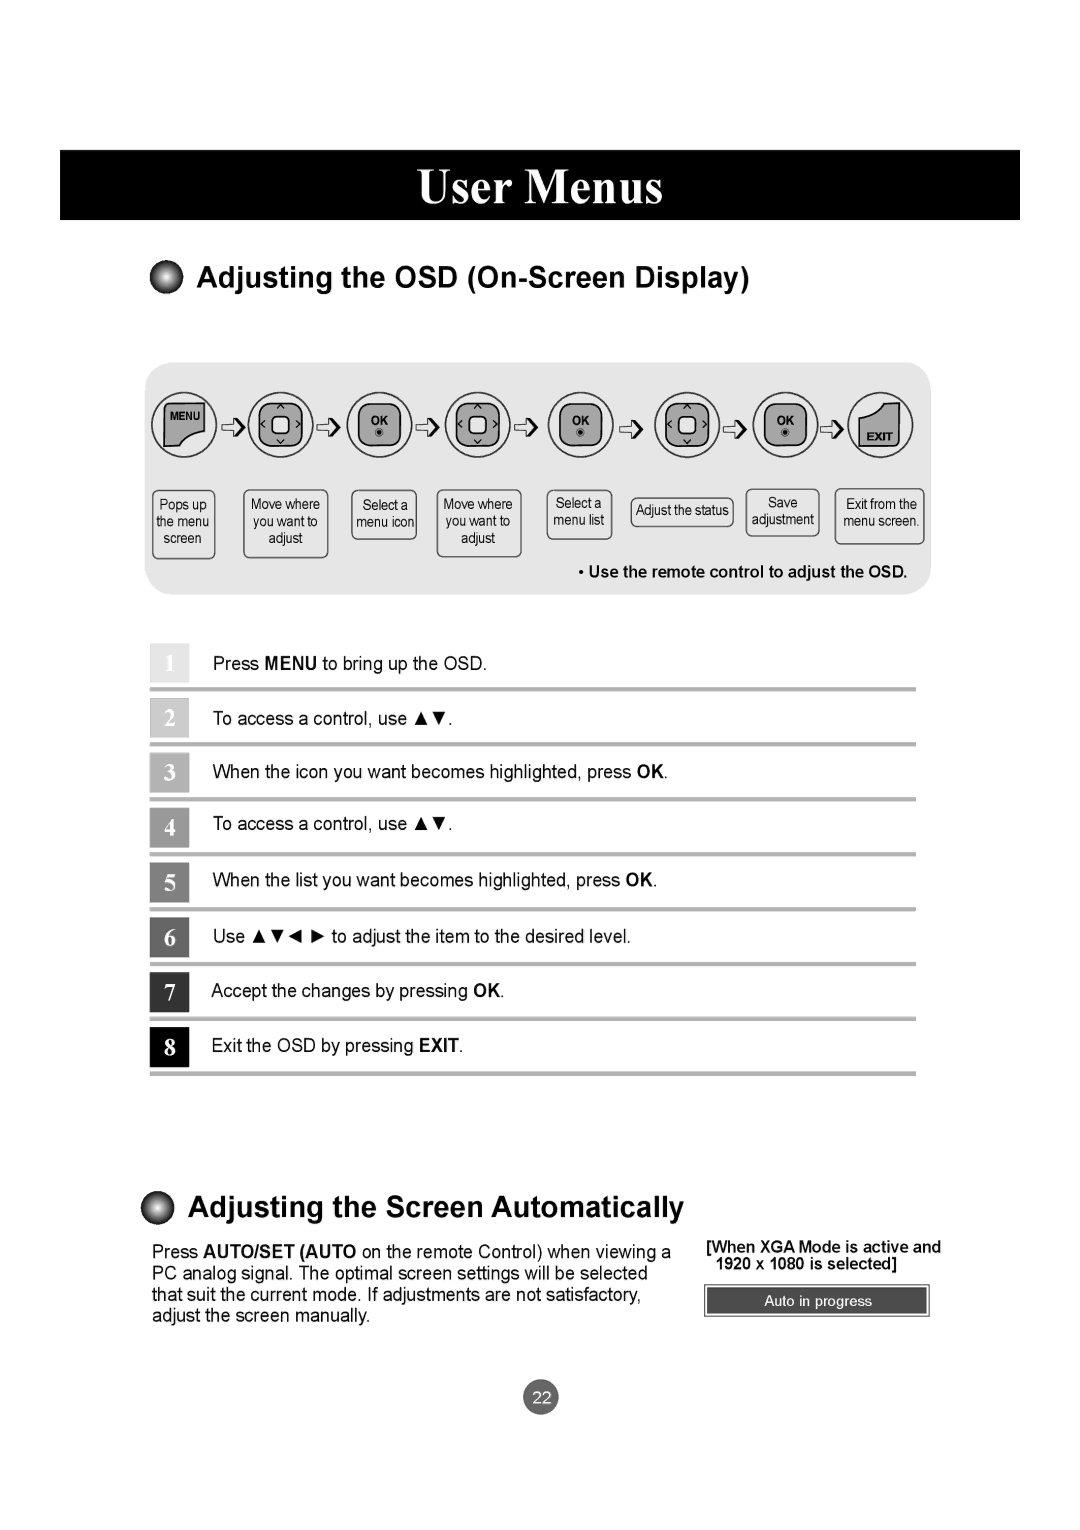
MENU ➩ ➩
➩ ➩
➩ ➩
➩  ➩
➩  ➩
➩ ➩
➩
Pops up | Move where | Select a | Move where | Select a | Adjust the status | Save | Exit from the | |
the menu | you want to | menu icon | you want to | menu list | adjustment | menu screen. | ||
| ||||||||
screen | adjust |
| adjust |
|
|
|
|
• Use the remote control to adjust the OSD.
1Press MENU to bring up the OSD.
2To access a control, use ▲▼.
3When the icon you want becomes highlighted, press OK.
4To access a control, use ▲▼.
5When the list you want becomes highlighted, press OK.
6Use ▲▼◄ ► to adjust the item to the desired level.
7Accept the changes by pressing OK.
8Exit the OSD by pressing EXIT.
Adjusting the Screen Automatically
Press AUTO/SET (AUTO on the remote Control) when viewing a PC analog signal. The optimal screen settings will be selected that suit the current mode. If adjustments are not satisfactory, adjust the screen manually.
[When XGA Mode is active and 1920 x 1080 is selected]
Auto in progress
22