12Installation
3 Installation
Connecting the speakers
3Attaching the speakers to the unit
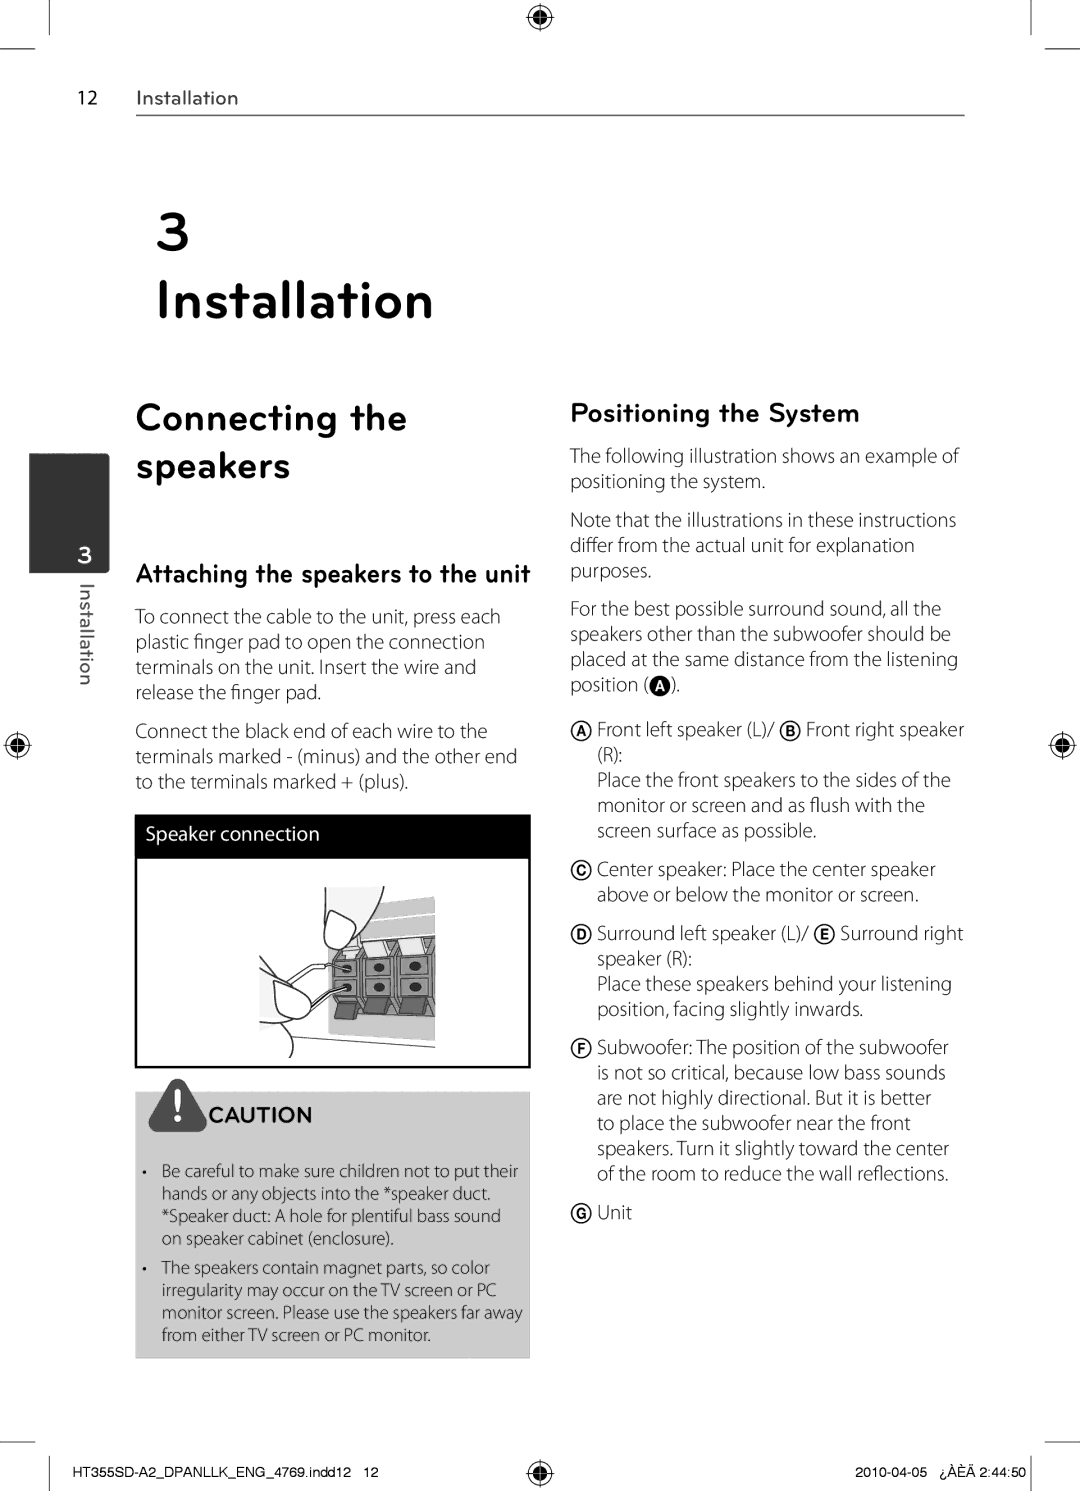
Installation | To connect the cable to the unit, press each |
| |
| plastic finger pad to open the connection |
| terminals on the unit. Insert the wire and |
| release the finger pad. |
| Connect the black end of each wire to the |
| terminals marked - (minus) and the other end |
| to the terminals marked + (plus). |
|
|
| Speaker connection |
|
|
|
|
![]() CAUTION
CAUTION
•Be careful to make sure children not to put their hands or any objects into the *speaker duct. *Speaker duct: A hole for plentiful bass sound on speaker cabinet (enclosure).
•The speakers contain magnet parts, so color irregularity may occur on the TV screen or PC monitor screen. Please use the speakers far away from either TV screen or PC monitor.
Positioning the System
The following illustration shows an example of positioning the system.
Note that the illustrations in these instructions differ from the actual unit for explanation purposes.
For the best possible surround sound, all the speakers other than the subwoofer should be placed at the same distance from the listening position (A).
AFront left speaker (L)/ B Front right speaker (R):
Place the front speakers to the sides of the monitor or screen and as flush with the screen surface as possible.
CCenter speaker: Place the center speaker above or below the monitor or screen.
DSurround left speaker (L)/ E Surround right speaker (R):
Place these speakers behind your listening position, facing slightly inwards.
FSubwoofer: The position of the subwoofer is not so critical, because low bass sounds are not highly directional. But it is better to place the subwoofer near the front speakers. Turn it slightly toward the center of the room to reduce the wall reflections.
GUnit
![]()