HDMI Connection
About HDMI
HDMI (High Definition Multimedia Interface) supports both video and audio on a single digital connection for an easy all- digital output to an HDMI or
Connection to an HDMI TV requires an HDMI cable while connection to a
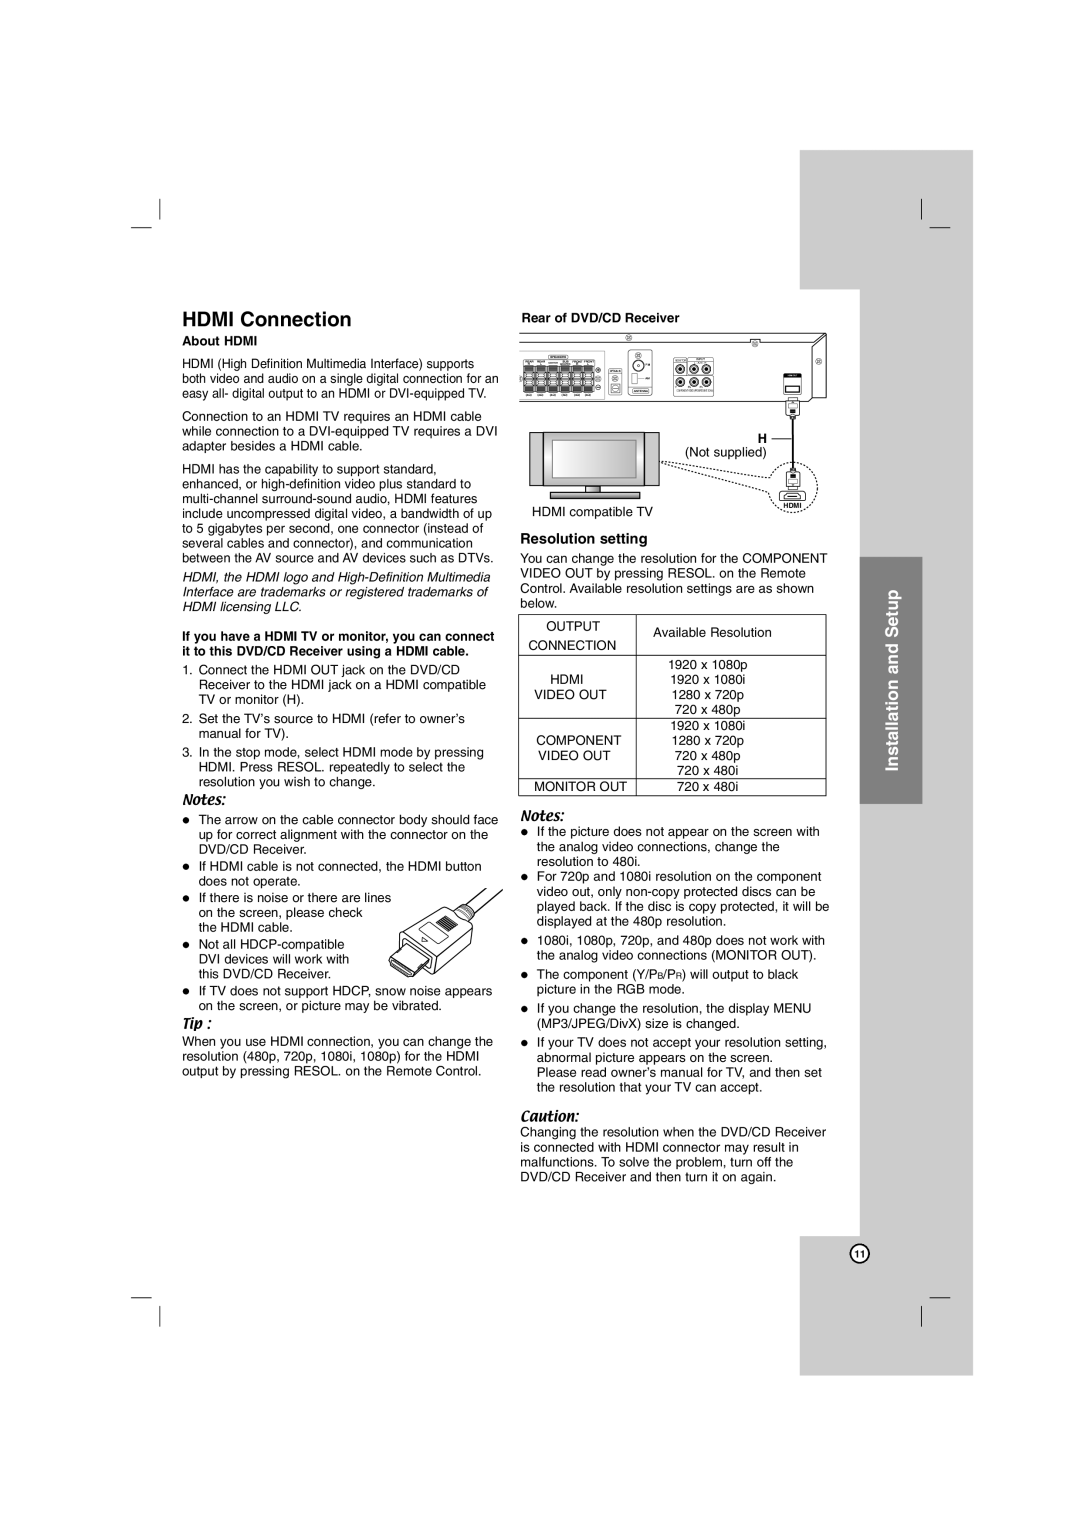
Rear of DVD/CD Receiver
MONITOR | INPUT | |
|
| L - AUX - R |
|
| HDMI OUT |
Y | PB | PR |
| COMPONENT VIDEO (PROGRESSIVE SCAN) | |
H (Not supplied)
HDMI has the capability to support standard, enhanced, or
HDMI compatible TV
Resolution setting
HDMI
between the AV source and AV devices such as DTVs.
HDMI, the HDMI logo and
If you have a HDMI TV or monitor, you can connect it to this DVD/CD Receiver using a HDMI cable.
1.Connect the HDMI OUT jack on the DVD/CD Receiver to the HDMI jack on a HDMI compatible TV or monitor (H).
2.Set the TV’s source to HDMI (refer to owner’s manual for TV).
3.In the stop mode, select HDMI mode by pressing HDMI. Press RESOL. repeatedly to select the resolution you wish to change.
Notes:
The arrow on the cable connector body should face up for correct alignment with the connector on the DVD/CD Receiver.
If HDMI cable is not connected, the HDMI button does not operate.
If there is noise or there are lines
on the screen, please check the HDMI cable.
Not all
If TV does not support HDCP, snow noise appears on the screen, or picture may be vibrated.
Tip :
When you use HDMI connection, you can change the resolution (480p, 720p, 1080i, 1080p) for the HDMI output by pressing RESOL. on the Remote Control.
You can change the resolution for the COMPONENT VIDEO OUT by pressing RESOL. on the Remote Control. Available resolution settings are as shown below.
OUTPUT | Available Resolution | |
CONNECTION | ||
| ||
|
| |
| 1920 x 1080p | |
HDMI | 1920 x 1080i | |
VIDEO OUT | 1280 x 720p | |
| 720 x 480p | |
| 1920 x 1080i | |
COMPONENT | 1280 x 720p | |
VIDEO OUT | 720 x 480p | |
| 720 x 480i | |
MONITOR OUT | 720 x 480i |
Notes:
If the picture does not appear on the screen with the analog video connections, change the resolution to 480i.
For 720p and 1080i resolution on the component video out, only
1080i, 1080p, 720p, and 480p does not work with the analog video connections (MONITOR OUT).
The component (Y/PB/PR) will output to black picture in the RGB mode.
If you change the resolution, the display MENU (MP3/JPEG/DivX) size is changed.
If your TV does not accept your resolution setting, abnormal picture appears on the screen.
Please read owner’s manual for TV, and then set the resolution that your TV can accept.
Caution:
Changing the resolution when the DVD/CD Receiver is connected with HDMI connector may result in malfunctions. To solve the problem, turn off the DVD/CD Receiver and then turn it on again.
Installation and Setup
11