12Connecting
2
Connecting
Setting up
Pairing wireless subwoofer
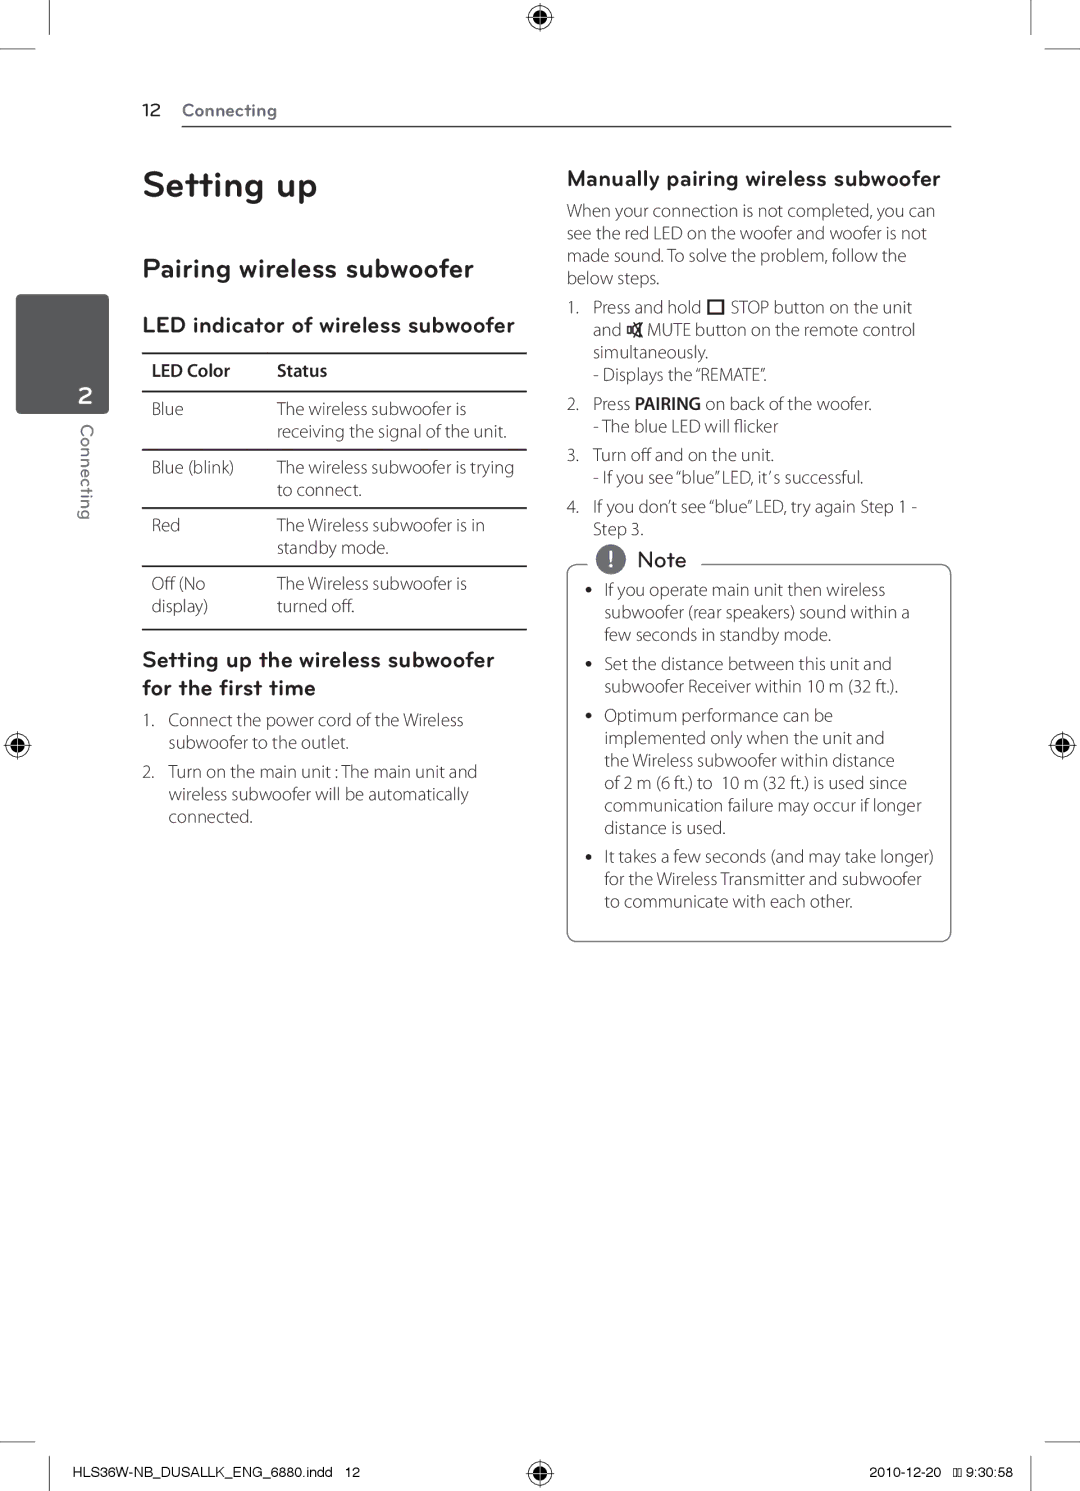
LED indicator of wireless subwoofer
LED Color | Status |
|
|
Blue | The wireless subwoofer is |
| receiving the signal of the unit. |
|
|
Blue (blink) | The wireless subwoofer is trying |
| to connect. |
|
|
Red | The Wireless subwoofer is in |
| standby mode. |
|
|
Off (No | The Wireless subwoofer is |
display) | turned off. |
Setting up the wireless subwoofer for the first time
1.Connect the power cord of the Wireless subwoofer to the outlet.
2.Turn on the main unit : The main unit and wireless subwoofer will be automatically connected.
Manually pairing wireless subwoofer
When your connection is not completed, you can see the red LED on the woofer and woofer is not made sound. To solve the problem, follow the below steps.
1.Press and hold ISTOP button on the unit and ![]() MUTE button on the remote control simultaneously.
MUTE button on the remote control simultaneously.
-Displays the “REMATE”.
2.Press PAIRING on back of the woofer.
-The blue LED will flicker
3.Turn off and on the unit.
-If you see “blue” LED, it’ s successful.
4.If you don’t see “blue” LED, try again Step 1 - Step 3.
,,Note
yy If you operate main unit then wireless subwoofer (rear speakers) sound within a few seconds in standby mode.
yy Set the distance between this unit and subwoofer Receiver within 10 m (32 ft.).
yy Optimum performance can be implemented only when the unit and the Wireless subwoofer within distance of 2 m (6 ft.) to 10 m (32 ft.) is used since communication failure may occur if longer distance is used.
yy It takes a few seconds (and may take longer) for the Wireless Transmitter and subwoofer to communicate with each other.
![]()
![]() 9:30:58
9:30:58
