2.0INSTALLATION
The Liebert XDA can be attached to most equipment cabinet doors 60" tall or taller. The unit typically is installed on the outside of a cabi- net’s rear door, generally used to discharge heat generated from the cabinet.
If aisle space is insufficient for exterior mounting, and space is avail- able inside the cabinet, the XDA may be installed on the inside of the door.
2.1Equipment Inspection
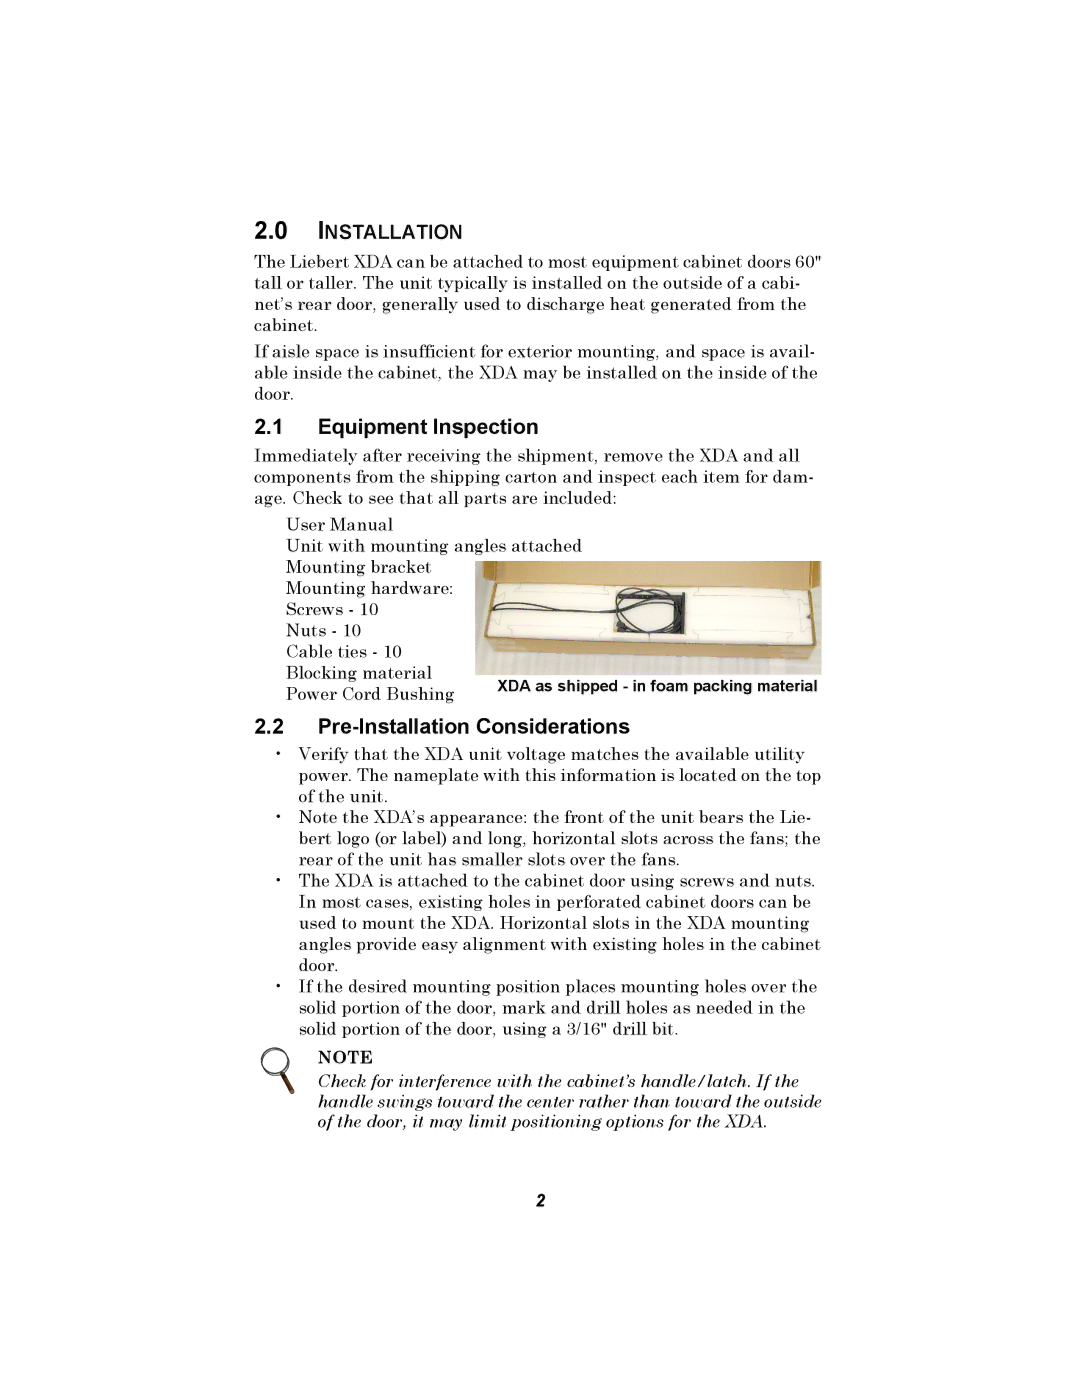
Immediately after receiving the shipment, remove the XDA and all components from the shipping carton and inspect each item for dam- age. Check to see that all parts are included:
User Manual
Unit with mounting angles attached Mounting bracket
Mounting hardware: Screws - 10
Nuts - 10 Cable ties - 10 Blocking material Power Cord Bushing
2.2Pre-Installation Considerations
•Verify that the XDA unit voltage matches the available utility power. The nameplate with this information is located on the top of the unit.
•Note the XDA’s appearance: the front of the unit bears the Lie- bert logo (or label) and long, horizontal slots across the fans; the rear of the unit has smaller slots over the fans.
•The XDA is attached to the cabinet door using screws and nuts. In most cases, existing holes in perforated cabinet doors can be used to mount the XDA. Horizontal slots in the XDA mounting angles provide easy alignment with existing holes in the cabinet door.
•If the desired mounting position places mounting holes over the solid portion of the door, mark and drill holes as needed in the solid portion of the door, using a 3/16" drill bit.
NOTE
Check for interference with the cabinet’s handle/latch. If the handle swings toward the center rather than toward the outside of the door, it may limit positioning options for the XDA.
2