Life Fitness Model 9500HRT(Rev 1 & 2) & 9500HR Treadmill
How To... INSTALL THE LIFELINK UPGRADE KIT
TOOLS REQUIRED: Standard Screwdriver, Phillips Screwdriver, Hex Key Wrench Set, Pliers, Wire Cutters,
WARNING: FAILURE TO OBSERVE SAFETY PROCEDURES WHEN SERVICING THIS UNIT
COULD RESULT IN INJURY FROM ELECTRICAL SHOCK
(9500HR ONLY) STEP 1:
Enter into the service menu by pressing
STEP 2:
Turn the power off at the ON/OFF switch and unplug the unit at the wall outlet.
STEP 3:
Ground yourself by positioning an
(9500HRT REV 2 ONLY) STEP 3:
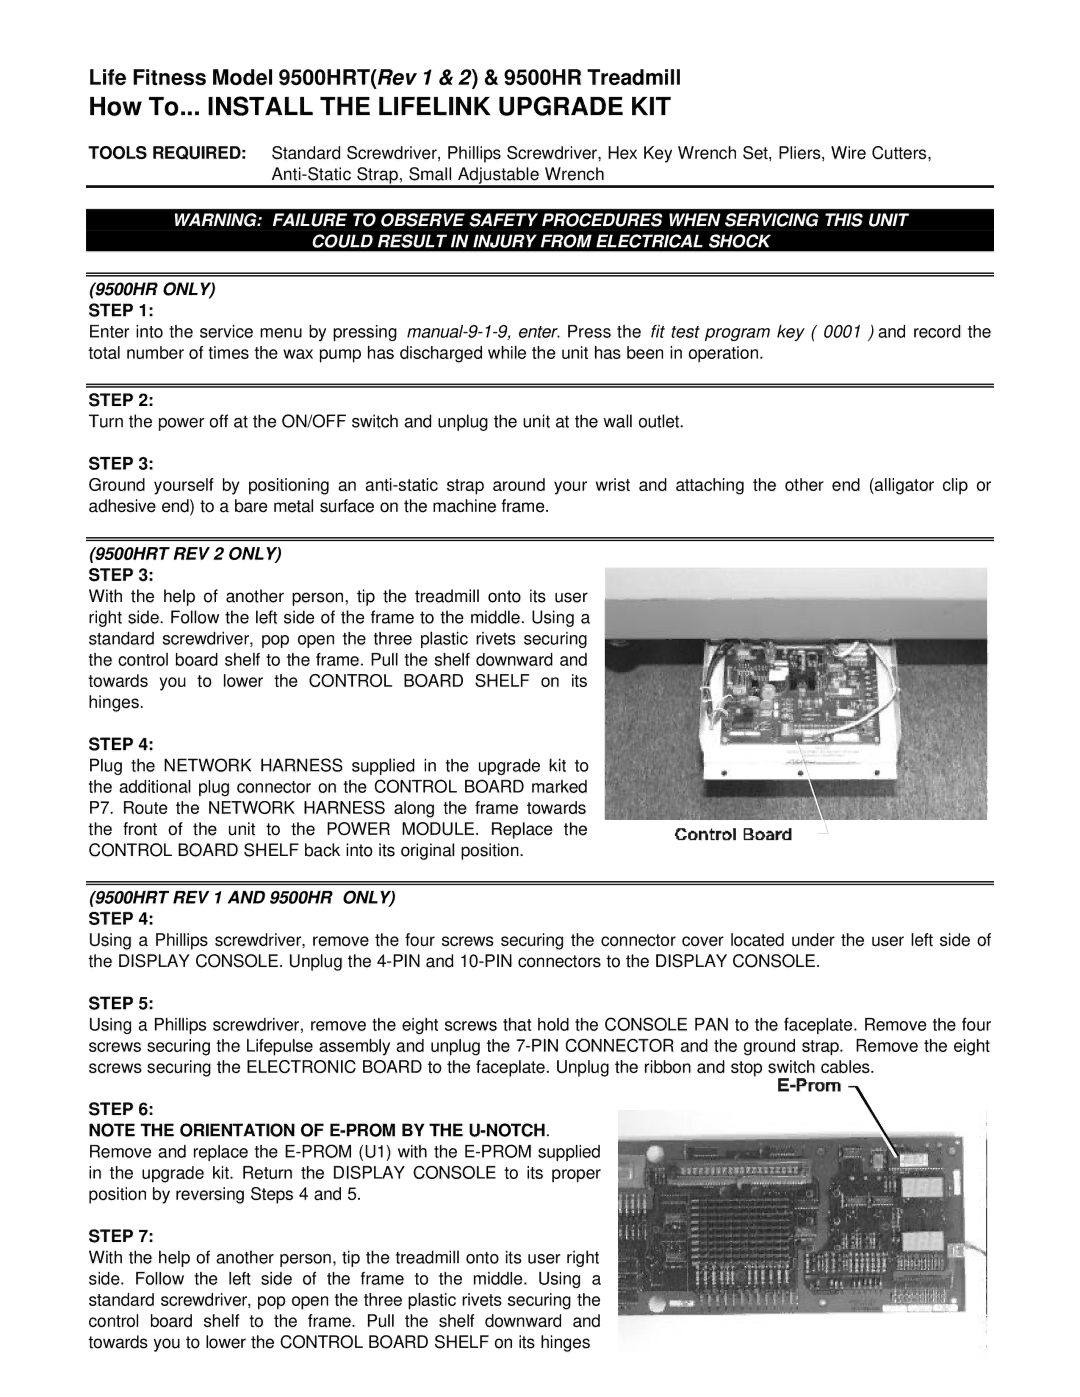
With the help of another person, tip the treadmill onto its user right side. Follow the left side of the frame to the middle. Using a standard screwdriver, pop open the three plastic rivets securing the control board shelf to the frame. Pull the shelf downward and towards you to lower the CONTROL BOARD SHELF on its hinges.
STEP 4:
Plug the NETWORK HARNESS supplied in the upgrade kit to the additional plug connector on the CONTROL BOARD marked P7. Route the NETWORK HARNESS along the frame towards the front of the unit to the POWER MODULE. Replace the CONTROL BOARD SHELF back into its original position.
(9500HRT REV 1 AND 9500HR ONLY) STEP 4:
Using a Phillips screwdriver, remove the four screws securing the connector cover located under the user left side of the DISPLAY CONSOLE. Unplug the
STEP 5:
Using a Phillips screwdriver, remove the eight screws that hold the CONSOLE PAN to the faceplate. Remove the four screws securing the Lifepulse assembly and unplug the
STEP 6:
NOTE THE ORIENTATION OF
STEP 7:
With the help of another person, tip the treadmill onto its user right side. Follow the left side of the frame to the middle. Using a standard screwdriver, pop open the three plastic rivets securing the control board shelf to the frame. Pull the shelf downward and towards you to lower the CONTROL BOARD SHELF on its hinges
