Lifecycle 9100 specifications
The Life Fitness Lifecycle 9100 is a premier exercise bike designed to provide an unparalleled fitness experience, making it an ideal choice for both home users and commercial fitness facilities. Known for its durability, functionality, and advanced features, the Lifecycle 9100 stands out in the crowded market of exercise equipment.One of the main features of the Lifecycle 9100 is its exceptional ergonomic design. The bike is built with an adjustable seat and handlebars, allowing users to find their perfect riding position for maximum comfort during workouts. This is particularly beneficial for longer sessions, as it helps minimize fatigue and enhances overall performance. The Lifecycle 9100 also incorporates a smooth and quiet magnetic resistance system that provides a range of intensity levels, catering to both beginners and advanced cyclists.
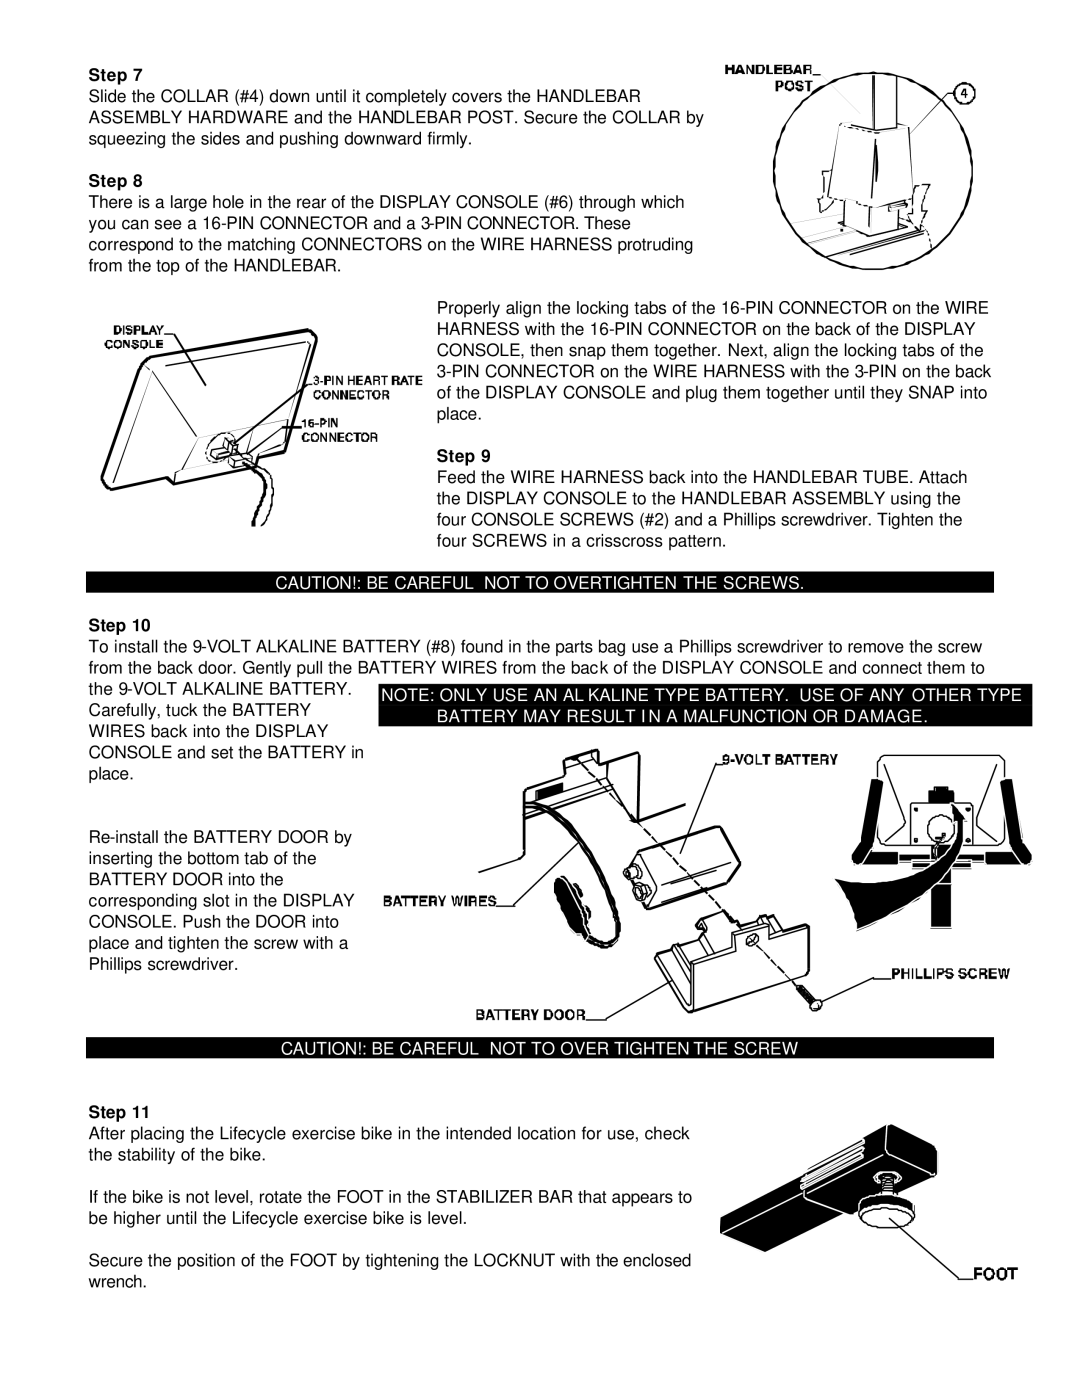
Another hallmark of the Lifecycle 9100 is its user-friendly console, which features a large LCD display that tracks essential workout metrics such as distance, calories burned, time, and heart rate. The console is equipped with various pre-programmed workout options, allowing users to tailor their sessions based on specific fitness goals, whether it’s weight loss, endurance training, or interval workouts.
In terms of technology, the Lifecycle 9100 integrates advanced connectivity features, allowing users to sync their workouts with fitness tracking apps. This compatibility enhances motivation, as users can monitor their progress over time and share achievements with friends or training communities. Additionally, the bike offers heart rate monitoring through built-in sensors, providing real-time feedback to help users maintain their desired intensity levels.
The durability of the Lifecycle 9100 cannot be overlooked. Constructed with high-quality materials, it is designed to withstand the rigors of frequent use in a commercial setting, ensuring longevity and reliability. Its compact footprint makes it suitable for various workout spaces, from home gyms to large fitness centers.
Furthermore, the maintenance of the Lifecycle 9100 is straightforward, with easy accessibility for routine checks and repairs, making it both user-friendly and practical for gym owners.
In conclusion, the Life Fitness Lifecycle 9100 marries innovative technology with user-centered design. Its combination of comfort, advanced performance tracking, and durability makes it a leading choice for those serious about improving their fitness through cycling. Whether for personal use or within a professional facility, the Lifecycle 9100 is engineered to help users achieve their fitness goals efficiently and effectively.

