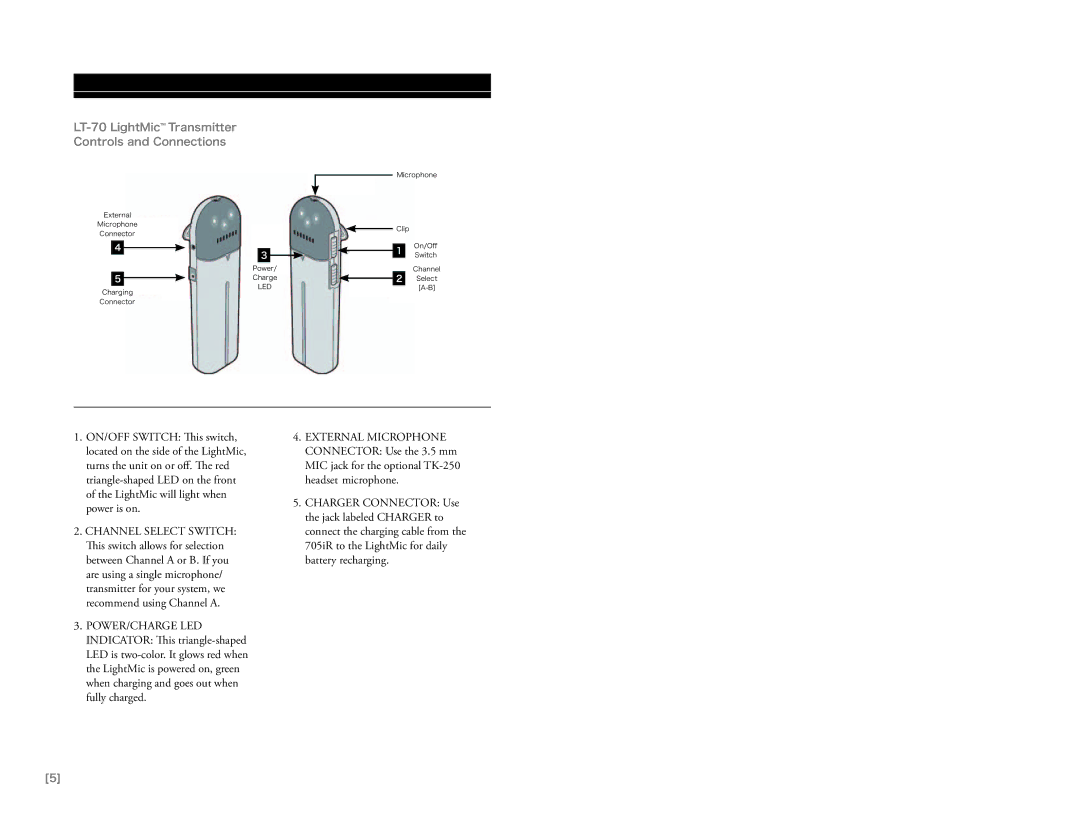
705iR specifications
LightSpeed Technologies has made significant strides in the field of educational audio products, and the LightSpeed 705iR is a prime example of their innovative approach. Designed to enhance listening experiences in classrooms, the 705iR is an interactive sound system that serves a broad range of educational environments, supporting both teachers and students alike.One of the key features of the 705iR is its enhanced audio quality. The system employs powerful amplifiers and high-fidelity speakers that ensure clear, even sound distribution throughout the classroom. This allows every student, irrespective of where they are seated, to hear the teacher with clarity. The high-quality audio not only assists in reducing the strain on teachers' voices but also improves overall classroom engagement.
The 705iR integrates advanced wireless technology, enabling seamless connectivity without the clutter of cables. This feature fosters an unencumbered classroom environment, allowing teachers to move freely while maintaining audio integrity. The system is compatible with various devices, facilitating the use of multimedia resources in teaching, which is increasingly essential in modern education.
Another characteristic that stands out is the system's versatility. The LightSpeed 705iR can cater to different classroom setups, including traditional classrooms, special education environments, and even outdoor settings. The flexibility of the system allows educators to adapt it to their specific teaching needs, making it a valuable tool for diverse learning situations.
Furthermore, the 705iR comes with multiple input options such as Bluetooth, USB, and direct microphone inputs. This multi-channel capability fosters dynamic teaching, allowing educators to incorporate various audio sources into their lessons. Additionally, it supports enhanced collaboration, enabling group projects and presentations to be integrated effortlessly into the curriculum.
In terms of design, the 705iR is user-friendly and intuitive, ensuring that educators can operate it with minimal training. The controls are straightforward, which minimizes distractions and allows teachers to focus on teaching rather than technical issues.
Overall, the LightSpeed Technologies 705iR stands as a robust solution for modern classrooms. With its superior audio quality, wireless capabilities, versatile design, and user-friendly features, the 705iR effectively enhances the teaching and learning experience, promoting better communication and engagement within educational settings. This makes it an excellent investment for schools striving to provide the best learning environment possible.

