D-2

MAINTENANCE

D-2

CAUTION

Excessive pressure at the start may cause the dirt to form a plug.

Flex the cable over its entire length and again blow out the cable. Repeat this procedure until no further dirt comes out. If this has been done and feed prob- lems are experienced, try liner replacement, and refer to trouble shooting section on rough wire feeding.

LINER REMOVAL AND REPLACE- MENT

NOTE: Changing the liner for a different wire size requires replacement of the gas diffuser per Table D.1 to properly secure the different liner.

TABLE D.1

4.Insert a new untrimmed liner into the connector end of the cable. Be sure the liner bushing is sten- cilled appropriately for the wire size bing used.

5.Fully seat the liner bushing into the connector. tighten the set screw on the brass cable connector. the gas diffuser, at this time, should not be installed onto the end of the gun tube.

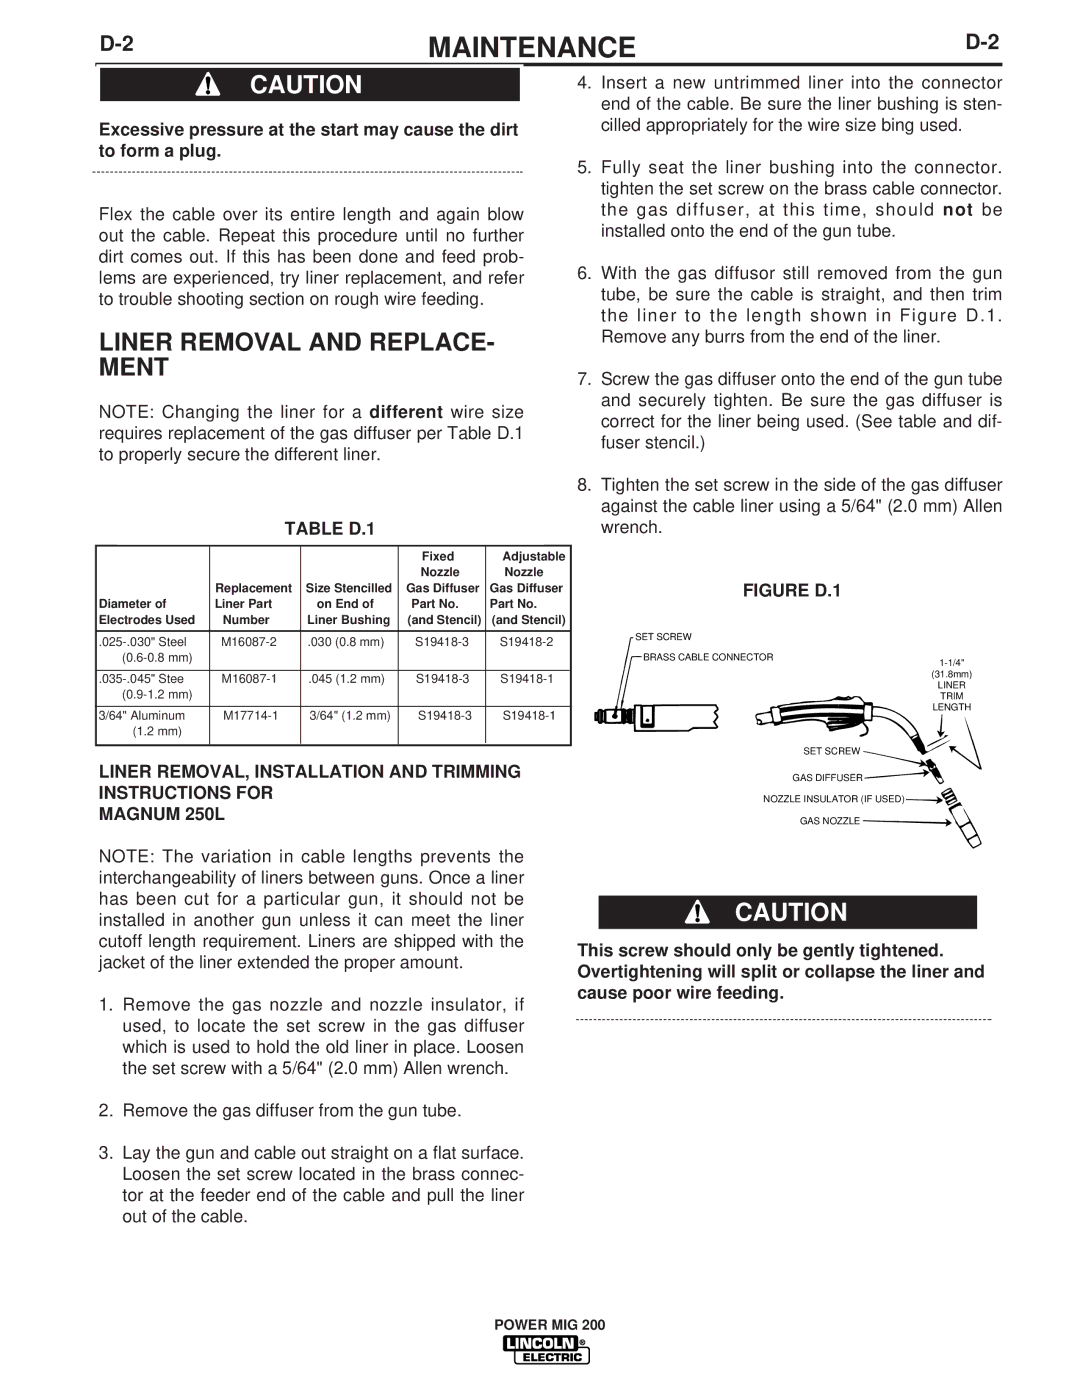
6.With the gas diffusor still removed from the gun tube, be sure the cable is straight, and then trim the liner to the length shown in Figure D.1. Remove any burrs from the end of the liner.

7.Screw the gas diffuser onto the end of the gun tube and securely tighten. Be sure the gas diffuser is correct for the liner being used. (See table and dif- fuser stencil.)

8.Tighten the set screw in the side of the gas diffuser against the cable liner using a 5/64" (2.0 mm) Allen wrench.


Fixed

Adjustable


Nozzle

Nozzle


Replacement

Size Stencilled

Gas Diffuser

Gas Diffuser

Diameter of

Liner Part

on End of

Part No.

Part No.

Electrodes Used

Number

Liner Bushing

(and Stencil)

(and Stencil)


.025-.030" Steel

M16087-2

.030 (0.8 mm)

S19418-3

S19418-2

(0.6-0.8 mm)


.035-.045" Stee

M16087-1

.045 (1.2 mm)

S19418-3

S19418-1

(0.9-1.2 mm)


3/64" Aluminum

M17714-1

3/64" (1.2 mm)

S19418-3

S19418-1

(1.2 mm)


LINER REMOVAL, INSTALLATION AND TRIMMING INSTRUCTIONS FOR

MAGNUM 250L

NOTE: The variation in cable lengths prevents the interchangeability of liners between guns. Once a liner has been cut for a particular gun, it should not be installed in another gun unless it can meet the liner cutoff length requirement. Liners are shipped with the jacket of the liner extended the proper amount.

1.Remove the gas nozzle and nozzle insulator, if used, to locate the set screw in the gas diffuser which is used to hold the old liner in place. Loosen the set screw with a 5/64" (2.0 mm) Allen wrench.

2.Remove the gas diffuser from the gun tube.

3.Lay the gun and cable out straight on a flat surface. Loosen the set screw located in the brass connec- tor at the feeder end of the cable and pull the liner out of the cable.

FIGURE D.1

SET SCREW

BRASS CABLE CONNECTOR

1-1/4"

(31.8mm)

LINER TRIM

LENGTH

SET SCREW

GAS DIFFUSER

NOZZLE INSULATOR (IF USED)

GAS NOZZLE

CAUTION

This screw should only be gently tightened. Overtightening will split or collapse the liner and cause poor wire feeding.

POWER MIG 200

Page 21
Image 21
Lincoln Electric IM693 manual Liner Removal and REPLACE- Ment, Table D.1

IM693 specifications

Lincoln Electric IM693 is a cutting-edge multiprocess welding machine designed to cater to the needs of both industrial and commercial applications. Renowned for its versatility, this machine can perform MIG, TIG, and stick welding, making it an ideal choice for fabricators and manufacturers looking for a single solution for varied welding processes.

One of the standout features of the IM693 is its advanced inverter technology. This technology significantly enhances the efficiency of the welding process by reducing energy consumption while maximizing output. The inverter design allows for a more compact and lightweight unit compared to traditional transformers, making it easier to transport and maneuver in work environments.

The machine’s user-friendly interface is another compelling characteristic. It is equipped with a large, intuitive digital display that allows operators to quickly adjust settings for specific applications. The system is designed to provide real-time feedback on welding parameters, ensuring consistent and high-quality welds. This feature is particularly beneficial for both novice and experienced welders, facilitating a smoother workflow.

Additionally, Lincoln Electric IM693 incorporates advanced arc control technologies such as Soft Start and Auto Set features. Soft Start allows for a gradual ramp-up of the welding current, which minimizes spatter and leads to cleaner welds. The Auto Set feature intelligently adjusts the welder's settings based on the material type and thickness, taking the guesswork out of the welding process and improving overall efficiency.

The IM693 supports a wide range of input voltages, allowing for operation in various regions without the need for additional equipment. This flexibility makes it suitable for numerous applications, ranging from automotive repair to heavy machinery fabrication.

Safety is paramount in industrial settings, and the Lincoln Electric IM693 does not compromise on this front. It is equipped with several safety features such as thermal overload protection, which prevents machine damage from overheating, and a sturdy casing that protects vital components from dust and debris.

In summary, Lincoln Electric IM693 is a robust, versatile, and technologically advanced welding machine that meets the demands of modern welding applications. Its combination of inverter technology, user-friendly features, and safety measures makes it an excellent choice for professionals looking to achieve high-quality results with maximum efficiency.