Manuale d’uso

Italiano

Collegare dispositivi VGA e DVI

N.B.: per collegare dispositivi VGA analogici, il monitor deve avere un ingresso VGA 15 poli o un ingresso DVI-I (Analogico e digitale) .

Se si collegano dispositivi con conettore VGA, è necessario un cavo DVI-I e un adattatore VGA per consentire la connessione dal dispositivo e dal monitor allo Switch DVI Remoto. I cavi DVI- D non supportano segnali analogici.

Esempio:

1.Per collegare un PC con una porta VGA all’ingresso DVI IN sullo Switch DVI Remoto, occorre:

￿Un adattatore da DVI Analogico a VGA (LINDY No. 41222) e un

Cavo S-VGA 15 pin Maschio/Maschio

2.Per collegare lo Switch DVI Remoto a un monitor, per abilitare il supporto VGA, occorre:

￿Un cavo DVI-I

￿O un cavo divisore da DVI-I a DVI-D + VGA (LINDY No. 41219), se collegato a un monitor con un ingresso VGA aggiuntivo.

3.Collegare il cavo DVI-I dalla porta DVI OUT dello Switch DVI Remoto al connettore DVI-I femmina del cavo divisore.

4.Inserire il cavo divisore DVI-I nelle porte VGA e/o DVI del monitor.

N.B.: Se si collegano dispositivi sia VGA che DVI allo Switch DVI Remoto, Vi consigliamo di usare un monitor che abbia la funzione auto switching tra segnali digitali e analogici. Se il Vostro monitor non supportasse questa funzione, dovrete selezionare manualmente il segnale ogni volta che si commuta tra un dispositivo DVI e uno VGA.

Manuale d’uso

Italiano

Risoluzione dei problemi

Lo Switch DVI Remoto non risponde ai comandi del telecomando.

￿Rimuovere la linguetta in plastica con scritto ‘Remove this tab’ , se non fosse stata ancora rimossa.

￿Assicurarsi che non ci siano ostacoli che possano bloccare il segnale a infrarossi tra il telecomando e lo Switch DVI Remoto.

￿Provare a commutare schiacciando il tasto sullo switch. Se non dovesse funzionare, scollegare e ricollegare tutte le connessioni già effettuate come descritto nel paragrafo Installazione manuali questo manuale.

￿Tenere premuto il tasto del codice IR fino a quando viene visualizzato sul display dello switch.

￿Provare a scollegare e ricollegare tutte le connessioni come descritto nel paragrafo Installazione di questo manuale.

￿Assicurarsi che le batterie del telecomando siano installate correttamente. Cambiare le batterie (CR2025)

Non viene visualizzato niente sul display.

￿Controllare che tutti i dispositivi collegati siano accesi.

￿Assicurarsi che tutti i cavi e connettori siano installati correttamente.

￿Se è collegato un computer, schiacciare un tasto della tastiera o muovere il mouse per disattivare lo standby.

￿Se sono collegati dispositivi DVI/HDMI e VGA e il monitor non supporta la funzione auto- switching tra un segnale analogico e uno digitale, occorre selezionare manualmente il tipo di segnale in entrata sul display.

Un lettore DVD collegato è in pausa ma si riavvia quando viene selezionata la porta dello Switch DVI Remoto

Questo problema è causato da un’incompatibilità trail firmware del lettore DVD e il chipset dello Switch DVI. Provare ad installare il firmware più r ecente per aggiornare il Vostro lettore DVD.

- 20 -

- 21 -

Page 11
Image 11
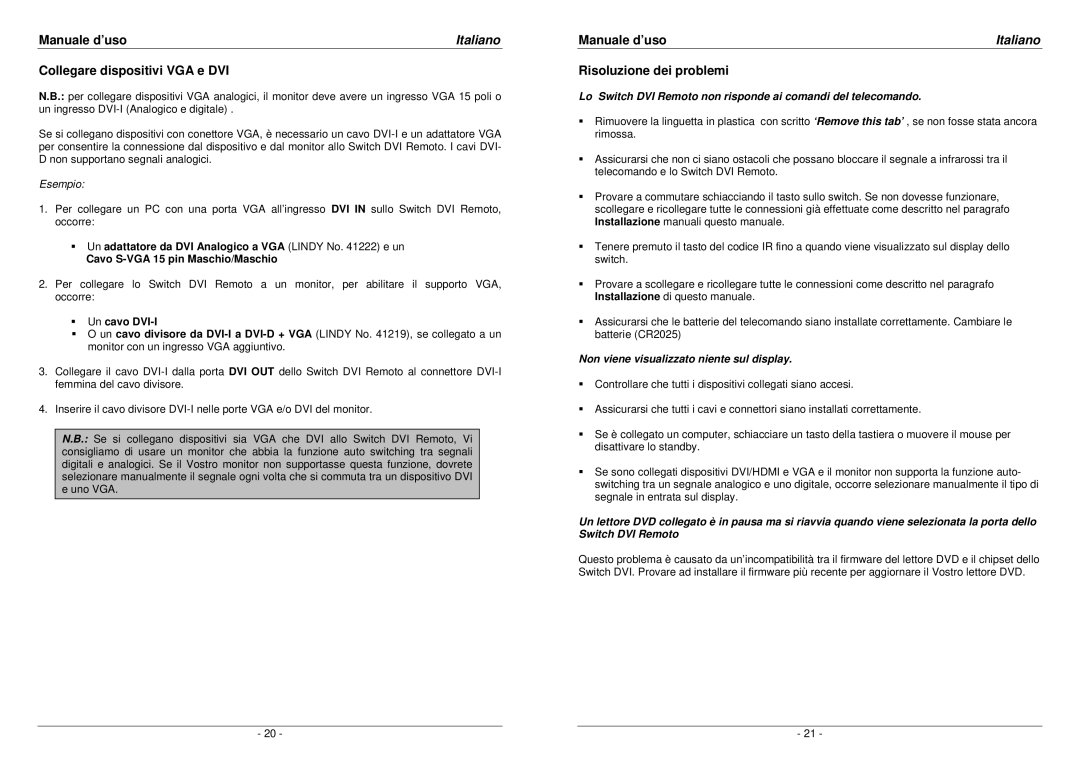
Lindy 32590, 32591 installation manual Collegare dispositivi VGA e DVI, Risoluzione dei problemi, Esempio, Un cavo DVI-I

32591, 32590 specifications

Lindy 32590 and Lindy 32591 are innovative products designed to enhance connectivity and provide flexible solutions for a range of electronic devices. Both models showcase advanced features and technologies that cater to the needs of professional and personal users alike.

The Lindy 32590 is a versatile USB hub that expands connectivity options for devices lacking multiple ports. With a robust design, it includes several USB 3.0 ports, allowing users to connect multiple peripherals simultaneously without sacrificing transfer speeds. The high-speed capabilities of USB 3.0, which can reach data transfer rates of up to 5 Gbps, ensure that large files can be transferred quickly and efficiently. The compact and lightweight design makes it ideal for home or office use, as well as for users on the move.

On the other hand, the Lindy 32591 is an advanced HDMI video splitter, perfect for those needing to duplicate video signals to multiple displays. This device supports high-resolution video formats, including 4K at 60Hz, which provides crystal-clear visuals ideal for presentations, gaming, and multimedia consumption. The ability to connect multiple screens allows for greater collaboration and enhances productivity in both professional and educational settings. The plug-and-play functionality simplifies the setup process, eliminating the need for complicated configurations.

Both models also emphasize durability and reliability. They are constructed with high-quality materials to withstand frequent use, ensuring longevity. In addition, these devices are designed with user-friendly features, such as LED indicators for status monitoring, making them accessible to individuals of all technical backgrounds.

Moreover, Lindy offers compatibility with various operating systems, including Windows, macOS, and Linux, ensuring that users can seamlessly integrate these devices into their existing setups. The focus on versatility and performance firmly positions both the Lindy 32590 and Lindy 32591 as essential tools for anyone looking to expand their connectivity options and enhance their multimedia experiences.

In summary, Lindy 32590 and 32591 represent cutting-edge solutions in their respective categories. With a focus on speed, versatility, and user-friendly design, they are ideally suited for anyone from tech enthusiasts to professionals seeking to maximize their productivity and enjoyment of digital media.