NWR04B specifications
The Linksys NWR04B is a versatile and robust wireless router designed to cater to both home and small office environments. Known for its reliable performance and ease of use, this router is equipped with a range of features that ensure stable connectivity and enhanced productivity.One of the standout characteristics of the NWR04B is its wireless technology. Utilizing the 802.11n standard, it offers fast data transfer rates, significantly reducing latency and buffering issues. The router supports both 2.4GHz and 5GHz frequency bands, allowing users to choose the optimal band for their specific networking needs. The dual-band feature not only enhances the speed of the network but also provides a stable connection, minimizing interference from other devices.
The Linksys NWR04B is designed with security in mind. It integrates advanced security protocols such as WPA2 encryption, ensuring that users' data remains safe from unauthorized access. The built-in firewall adds another layer of protection, safeguarding the internal network from potential threats. This is particularly important in today’s digital landscape, where cybersecurity is a significant concern.
In terms of connectivity, the NWR04B comes with multiple Ethernet ports, enabling wired connections for devices that require a more stable and secure connection than wireless offers. This is ideal for gaming consoles, PCs, and network-attached storage devices. Moreover, the router supports Quality of Service (QoS) settings, allowing users to prioritize bandwidth for specific applications, such as video streaming or online gaming. This ensures a smoother and more reliable experience for high-bandwidth activities.
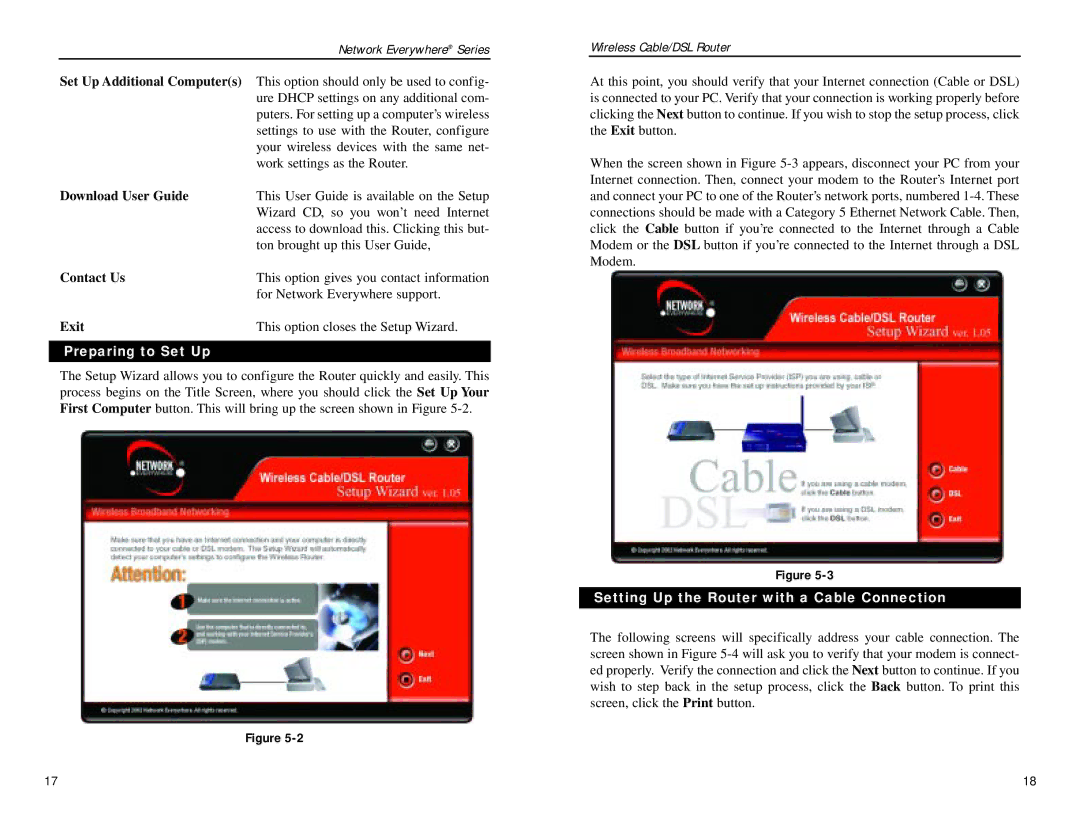
Another notable feature is its easy setup process. The Linksys NWR04B includes an intuitive web-based interface that guides users through the initial configuration without extensive technical knowledge. Additionally, it supports various connectivity options, including DHCP, Static IP, and PPPoE, catering to diverse internet service providers.
Overall, the Linksys NWR04B presents a well-rounded solution for anyone looking to upgrade their home or small office network. With its reliable dual-band performance, robust security features, and user-friendly setup, it stands out as an excellent choice for both tech-savvy users and novices alike. Whether streaming high-definition content, participating in video calls, or engaging in online gaming, the NWR04B delivers a seamless Internet experience, making it a valuable asset in any digital setup.

