
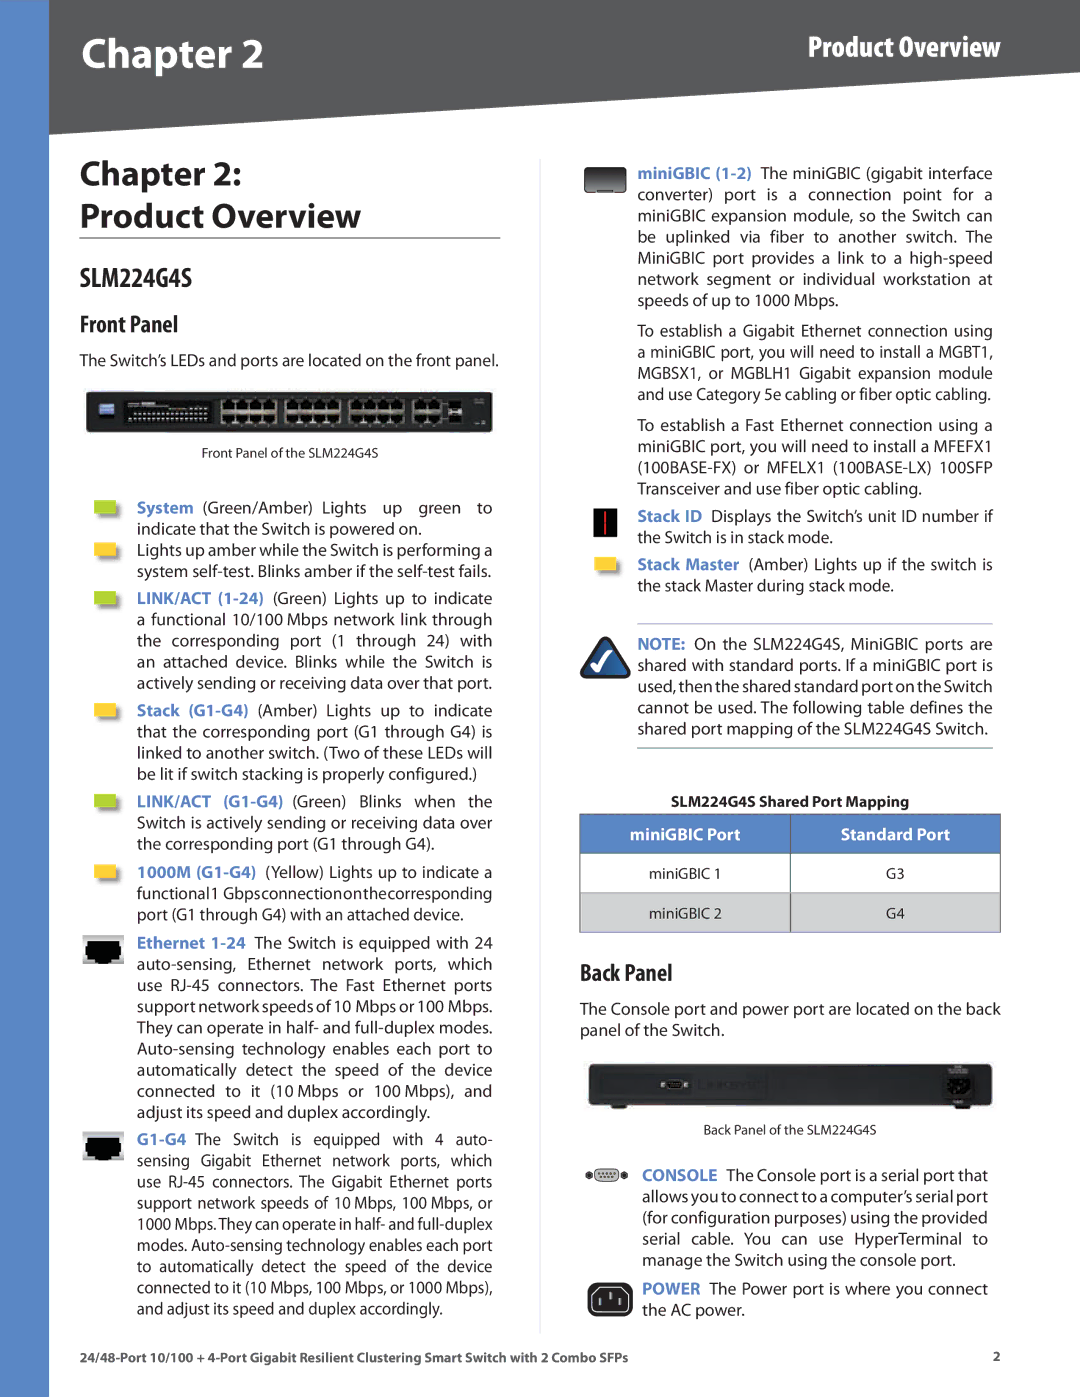
SLM224G4S specifications
The Linksys SLM224G4S is a sophisticated Layer 2 managed switch designed for businesses and institutions that demand high performance, reliability, and advanced networking features. This model stands out due to its blend of robustness and manageability, making it ideal for expanding networks.One of the primary features of the SLM224G4S is its 24 Gigabit Ethernet ports, allowing for high-speed data transfers essential for bandwidth-intensive applications. Supporting auto-negotiation, these ports can detect the capabilities of connected devices and configure themselves accordingly, ensuring optimal performance without manual intervention. With four additional shared Gigabit SFP (Small Form-factor Pluggable) ports, this switch provides flexibility in network design and enhances scalability.
The SLM224G4S supports VLAN (Virtual Local Area Network) capabilities, which can segment network traffic to improve security and performance. This is particularly useful in environments where different departments or teams require distinct network segments for operational efficiency. By implementing VLANs, organizations can enhance their network management while isolating sensitive information from potential threats.
Quality of Service (QoS) is another critical technology integrated into the SLM224G4S. It prioritizes network traffic, ensuring that critical applications receive the bandwidth they need for optimal performance. This is particularly important for VoIP and video conferencing applications, where latency and jitter can significantly impact user experience.
The switch also features advanced Layer 2 management functionalities, including SNMP (Simple Network Management Protocol), allowing IT administrators to monitor network performance and quickly troubleshoot issues. The embedded web-based management interface makes configuration straightforward, enabling quick adjustments to settings without deep networking knowledge.
Security is a paramount consideration in today’s networking landscape. The SLM224G4S provides robust security features, including port security that limits the number of MAC addresses allowed on a port, reducing the risk of unauthorized access. Moreover, it supports802.1X port-based authentication, ensuring that only authenticated devices can connect to the network.
In summary, the Linksys SLM224G4S managed switch boasts features such as 24 Gigabit Ethernet ports, VLAN support, QoS, SNMP management, and advanced security protocols. These characteristics make it an excellent choice for businesses looking to enhance their network's performance, safety, and reliability, paving the way for seamless connectivity in today’s digital age.