WET200 specifications
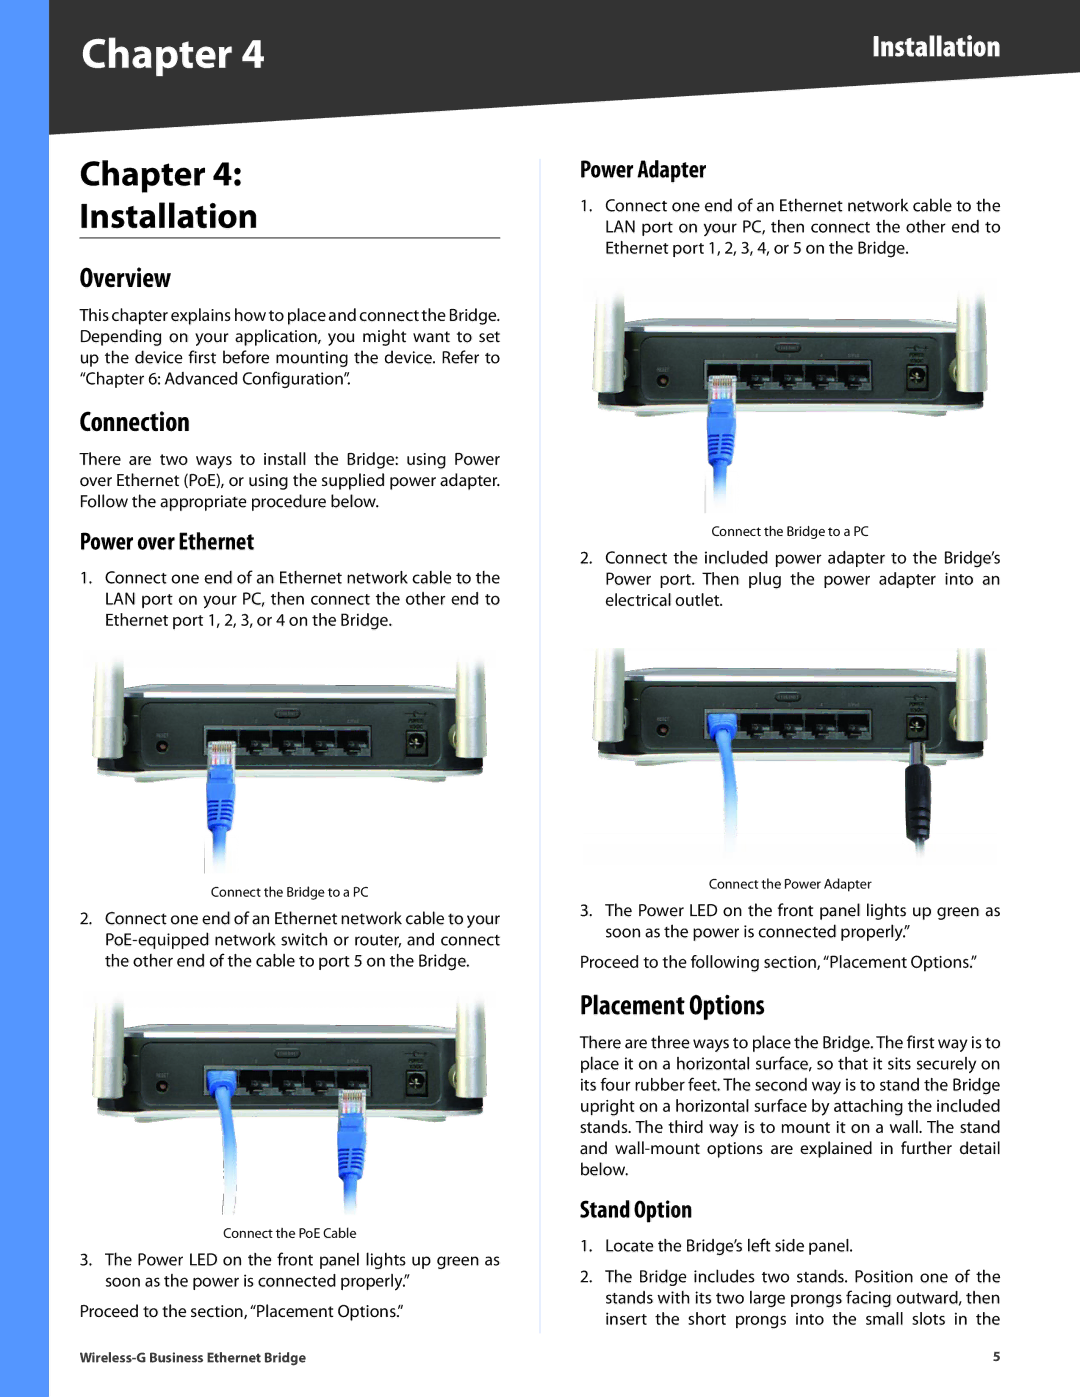
The Linksys WET200 Wireless-G Ethernet Bridge is designed for businesses looking to extend their network capabilities without the hassle of running Ethernet cables throughout their premises. This high-performance device effectively connects wired devices to a wireless network, providing businesses with efficient access to internet resources and network shares.One of the standout features of the WET200 is its dual-functionality. It operates as both an Ethernet bridge and a wireless access point, allowing users to connect multiple wired devices, such as printers, servers, or computers, to a wireless network. This flexibility makes it an excellent choice for environments where network mobility is crucial, such as offices, retail establishments, and warehouses.
Another key characteristic of the Linksys WET200 is its support for Wireless-G technology, offering a maximum wireless speed of up to 54 Mbps. This ensures that data transfer between connected devices is quick and reliable while providing adequate bandwidth for various applications, including file sharing and streaming. The device also adheres to the IEEE 802.11b/g standard, which means it is compatible with a vast number of other wireless devices.
The WET200 features a simple setup process, aided by its web-based configuration interface. This user-friendly interface allows for easy management of networking settings, making it accessible for both novice and experienced users. Security is a significant consideration, and the WET200 includes robust encryption protocols such as WEP, WPA, and WPA2 to protect data transmission over the wireless network.
Moreover, the Ethernet Bridge is equipped with two 10/100 Ethernet ports, enabling connections to multiple wired devices simultaneously. Its compact design allows for easy placement in various locations, and the inclusion of LEDs provides users with real-time feedback on connectivity status.
Overall, the Linksys WET200 Wireless-G Ethernet Bridge stands out with its combination of performance, flexibility, and ease of use, making it an invaluable asset for businesses aiming to expand their wired network capabilities without compromising on performance or security. It's a smart solution for those who need to harness the power of wireless connectivity while ensuring that their critical wired devices remain connected to the network efficiently.

