2 Maintenance

Cleaning water heater heat exchanger

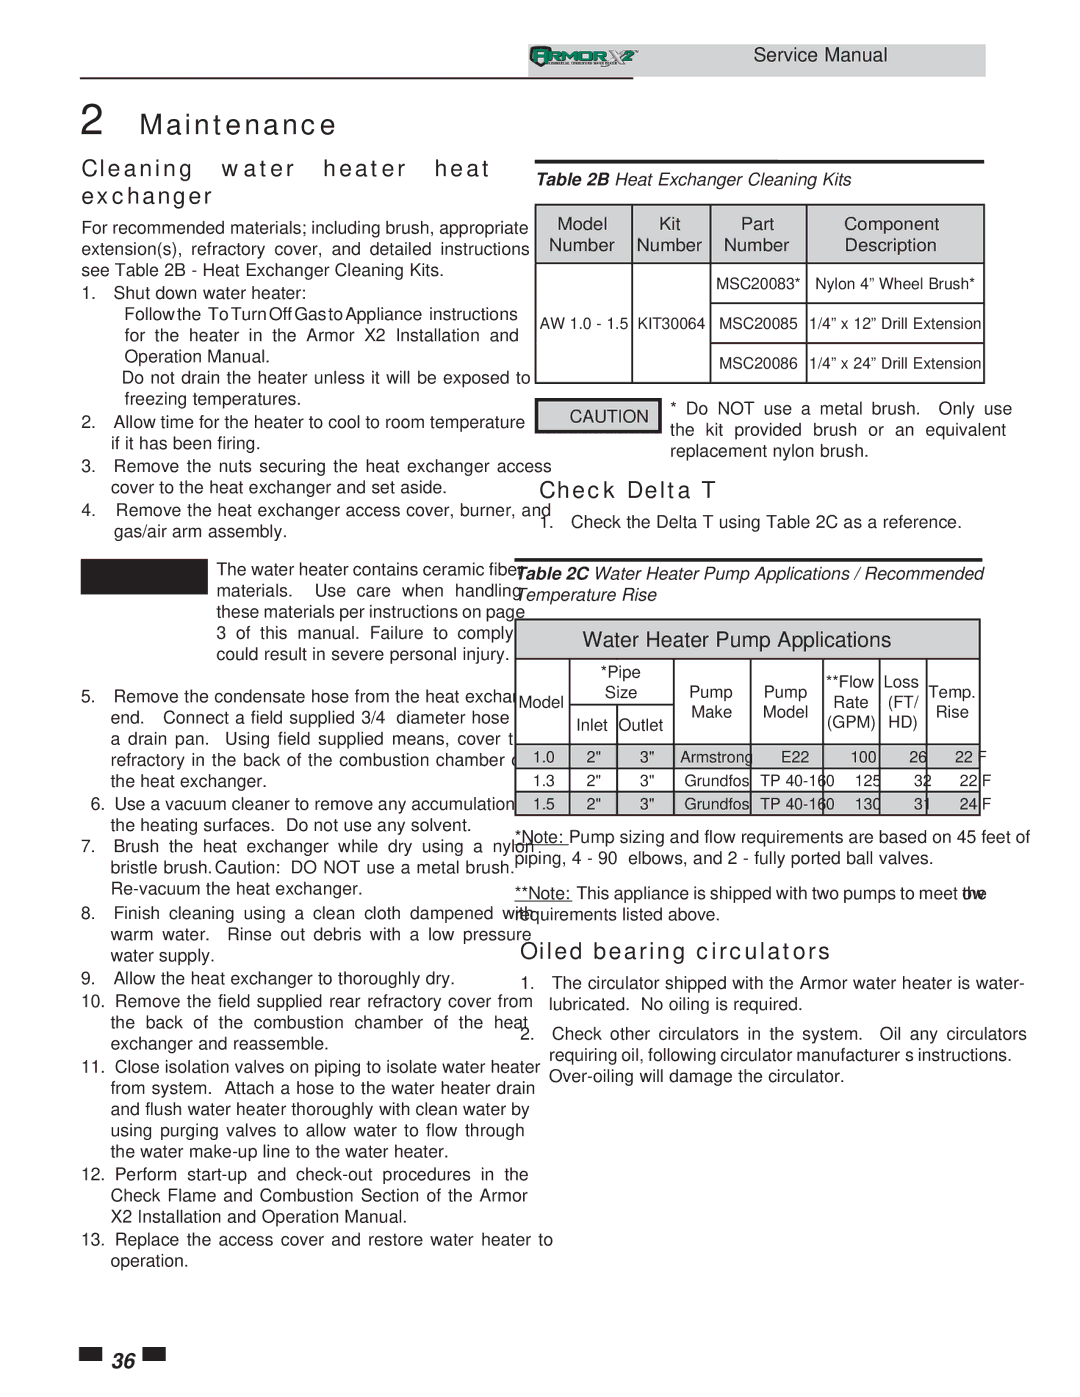
For recommended materials; including brush, appropriate extension(s), refractory cover, and detailed instructions see Table 2B - Heat Exchanger Cleaning Kits.

1.Shut down water heater:

Followthe“ToTurnOffGastoAppliance”instructions for the heater in the Armor X2 Installation and Operation Manual.

Do not drain the heater unless it will be exposed to freezing temperatures.

2.Allow time for the heater to cool to room temperature if it has been firing.

3.Remove the nuts securing the heat exchanger access cover to the heat exchanger and set aside.

4.Remove the heat exchanger access cover, burner, and gas/air arm assembly.

￿ WARNING The water heater contains ceramic fiber materials. Use care when handling

these materials per instructions on page 3 of this manual. Failure to comply could result in severe personal injury.

5.Remove the condensate hose from the heat exchanger end. Connect a field supplied 3/4” diameter hose to a drain pan. Using field supplied means, cover the refractory in the back of the combustion chamber of the heat exchanger.

6.Use a vacuum cleaner to remove any accumulation on the heating surfaces. Do not use any solvent.

7.Brush the heat exchanger while dry using a nylon bristle brush. Caution: DO NOT use a metal brush. Re-vacuum the heat exchanger.

8.Finish cleaning using a clean cloth dampened with warm water. Rinse out debris with a low pressure water supply.

9.Allow the heat exchanger to thoroughly dry.

10.Remove the field supplied rear refractory cover from the back of the combustion chamber of the heat exchanger and reassemble.

11.Close isolation valves on piping to isolate water heater from system. Attach a hose to the water heater drain and flush water heater thoroughly with clean water by using purging valves to allow water to flow through the water make-up line to the water heater.

12.Perform start-up and check-out procedures in the Check Flame and Combustion Section of the Armor X2 Installation and Operation Manual.

13.Replace the access cover and restore water heater to operation.

Service Manual

Table 2B Heat Exchanger Cleaning Kits

Model


Kit

Part

Component

Number

Number

Number

Description


MSC20083*

Nylon 4” Wheel Brush*


AW 1.0 - 1.5

KIT30064

MSC20085

1/4” x 12” Drill Extension


MSC20086

1/4” x 24” Drill Extension


* Do NOT use a metal brush. Only use

￿ CAUTION

the kit provided brush or an equivalent


replacement nylon brush.

Check Delta T

1. Check the Delta T using Table 2C as a reference.

Table 2C Water Heater Pump Applications / Recommended Temperature Rise

Water Heater Pump Applications


*Pipe

Pump

Pump

**Flow

Loss

Temp.


Size

Model

Rate

(FT/


Make

Model

Rise


Inlet

Outlet

(GPM)

HD)


1.0

2"

3"

Armstrong

E22

100

26

22°F

1.3

2"

3"

Grundfos

TP 40-160

125

32

22°F

1.5

2"

3"

Grundfos

TP 40-160

130

31

24°F

*Note: Pump sizing and flow requirements are based on 45 feet of piping, 4 - 90° elbows, and 2 - fully ported ball valves.

**Note: This appliance is shipped with two pumps to meet the flow requirements listed above.

Oiled bearing circulators

1.The circulator shipped with the Armor water heater is water- lubricated. No oiling is required.

2.Check other circulators in the system. Oil any circulators requiring oil, following circulator manufacturer’s instructions. Over-oiling will damage the circulator.

36

Page 36
Image 36
Lochinvar 1.3, 1.5 service manual Cleaning water heater heat exchanger, Check Delta T, Oiled bearing circulators

1.5, 1.3, 1 specifications

Lochinvar 1 is a remarkable achievement in the realm of modern technology and engineering. As a powerful and efficient water heater, it has been designed to cater to a wide range of residential and commercial needs. One of the standout features of Lochinvar 1 is its advanced heating technology, which incorporates a high-efficiency condensing design. This technology allows the unit to achieve impressive energy savings by maximizing heat transfer while minimizing energy consumption.

The Lochinvar 1 utilizes a stainless steel heat exchanger that enhances durability and corrosion resistance. This not only extends the lifespan of the unit but also ensures consistent performance over time. Coupled with a user-friendly control system, users can easily adjust settings and monitor performance, enhancing overall convenience and usability.

Another key characteristic of the Lochinvar 1 is its compact design, making it suitable for a variety of installation environments. Whether in a residential basement or a commercial utility room, the unit’s space-saving configuration allows for efficient use of available area without compromising on capability.

Safety features are integral to the Lochinvar 1, providing peace of mind for users. The unit is equipped with advanced monitoring systems that can detect irregularities and automatically shut down the system if necessary. This not only protects the equipment but also enhances the safety of the environment in which it operates.

In terms of performance, Lochinvar 1 boasts a high recovery rate, ensuring hot water is available on demand. This is particularly beneficial for settings with high water usage, allowing simultaneous operations without lag.

Moreover, the unit supports various venting options, offering flexibility during installation. Whether using traditional vertical venting or innovations like direct venting, Lochinvar 1 accommodates different building designs and local codes, making it highly versatile.

In conclusion, Lochinvar 1 epitomizes the melding of efficiency, reliability, and user-friendly technology. With its high-performance features, robust safety systems, and adaptable installation options, it stands out as a forefront player in the water heating industry, meeting the diverse needs of today's consumers and businesses alike.