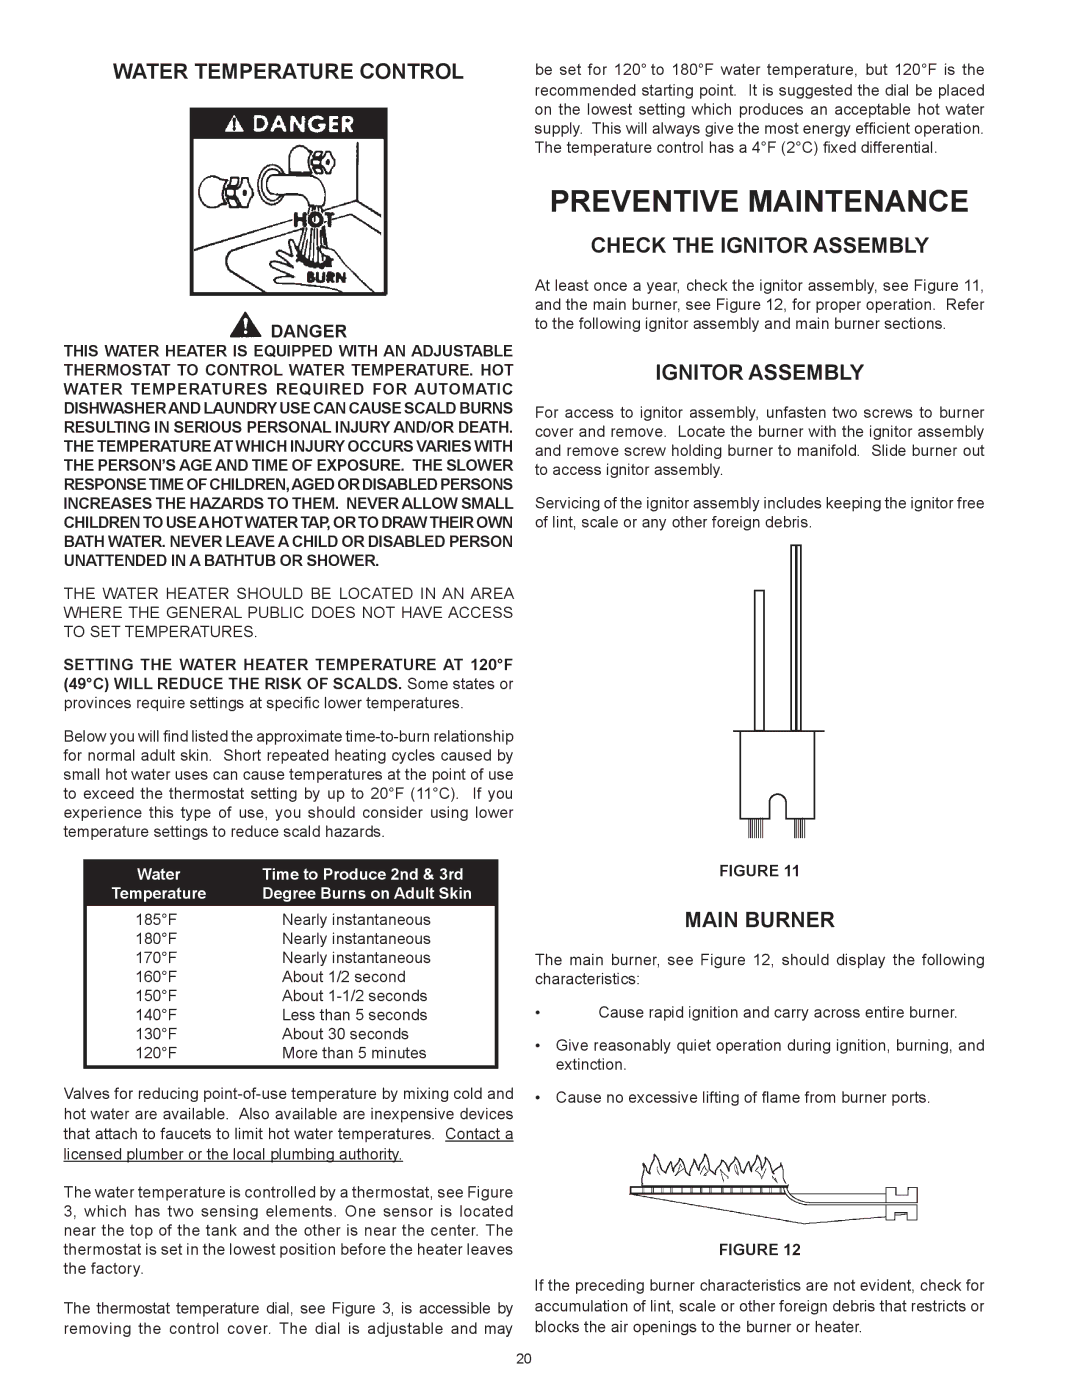
WATER TEMPERATURE CONTROL
![]() DANGER
DANGER
THIS WATER HEATER IS EQUIPPED WITH AN ADJUSTABLE THERMOSTAT TO CONTROL WATER TEMPERATURE. HOT WATER TEMPERATURES REQUIRED FOR AUTOMATIC DISHWASHERAND LAUNDRY USE CAN CAUSE SCALD BURNS RESULTING IN SERIOUS PERSONAL INJURY AND/OR DEATH. THE TEMPERATURE AT WHICH INJURY OCCURS VARIES WITH THE PERSON’S AGE AND TIME OF EXPOSURE. THE SLOWER RESPONSETIMEOF CHILDREN,AGEDORDISABLED PERSONS INCREASES THE HAZARDS TO THEM. NEVER ALLOW SMALL CHILDREN TO USEAHOT WATER TAP, OR TO DRAW THEIR OWN BATH WATER. NEVER LEAVE A CHILD OR DISABLED PERSON UNATTENDED IN A BATHTUB OR SHOWER.
THE WATER HEATER SHOULD BE LOCATED IN AN AREA WHERE THE GENERAL PUBLIC DOES NOT HAVE ACCESS TO SET TEMPERATURES.
SETTING THE WATER HEATER TEMPERATURE AT 120°F (49°C) WILL REDUCE THE RISK OF SCALDS. Some states or provinces require settings at specific lower temperatures.
Below you will find listed the approximate
Water | Time to Produce 2nd & 3rd |
Temperature | Degree Burns on Adult Skin |
185°F | Nearly instantaneous |
180°F | Nearly instantaneous |
170°F | Nearly instantaneous |
160°F | About 1/2 second |
150°F | About |
140°F | Less than 5 seconds |
130°F | About 30 seconds |
120°F | More than 5 minutes |
Valves for reducing
licensed plumber or the local plumbing authority.
The water temperature is controlled by a thermostat, see Figure 3, which has two sensing elements. One sensor is located near the top of the tank and the other is near the center. The thermostat is set in the lowest position before the heater leaves the factory.
The thermostat temperature dial, see Figure 3, is accessible by removing the control cover. The dial is adjustable and may
be set for 120° to 180°F water temperature, but 120°F is the recommended starting point. It is suggested the dial be placed on the lowest setting which produces an acceptable hot water supply. This will always give the most energy efficient operation. The temperature control has a 4°F (2°C) fixed differential.
PREVENTIVE MAINTENANCE
CHECK THE IGNITOR ASSEMBLY
At least once a year, check the ignitor assembly, see Figure 11, and the main burner, see Figure 12, for proper operation. Refer to the following ignitor assembly and main burner sections.
IGNITOR ASSEMBLY
For access to ignitor assembly, unfasten two screws to burner cover and remove. Locate the burner with the ignitor assembly and remove screw holding burner to manifold. Slide burner out to access ignitor assembly.
Servicing of the ignitor assembly includes keeping the ignitor free of lint, scale or any other foreign debris.
FIGURE 11
MAIN BURNER
The main burner, see Figure 12, should display the following characteristics:
•Cause rapid ignition and carry across entire burner.
•Give reasonably quiet operation during ignition, burning, and extinction.
•Cause no excessive lifting of flame from burner ports.
FIGURE 12
If the preceding burner characteristics are not evident, check for accumulation of lint, scale or other foreign debris that restricts or blocks the air openings to the burner or heater.
20
