System Contents
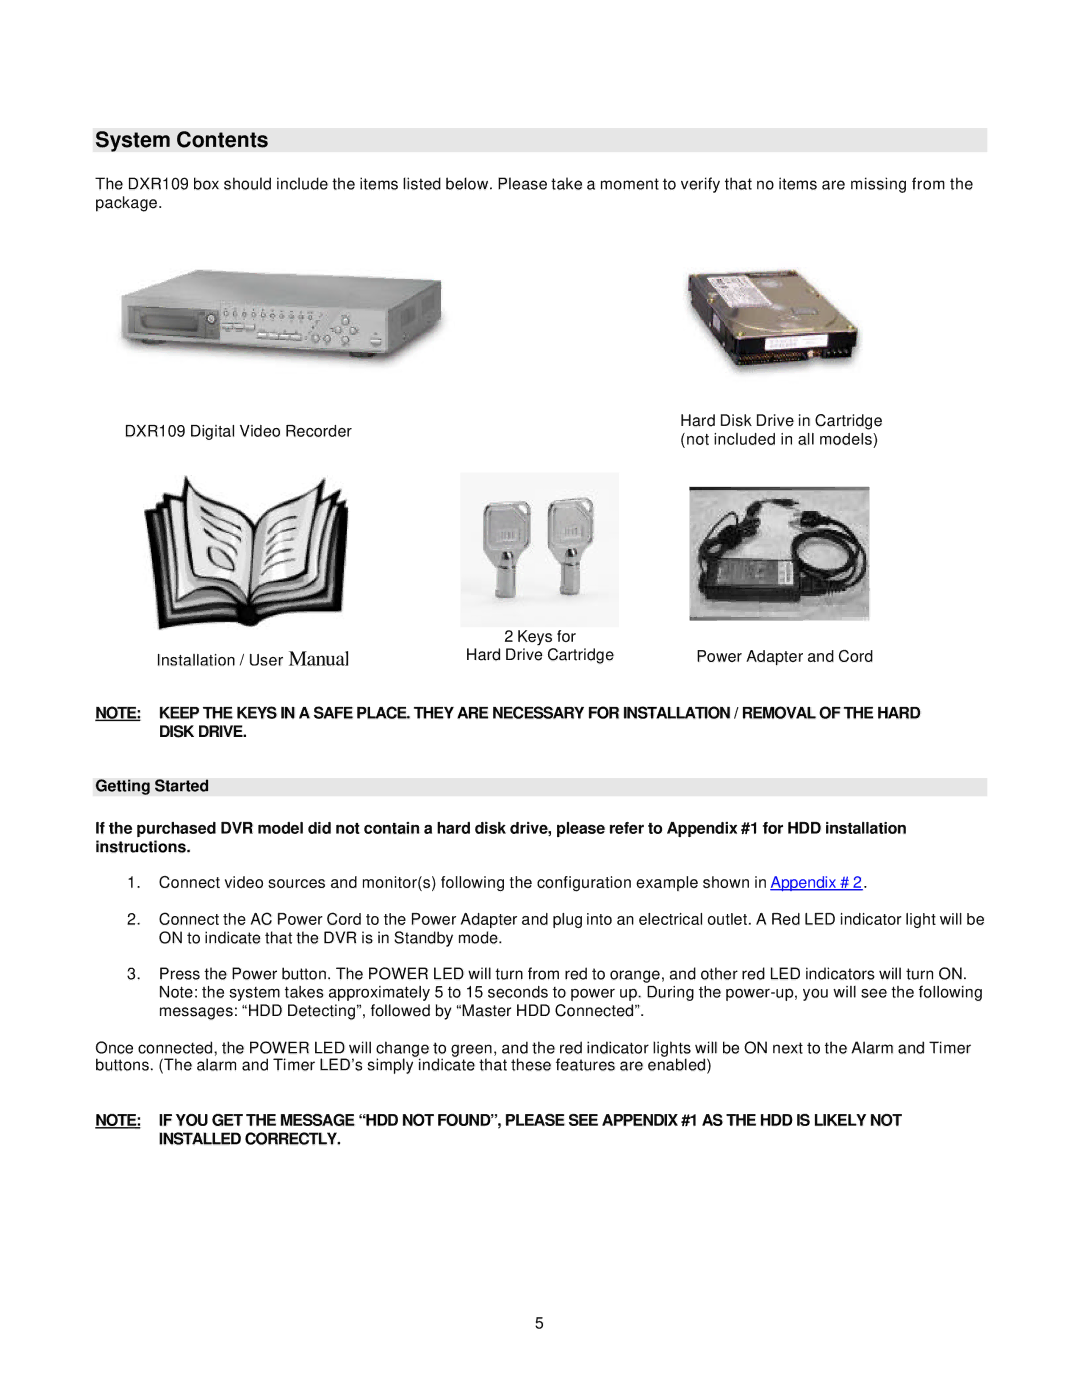
The DXR109 box should include the items listed below. Please take a moment to verify that no items are missing from the package.
DXR109 Digital Video Recorder | Hard Disk Drive in Cartridge | |
(not included in all models) | ||
|
| 2 Keys for |
|
Installation / User Manual | Hard Drive Cartridge | Power Adapter and Cord |
NOTE: KEEP THE KEYS IN A SAFE PLACE. THEY ARE NECESSARY FOR INSTALLATION / REMOVAL OF THE HARD DISK DRIVE.
Getting Started
If the purchased DVR model did not contain a hard disk drive, please refer to Appendix #1 for HDD installation instructions.
1.Connect video sources and monitor(s) following the configuration example shown in Appendix # 2.
2.Connect the AC Power Cord to the Power Adapter and plug into an electrical outlet. A Red LED indicator light will be ON to indicate that the DVR is in Standby mode.
3.Press the Power button. The POWER LED will turn from red to orange, and other red LED indicators will turn ON. Note: the system takes approximately 5 to 15 seconds to power up. During the
Once connected, the POWER LED will change to green, and the red indicator lights will be ON next to the Alarm and Timer buttons. (The alarm and Timer LED’s simply indicate that these features are enabled)
NOTE: IF YOU GET THE MESSAGE “HDD NOT FOUND”, PLEASE SEE APPENDIX #1 AS THE HDD IS LIKELY NOT INSTALLED CORRECTLY.
5