Camera Installation
Installing the Camera:
1.Carefully unpack the Camera.
2.Decide whether the camera will be permanently wall mounted or sit on a tabletop:
•If you decide to place the camera on a tabletop or other flat surface, the camera can easily be moved to different locations as desired. It is strongly recommended that the camera be affixed to the table top surface to prevent damage to the camera in case of tabletop surface movement or improper handling.
•If you decide to permanently mount the camera to a wall, make sure to select a location close to a power outlet.
NOTE: Wireless cameras require a power source (either an electrical outlet
or battery power) to operate. If you plan to permanently mount the camera in a location, it is recommended to use the included Camera Power adaptor to prevent interruptions in the image, as the battery adaptor is intended as a temporary power solution.
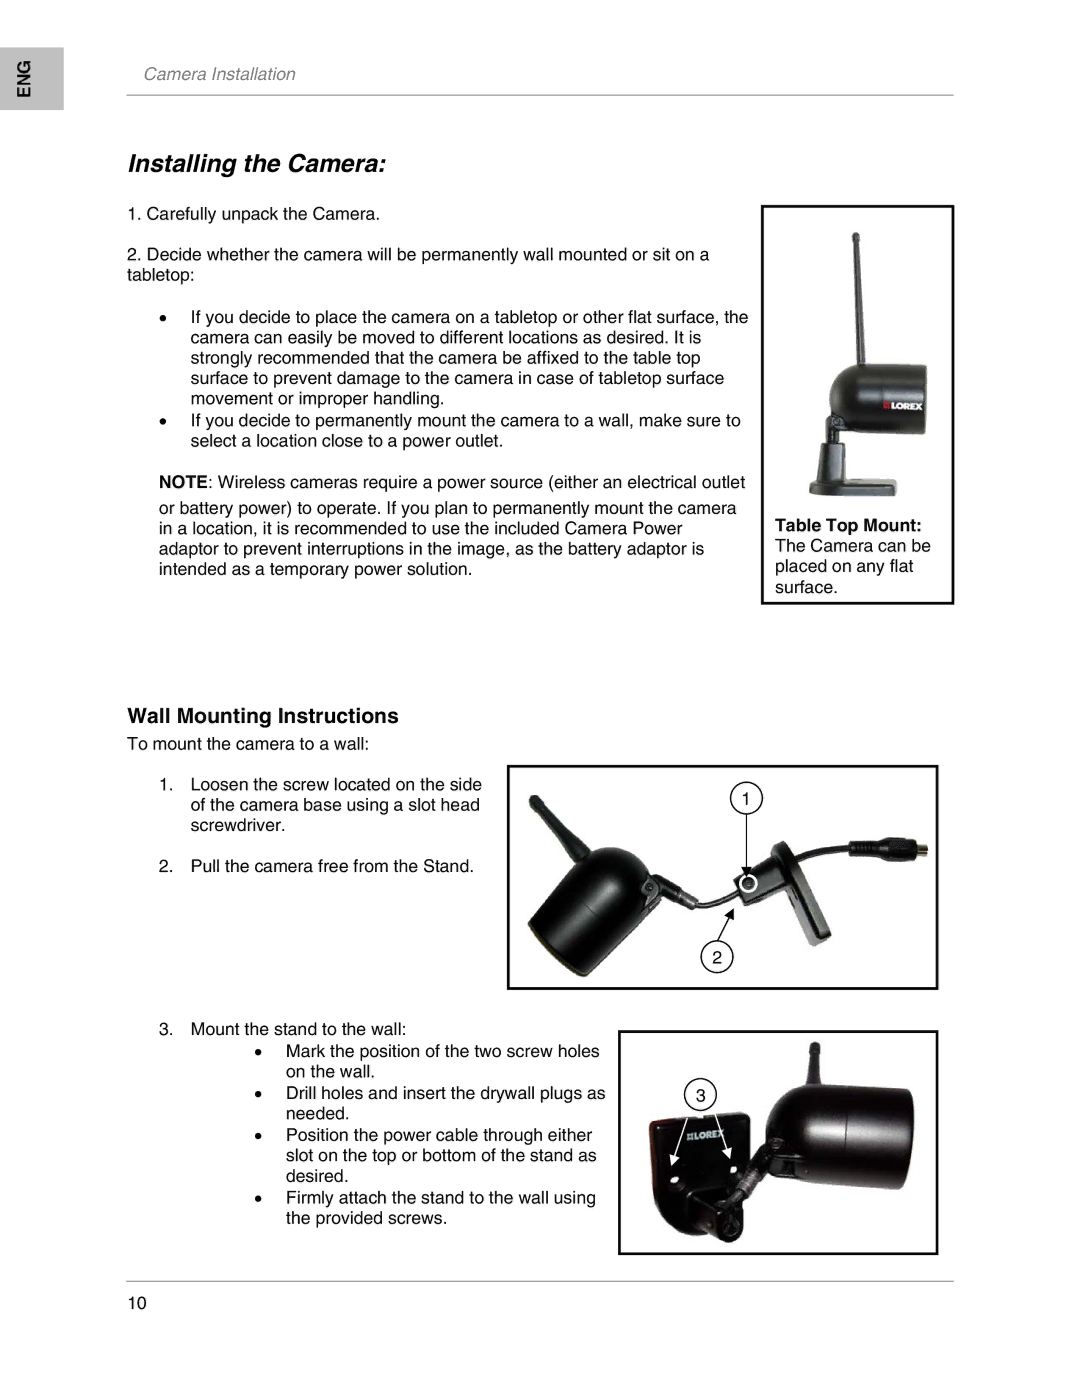
Table Top Mount: The Camera can be placed on any flat surface.
Wall Mounting Instructions
To mount the camera to a wall:
1. Loosen the screw located on the side | 1 | |
of the camera base using a slot head | ||
| ||
screwdriver. |
|
2. Pull the camera free from the Stand.
2
3.Mount the stand to the wall:
•Mark the position of the two screw holes on the wall.
• Drill holes and insert the drywall plugs as | 3 |
needed. |
|
•Position the power cable through either slot on the top or bottom of the stand as desired.
•Firmly attach the stand to the wall using the provided screws.
10