MODEL – SG620
Simulated (Dummy) Dome Camera
INTRODUCTION
Your Lorex Simulated Security Dome Camera is an affordable and effective theft deterrent device. It looks like a real surveillance camera with its flashing red indicator and dome construction. You can mount the simulated security camera in a visible area on a ceiling to deter possible thieves and intruders.
Your simulated security camera comes with a wall/ceiling mount plate, two screws and two dry wall anchors.
INSTALLING BATTERIES
Your simulated security camera requires two “C” batteries (not supplied) for power.
Cautions:
•Use only fresh batteries of the required size and recommended type
•Do not mix old and new batteries, different types of batteries (standard, alkaline, or rechargeable), or rechargeable batteries of different capacities
Follow four steps to install batteries:
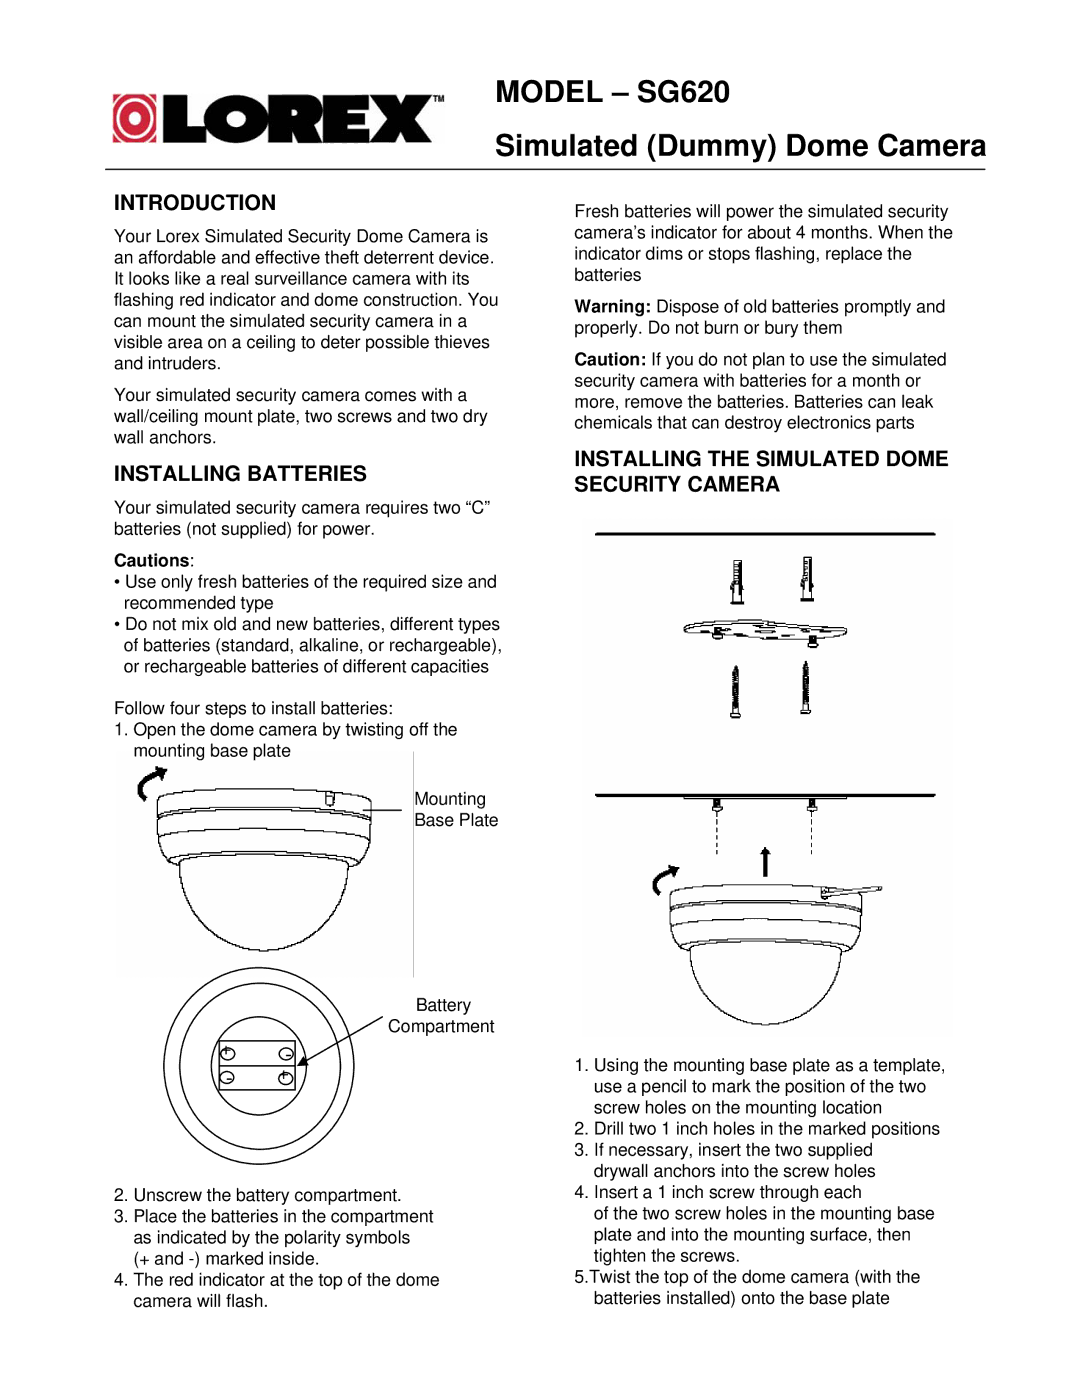
1.Open the dome camera by twisting off the mounting base plate
Mounting
Base Plate
| Battery |
| Compartment |
+ | - |
- | + |
2. Unscrew the battery compartment.
3. Place the batteries in the compartment as indicated by the polarity symbols (+ and
4. The red indicator at the top of the dome camera will flash.
Fresh batteries will power the simulated security camera’s indicator for about 4 months. When the indicator dims or stops flashing, replace the batteries
Warning: Dispose of old batteries promptly and properly. Do not burn or bury them
Caution: If you do not plan to use the simulated security camera with batteries for a month or more, remove the batteries. Batteries can leak chemicals that can destroy electronics parts
INSTALLING THE SIMULATED DOME SECURITY CAMERA
1.Using the mounting base plate as a template, use a pencil to mark the position of the two screw holes on the mounting location
2.Drill two 1 inch holes in the marked positions
3.If necessary, insert the two supplied drywall anchors into the screw holes
4.Insert a 1 inch screw through each
of the two screw holes in the mounting base plate and into the mounting surface, then
tighten the screws.
5.Twist the top of the dome camera (with the batteries installed) onto the base plate