
PSP300 Series specifications
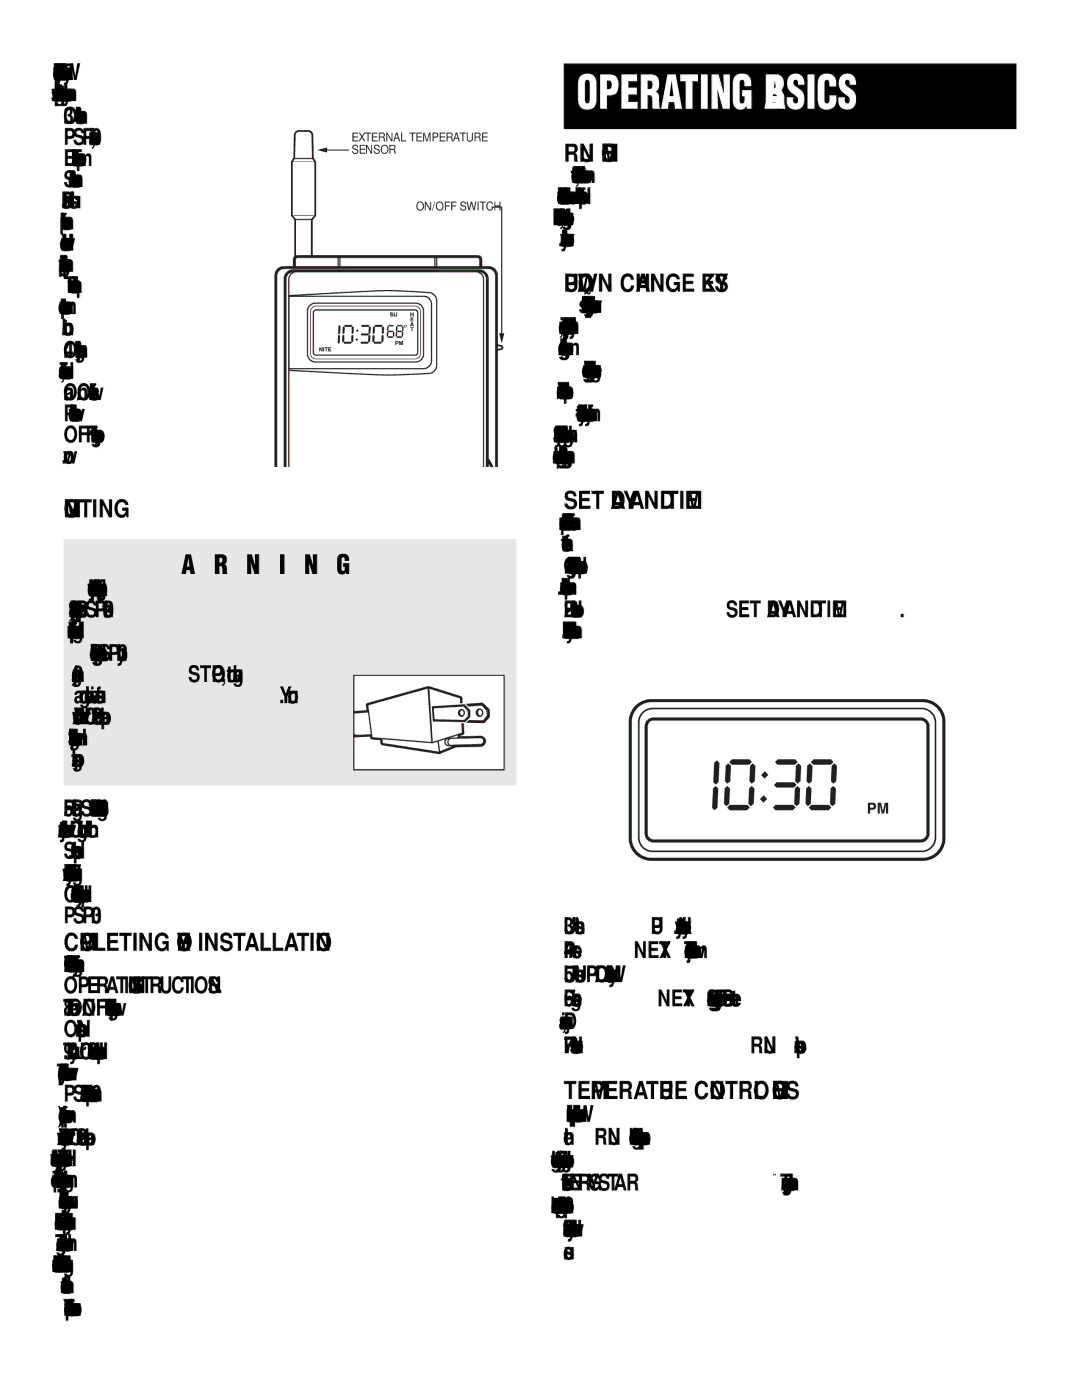
The Lux Products PSP300 Series is a compelling line of programmable thermostats designed to enhance the comfort and efficiency of any home. With user-friendly features and advanced technologies, this series showcases the brand's commitment to delivering practical and innovative heating and cooling solutions.One of the standout features of the PSP300 Series is its intuitive touchscreen interface. The large, backlit display makes it easy for users to program and monitor their heating and cooling systems, even in low-light conditions. The simple navigation menu allows users to adjust settings with minimal effort, providing a hassle-free experience.
In terms of functionality, the PSP300 Series supports a 7-day programming schedule, enabling users to customize their heating and cooling preferences throughout the week. This flexibility allows homeowners to save energy and money by aligning their HVAC settings with their daily routines. The thermostat can pre-program different temperatures for weekdays and weekends, ensuring maximum comfort when needed while minimizing energy waste when the house is empty.
The technology embedded in the PSP300 Series further enhances its performance. It features advanced energy-saving algorithms that analyze and optimize system operation, helping to reduce energy consumption without sacrificing comfort. The thermostat is compatible with a wide range of HVAC systems, including gas, electric, and heat pump setups, making it a versatile choice for many different home environments.
Another key characteristic of the PSP300 Series is its compatibility with smart home systems. With Wi-Fi connectivity, users can monitor and control their thermostat from anywhere using a smartphone or tablet. This connectivity empowers homeowners to make adjustments on the go, ensuring that their home remains at the ideal temperature even when they are away.
In terms of design, the Lux Products PSP300 Series embraces a modern aesthetic that blends seamlessly with contemporary home interiors. Its sleek profile and discrete design options ensure that it complements any wall space without drawing unnecessary attention.
Overall, the Lux Products PSP300 Series stands out for its remarkable combination of user-friendly features, advanced technology, and elegant design. By prioritizing energy efficiency and user comfort, it presents an ideal solution for those looking to enhance their home's climate control while reducing energy costs. With the PSP300 Series, homeowners can enjoy the perfect balance of innovation and usability.