
TX9000TS specifications
The Lux Products TX9000TS is a state-of-the-art programmable thermostat designed to provide homeowners with a blend of comfort, convenience, and energy efficiency. This device is particularly popular for its user-friendly interface and advanced features, making it suitable for a wide range of heating and cooling systems.One of the standout features of the TX9000TS is its 7-day programmable schedule, which allows users to customize temperature settings according to their daily routines. This means you can program different temperatures for each day of the week, accommodating your unique lifestyle. Whether you're at home, at work, or away for the weekend, you can ensure that your home remains comfortable while minimizing energy consumption.
The TX9000TS is equipped with a large, easy-to-read touchscreen display that enhances usability. This color-coded, backlit display makes it easy to navigate through menus and make adjustments even in low-light conditions. The intuitive interface allows users to set up their schedules quickly and access temperature controls effortlessly.
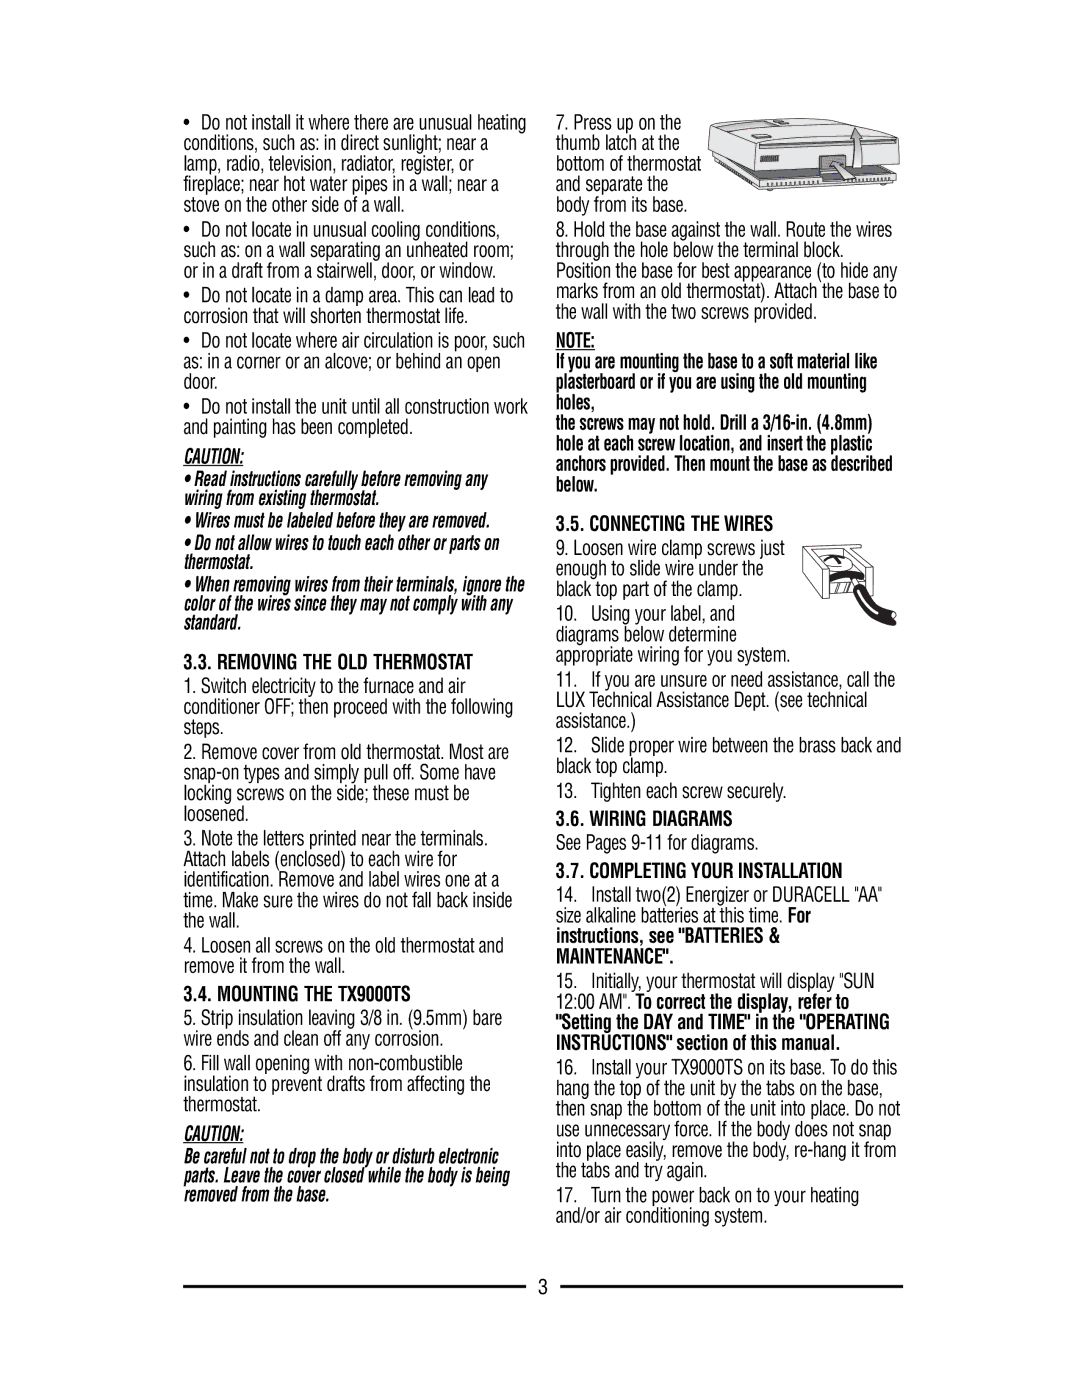
Another significant characteristic of this thermostat is its Smart Home compatibility. The TX9000TS can seamlessly integrate with various smart home systems, allowing for remote control via smartphone apps. This means you can adjust your home’s temperature from anywhere, providing unmatched flexibility and control over your comfort levels.
The thermostat features advanced adaptive technology to learn your schedule and preferences over time, optimizing heating and cooling cycles for efficiency. This not only enhances comfort but also contributes to energy savings, which can lead to reduced utility bills. Moreover, the TX9000TS offers a simple installation process, making it accessible for those who prefer a DIY approach.
Another noteworthy aspect is its compatibility with multi-stage heating and cooling systems, including gas, electric, and heat pump systems. This versatility makes it an excellent choice for diverse households with varying needs.
In summary, the Lux Products TX9000TS stands out for its programmable scheduling, smart home integration, large touchscreen display, and energy-saving technologies. It represents an ideal solution for homeowners looking to enhance their comfort while maintaining control over energy usage, making it a popular pick in the realm of modern thermostats.