2626 specifications
The M-Audio 2626 is a versatile audio interface designed to cater to the needs of music producers, engineers, and podcasters. With its robust feature set, it provides an excellent solution for capturing high-quality audio in both studio and live environments. One of its main attributes is the capability of handling up to 26 inputs and 26 outputs, making it particularly suitable for complex recording sessions involving multiple microphones and instruments.A standout feature of the M-Audio 2626 is its high-resolution audio conversion, supporting 24-bit depth and sample rates up to 192 kHz. This ensures that recordings maintain clarity and detail, which is essential for professional audio production. The unit employs advanced A/D and D/A conversion technologies, which contribute to its low noise levels and high dynamic range, ensuring your audio is free from distortion.
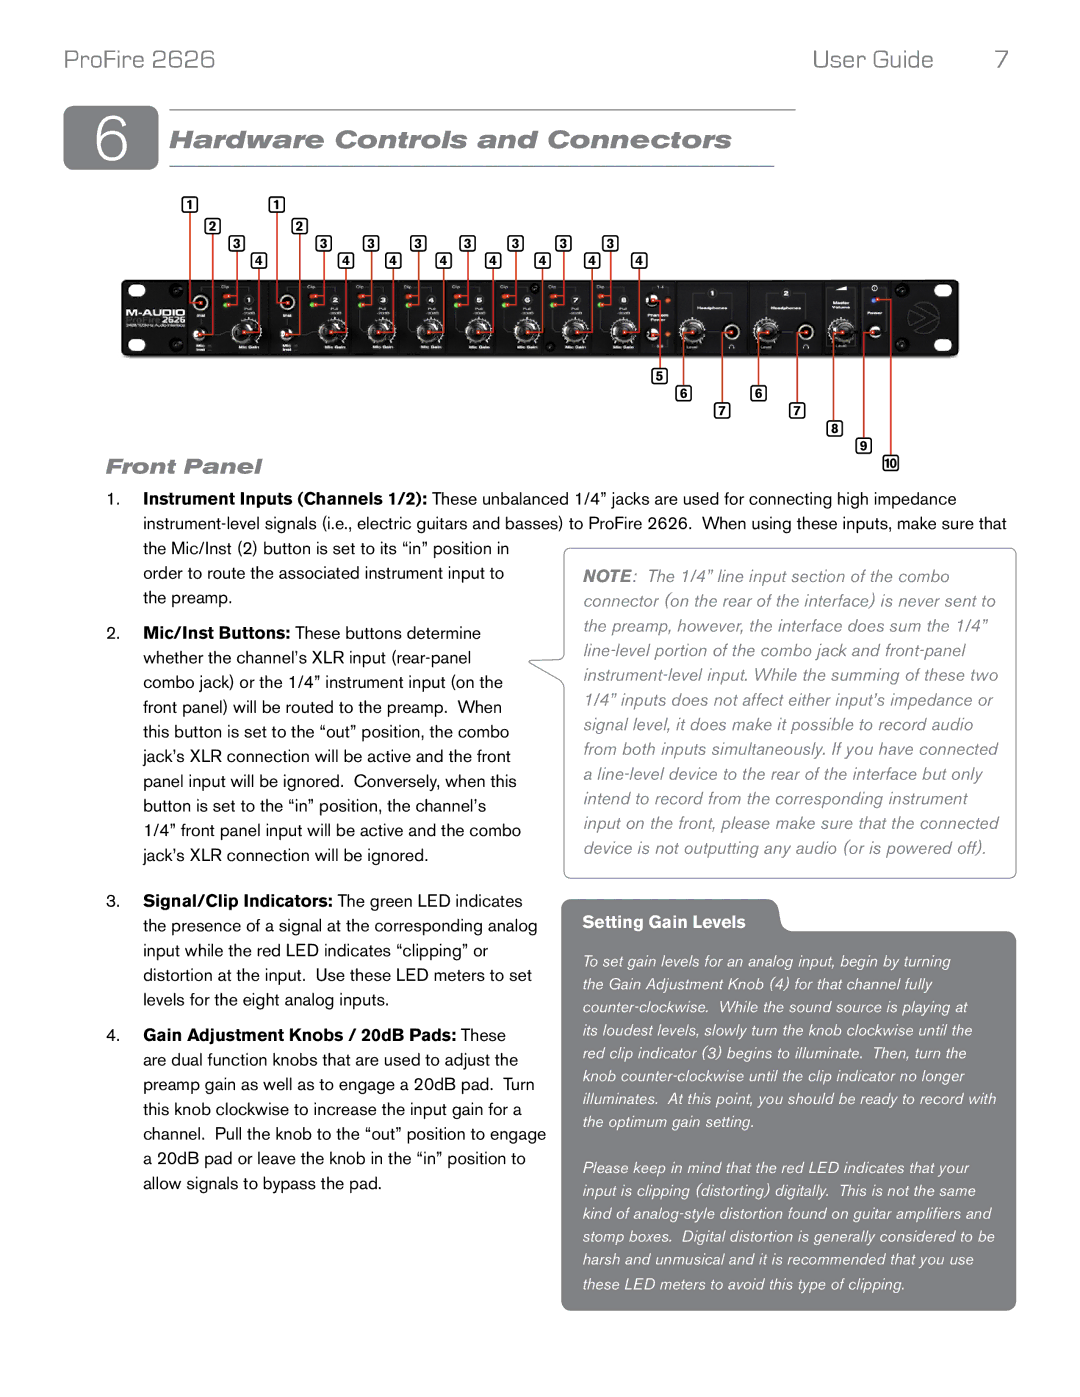
Connectivity is another strong point. The M-Audio 2626 features a combination of both analog and digital inputs, including eight XLR/TRS combo inputs with phantom power for condenser microphones. This flexibility allows users to integrate various sound sources easily. Additionally, the device includes multiple MIDI inputs and outputs, supporting the integration of MIDI controllers and other gear for comprehensive music production setups.
The interface is equipped with a user-friendly control panel, enabling straightforward navigation through its routing features and settings. Users can easily control levels, monitor audio through reliable headphone outputs, and make adjustments on-the-fly, which is crucial in dynamic recording environments.
In terms of compatibility, the M-Audio 2626 works seamlessly with major digital audio workstations (DAWs) across both Mac and PC platforms. Its class-compliant USB interface allows for quick connection without the need for additional drivers, facilitating an efficient workflow right out of the box.
The device’s rugged design is built to withstand the rigors of daily use, making it an ideal choice for both studio settings and on-the-road applications. Its compact form factor also ensures it won’t take up too much space in your gear bag.
Overall, the M-Audio 2626 stands out as a powerful audio interface that combines high-quality audio performance with a flexible and intuitive design. Whether you're a seasoned professional or an enthusiastic beginner, this interface provides the tools necessary to elevate your audio production experience.

