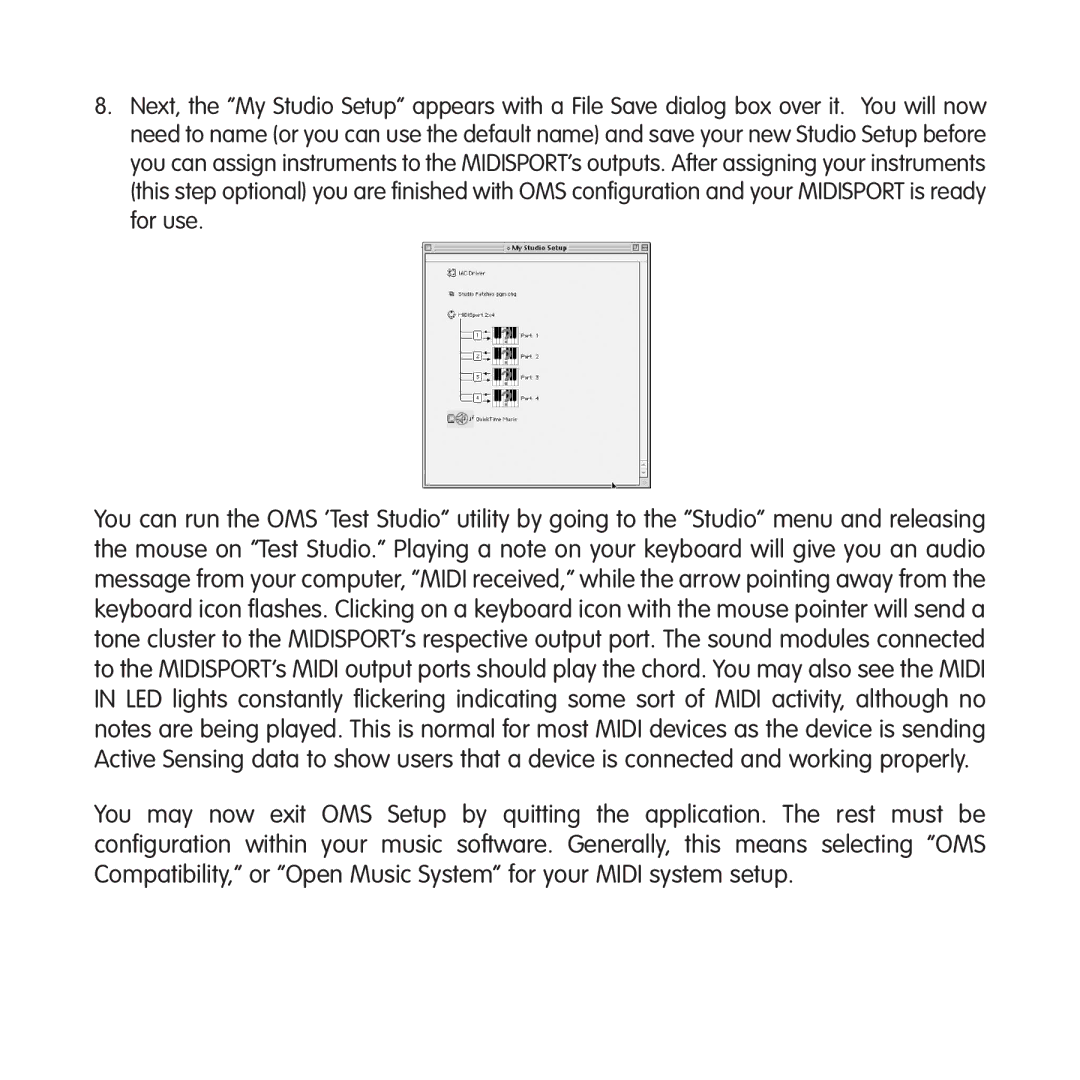
8.Next, the “My Studio Setup” appears with a File Save dialog box over it. You will now need to name (or you can use the default name) and save your new Studio Setup before you can assign instruments to the MIDISPORT’s outputs. After assigning your instruments (this step optional) you are finished with OMS configuration and your MIDISPORT is ready for use.
You can run the OMS ‘Test Studio” utility by going to the “Studio” menu and releasing the mouse on “Test Studio.” Playing a note on your keyboard will give you an audio message from your computer, “MIDI received,” while the arrow pointing away from the keyboard icon flashes. Clicking on a keyboard icon with the mouse pointer will send a tone cluster to the MIDISPORT’s respective output port. The sound modules connected to the MIDISPORT’s MIDI output ports should play the chord. You may also see the MIDI IN LED lights constantly flickering indicating some sort of MIDI activity, although no notes are being played. This is normal for most MIDI devices as the device is sending Active Sensing data to show users that a device is connected and working properly.
You may now exit OMS Setup by quitting the application. The rest must be configuration within your music software. Generally, this means selecting “OMS Compatibility,” or “Open Music System” for your MIDI system setup.