Trigger Finger
Installation Procedure
Basic Installation
Because it is a
Use the supplied USB cable to connect the Trigger Finger to a USB port on your computer and you’ll be ready to go! You can do this while the computer is on or off, and no further driver installation will be necessary.
Installing the Windows Multi-client Driver
While
However, if you use multiple applications at once, including applications that are “ReWired” together (such as using Ableton Live as a host application and simultaneously running Propellerhead Reason as a slave), you’ll need to install the Windows Trigger Finger MIDI driver so both the host and ReWired application can be controlled from the Trigger Finger simultaneously.
PLEASE NOTE: Do NOT connect your new MIDI controller to your computer until the appropriate driver files have been installed onto your computer.
1.Insert the MIDI Controller Driver
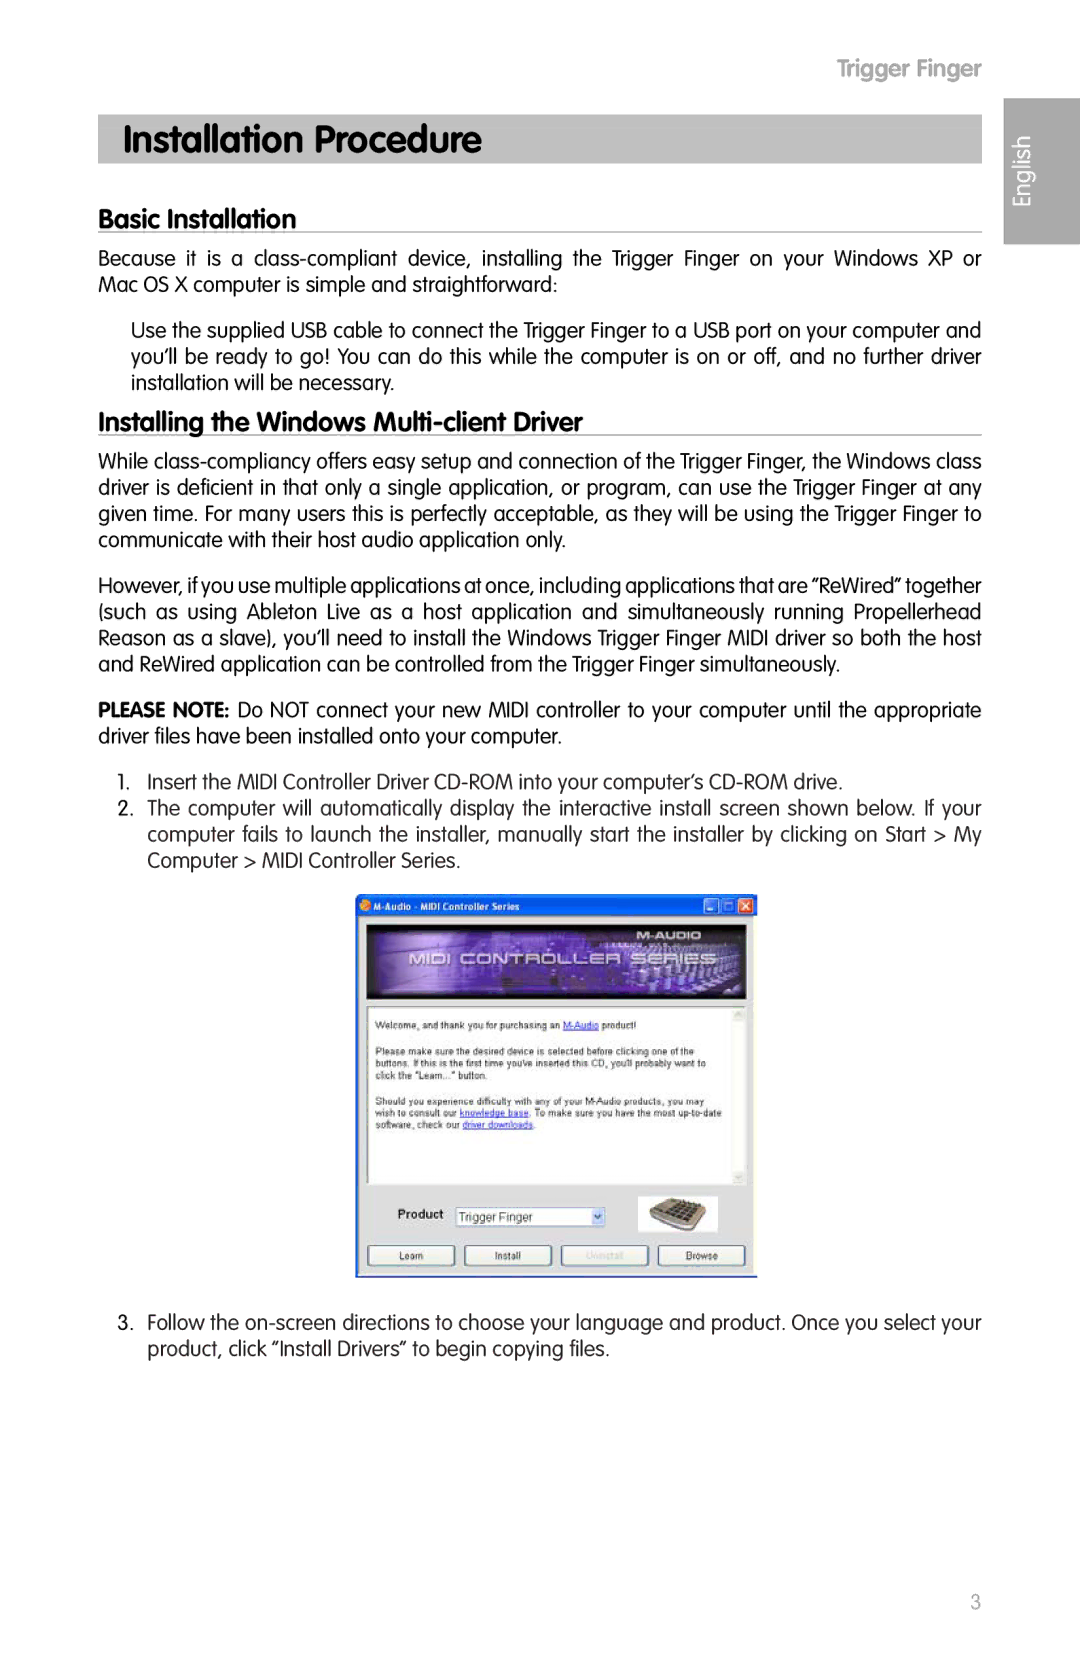
2.The computer will automatically display the interactive install screen shown below. If your computer fails to launch the installer, manually start the installer by clicking on Start > My Computer > MIDI Controller Series.
3.Follow the
English
3
