M-Audio Classroom Bundle QuickStart Guide
Introduction
The
1.
2.USB Cable: Used to connect the MobilePre USB to your computer.
3.2
4.2 Hard Mounts: Used for attaching the Nova microphones to mic stands.
5.2 XLR cables: Used to connect the Nova microphones to the MobilePre USB.
6.Ableton Live Lite Software: An exclusive version of Ableton’s renowned audio sequencing instrument. This is the software that will be used for recording audio into your computer.
7.ProSessions Demo CD: A collection of samples and loops from the ProSessions Sample CD catalog.
8.
9.QuickStart Guide: The document you’re reading now. This QuickStart will guide you through the
process of setting up the hardware and software, and making your first recording.
The MobilePre USB, Nova microphones, and Live Lite all have their own user’s manuals, and it is recommended that you read these manuals for more information on the products. Since this QuickStart will get you up and running quickly, it does not explain every function of the products used. While the MobilePre USB contains a printed manual, the manuals for Live Lite can be found in the Help menu of the program.
Hardware and Software Installation
1.Install the MobilePre USB: Directions for installing the MobilePre USB are contained in the MobilePre USB User’s Manual. Once the driver is installed, connect the MobilePre USB to your computer using the supplied USB cable. If the MobilePre USB is connected properly, the blue “Power” light will illuminate.
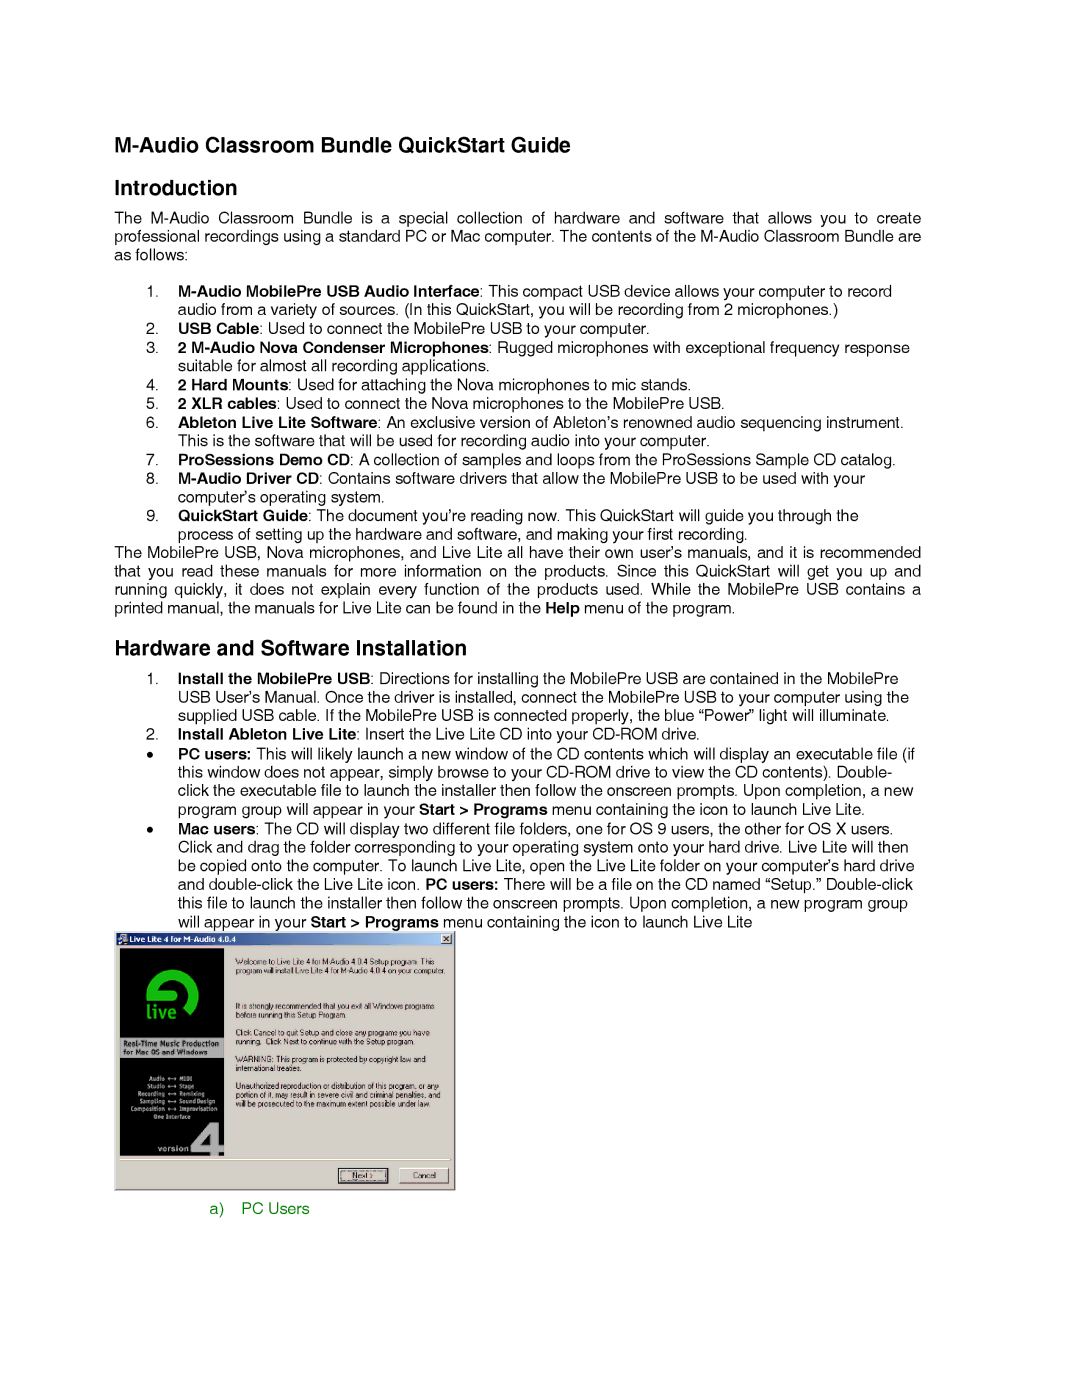
2.Install Ableton Live Lite: Insert the Live Lite CD into your
•PC users: This will likely launch a new window of the CD contents which will display an executable file (if this window does not appear, simply browse to your
•Mac users: The CD will display two different file folders, one for OS 9 users, the other for OS X users. Click and drag the folder corresponding to your operating system onto your hard drive. Live Lite will then be copied onto the computer. To launch Live Lite, open the Live Lite folder on your computer’s hard drive and