Mackie 800R Getting Started, Zero the Controls, Connections, Set the Levels, Start Recording

Models: 800R

1 24
Download 24 pages 44.2 Kb
Page 5
Image 5

Getting Started

READ THIS PAGE!!

Even if you’re one of those people who never reads manuals, all we ask is that you read this page now before you begin using the Onyx 800R. You’ll be glad you did!

Zero the Controls

1.Turn down the channel GAIN controls.

2.Set all push button switches to their “out” positions.

3.Turn the POWER switch off.

Connections

If you already know how you want to connect the Onyx 800R, go ahead and connect the inputs and outputs the way you want them. If you just want to get sound through the preamp, follow these steps:

1.Plug a microphone into channel 1’s MIC input.

2.Connect the analog line outputs to your MDM, HDR, or audio interface for your DAW. This requires ei- ther a DB25-to-DB25 audio cable or a DB25 break- out cable to either eight male XLR plugs or eight 1/4" TRS plugs.

3.You can connect the Toslink OPTICAL OUT connec- tors to your recording equipment if they are equipped with Toslink ADAT optical connectors. All eight chan- nels are always present at the LINE LEVEL OUTPUTS and the OPTICAL OUTs up to 96 kHz sampling (four channels at the OPTICAL OUTs at 176.4/192 kHz).

4.You can connect the DB25 AES/EBU OR S/PDIF OUT connector to your recording equipment if they are so equipped, but we recommend that you first read the section on pages 14-15 that describes this output and its associated buttons.

Note: When using the OPTICAL OUTs or the AES/EBU OR S/PDIF OUT, make sure your MDM, HDR, or other audio interface is configured to clock off the incom- ing digital source. If you try to use their internal clocks, it’s simply not going to work right.

5.Plug in the detachable linecord, connect it to an AC outlet, and turn on the Onyx 800R’s POWER switch.

6.If the microphone is a dynamic microphone, set the

impedance switch on channel 1 to the “D” position (2400 ). If it’s a condenser microphone, set the impedance switch to the “D” position (or to the manufacturers recommended impedance setting) and push in the 48V phantom power button to turn on the phantom power for channel 1.

Set the Levels

Owner’s


To set the channel GAIN controls, it’s not even neces-


sary to hear what you’re doing at the outputs of the

Manual

preamplifier. The following steps must be performed one


channel at a time.


1.

Play something into the selected input. This could


be an instrument, a singing or speaking voice, or


a line input such as a CD player or tape recorder


output. Be sure that the volume of the input source


is the same as it would be during normal use. If it


isn’t, you might have to readjust these levels later.


2.

Adjust the channel’s GAIN control so that the “–20”


and “0” LEDs light frequently or continuously, and


the “OL” LED doesn’t light at all (or only flashes


occasionally).


3.

Repeat for each channel.


Start Recording

1.You should now see the signals from the Onyx 800R appearing on the meters in your MDM, HDR, or DAW. Start recording and hear the Onyx 800R in stunning crystal clarity.

Other Nuggets of Wisdom

You can connect the analog outputs from any line- level source to the LINE LEVEL INPUTS on the Onyx 800R and use its high-quality analog-to-digital converters to get your analog signals to your digital recorder(s).

Always turn the Onyx 800R off before making or changing connections.

When you shut down your equipment, turn off the amplifiers first. When powering up, turn on the amplifiers last.

Never listen to loud music for prolonged periods. Please see the Safety Instructions on page 2 for information on hearing protection.

Save the shipping box! You may need it someday, and you don’t want to have to pay for another one.

That’s it for the “Getting Started” section. Next comes the “Hookup” section that shows you some typical ways that you might use the Onyx 800R in real applications.

After that, you can take the grand tour of the Onyx 800R, with descriptions of every knob, button, input, and output. We encourage you to take the time to read all of the feature descriptions, but at least you know it’s there if you have any questions.

Owner’s Manual

5

Page 5
Image 5
Mackie 800R owner manual Getting Started, Zero the Controls, Connections, Set the Levels, Start Recording

800R specifications

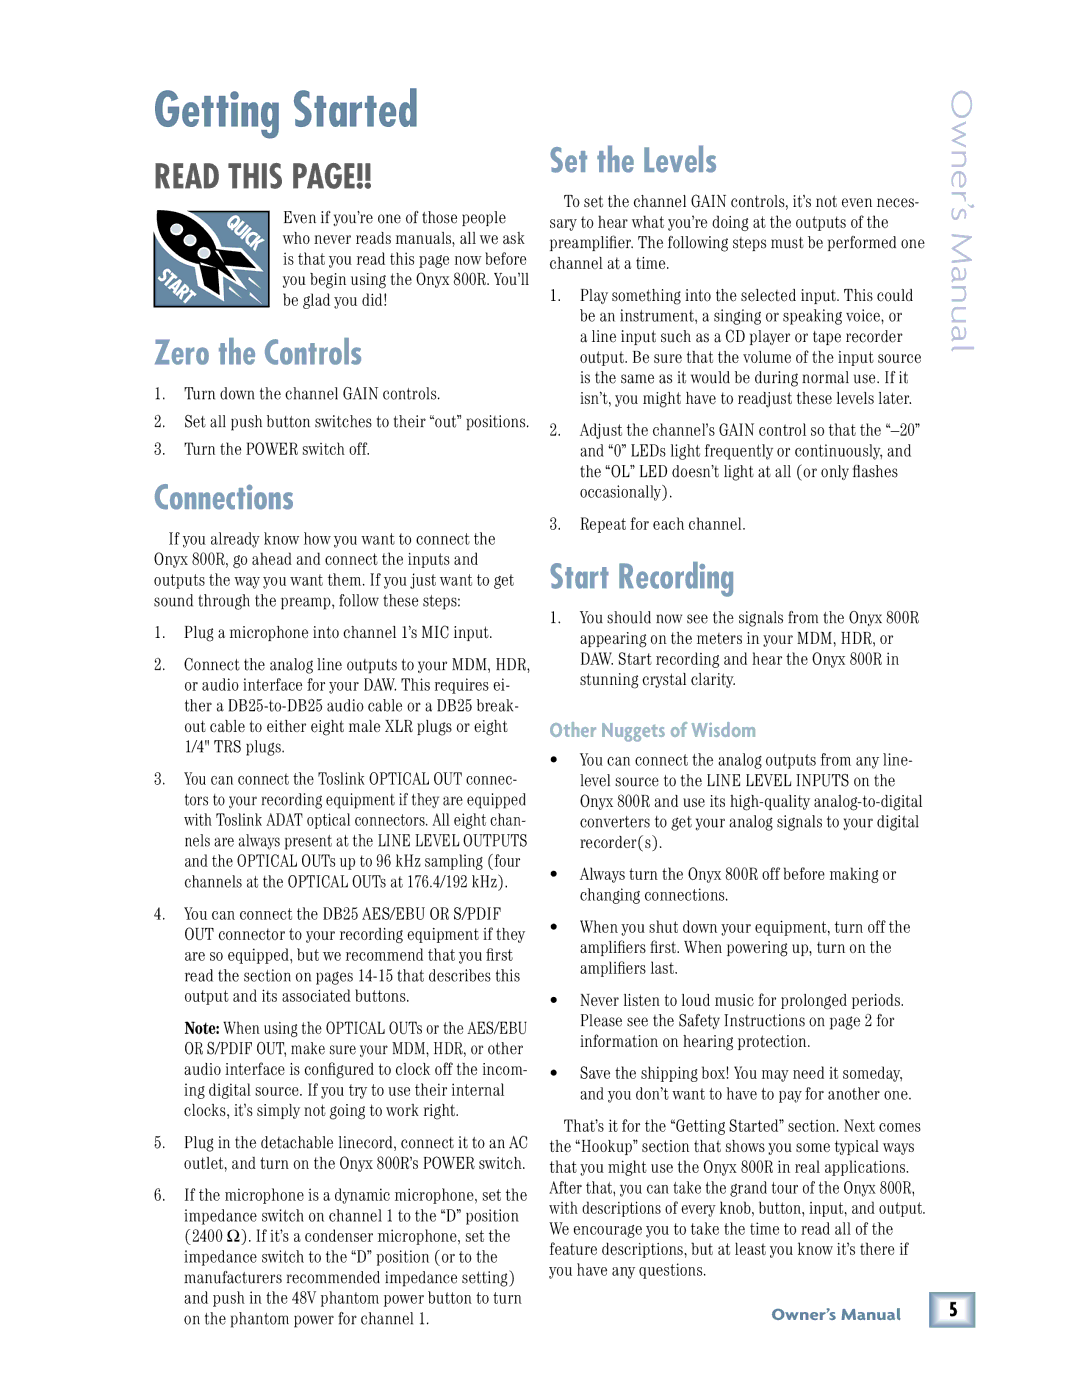
The Mackie 800R is a high-performance 8-channel microphone preamp that is designed for recording professionals and studios that demand exceptional sound quality and flexibility. This versatile unit stands out due to its robust build quality, advanced features, and user-friendly operation, making it a vital addition to any audio setup.

One of the main features of the Mackie 800R is its high-quality mic preamps, which employ the renowned Onyx technology. The Onyx preamps are characterized by their high headroom, low noise, and excellent linearity, resulting in clear, detailed sound reproduction. Each channel provides a gain range of up to 60 dB, allowing it to accommodate a wide variety of microphones, from dynamic to condenser, ensuring your recordings are always crisp and professional.

The 800R also includes eight balanced TRS outputs, which allow for seamless integration with mixers and audio interfaces. This flexibility simplifies the workflow in any recording environment, making it easy to patch into existing setups. Additionally, the unit features both analog and digital outputs, providing options for connecting to ADAT and S/PDIF devices, further enhancing its versatility.

Another notable characteristic of the Mackie 800R is its user-friendly interface. Each channel is equipped with a direct output, a 48V phantom power switch, and a -20dB pad, which allows users to tailor their settings on the fly. The built-in LED indicators provide visual feedback on signal levels, ensuring that users can easily monitor their inputs.

This preamp is also designed for durability with its solid metal chassis, which is built to withstand the rigors of both studio and live environments. Its compact size makes it ideal for mobile setups, allowing engineers to take high-quality audio with them wherever they go.

In summary, the Mackie 800R is a powerful and reliable microphone preamp that provides outstanding sound quality and flexibility for recording engineers and musicians alike. With advanced Onyx preamp technology, multiple output options, and a user-friendly design, the 800R stands out as an essential tool for anyone serious about capturing high-fidelity audio.