Touchscreens
Although using the touchscreens may seem unfa- miliar at first, the touchscreen interface will quickly become second-nature to you. The dual 15" TFT touchscreens not only give you a detailed, high-defini- tion view of what is happening with the Digital X Bus, but they also give you almost instant access to alter- nate screens, settings, and controls. As you become familiar with navigating the touchscreen interface, you will find yourself accessing screens and controls with increasing speed and efficiency.
Keyboard and Mouse
In addition to the touchscreens, you can use a key- board and mouse to select and change controls on the Digital X Bus. Use a keyboard to enter keyboard shortcuts (hot keys), or to enter letters and numbers whenever a keyboard graphic appears on-screen. Use the mouse to click on-screen where you would otherwise touch to open, close, or select something.
PAN
F/B
PAN
L/R
8
7
In addition, windows that contain adjustable parameters, like the Dy- namics and EQ windows, have their controls situated above the channel V-Pots, which temporarily become controls for the parameters in the
window, overriding the V-Pot Assign selection. As soon as the window is closed, V-Pot control returns to whatever is selected in the V-Pot Assign section.
6
5
4
3
2
1
POT CONTROLS
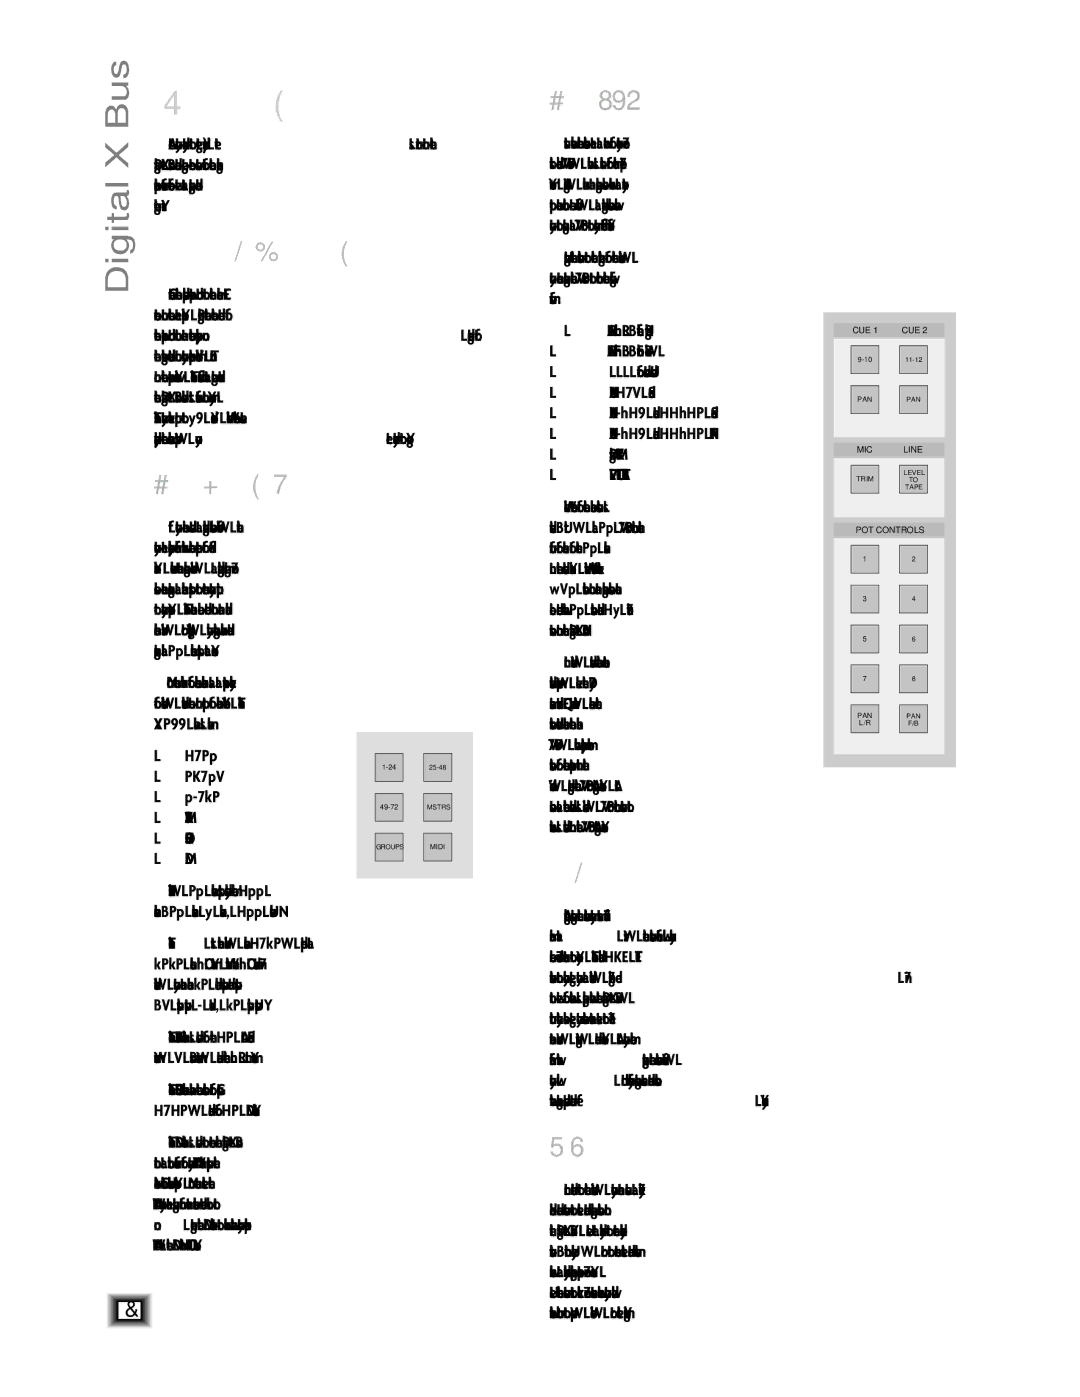
When one of the above buttons is selected (lit), all 24 V-Pots control that function for each of the 24 channels in the selected bank. What would take 384 controls on an analog console can be done with 24 controls and 16 but- tons on the Digital X Bus!
TRIM
LINE
LEVEL
TO
TAPE
MIC
PAN
PAN
11-12
9-10
CUE 1 CUE 2
PAN L/R (Left/Right)
PAN F/B (Front/Back, for surround sound)
AUX 1-8 Send
AUX 9/10 and 11/12 Send
AUX 9/10 and 11/12 PAN Digital TRIM
LEVEL TO TAPE
About V-Pot Controls
Just below the touchscreens are a row of rotary con- trols called V-Pots, which is short for virtual potenti- ometer. Again, unlike an analog console where a rotary pot can control one function, a digital console allows you to assign a V-Pot to many different functions.
Using the buttons to the right of the touchscreens, you can assign the V-Pots to control the following functions:
Operational Basics
Are you ready to get started? Let’s turn on the Digital X Bus and go over some of the general operational features before we start passing audio through it.
Turning on the Digital X Bus
Connect the supplied power cord to the male IEC connector on the rear panel. Plug the other end of the power cord into an outlet properly configured for the voltage indicated on your particular model. Turn on the power switch. The faders start moving and the Digital X Bus loads its software into memory. This may take up to 60 seconds. When the screens display the channels strips, you’re ready to go.
About Fader Banks
If you have used a digital console before, then you are probably familiar with the concept of fader banks. Unlike an analog board, a digital mixing con- sole can reassign a channel strip to route any input to any output. This can be done on an individual channel basis, or globally, by switching banks and reassigning all 24 channel strips at once.
You can think of each bank as a separate layer of controls, stacked one on top of each other. The
X.200 has six banks:
1-24 | | | | | |
| 1-24 | | 25-48 | |
25-48 | | | |
| | | | |
49-72 | | | | | |
| 49-72 | | MSTRS | |
MASTERS | | | |
| | | | |
GROUPS | | | | | |
| GROUPS | | MIDI | |
MIDI | | | |
| | | | |
| | | | | |
Thus, 24 channels strips suddenly become 144 channels (24 channels x 6 banks = 144 channels)!
The first three banks, channels 1-72, provide a 72x72 channel I/O matrix. With nine I/O cards in- stalled, you can have 72 individual inputs and outputs (8 inputs/outputs x 9 cards = 72 inputs/outputs).
The MASTERS bank is used for the 12 Aux Send masters, 8 Bus masters, and the L/R mix master.
The GROUPS bank has the controls for Groups 1-12, and for 12 MIDI channels.
The MIDI bank is used to convert the Digital X Bus into a control surface for any DAW that supports the Mackie Control Universal protocol. You can select the DAW you are using from an emulation mode box to configure the MIDI bank to work with your particular DAW via the MIDI IN/OUT connectors.

![]()
![]()
![]()
![]()
![]()
![]()
![]()
![]()
![]()
![]()
![]()
![]()
![]()
![]()
![]()
![]()
![]()
![]()
![]()
![]()
![]()
![]()
![]()
![]()
![]()
![]() 8
8 ![]()
![]()
![]()
![]()
![]()
![]()
![]()
![]()
![]()
![]()
![]()
![]()
![]()
![]()
![]()
![]()
![]()
![]()
![]()
![]()
![]()
![]()
![]()
![]()
![]()
![]()
