38 Helpful Hints

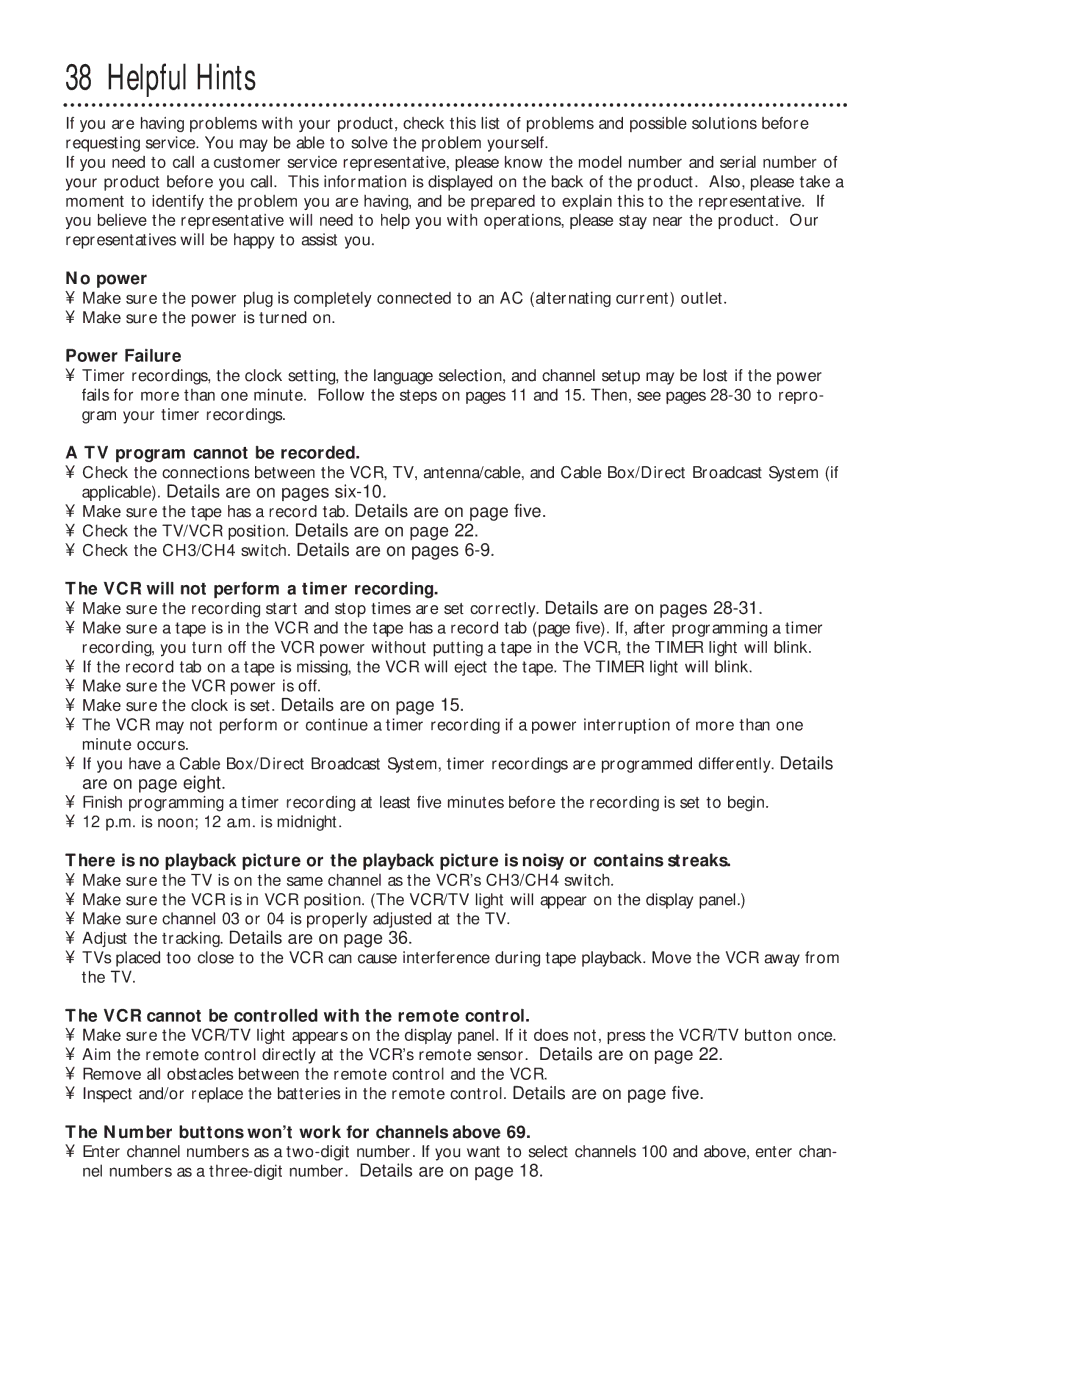
If you are having problems with your product, check this list of problems and possible solutions before requesting service. You may be able to solve the problem yourself.

If you need to call a customer service representative, please know the model number and serial number of your product before you call. This information is displayed on the back of the product. Also, please take a moment to identify the problem you are having, and be prepared to explain this to the representative. If you believe the representative will need to help you with operations, please stay near the product. Our representatives will be happy to assist you.

No power

Make sure the power plug is completely connected to an AC (alternating current) outlet.

Make sure the power is turned on.

Power Failure

Timer recordings, the clock setting, the language selection, and channel setup may be lost if the power fails for more than one minute. Follow the steps on pages 11 and 15. Then, see pages 28-30 to repro- gram your timer recordings.

A TV program cannot be recorded.

Check the connections between the VCR, TV, antenna/cable, and Cable Box/Direct Broadcast System (if applicable). Details are on pages six-10.

Make sure the tape has a record tab. Details are on page five.

Check the TV/VCR position. Details are on page 22.

Check the CH3/CH4 switch. Details are on pages 6-9.

The VCR will not perform a timer recording.

Make sure the recording start and stop times are set correctly. Details are on pages 28-31.

Make sure a tape is in the VCR and the tape has a record tab (page five). If, after programming a timer recording, you turn off the VCR power without putting a tape in the VCR, the TIMER light will blink.

If the record tab on a tape is missing, the VCR will eject the tape. The TIMER light will blink.

Make sure the VCR power is off.

Make sure the clock is set. Details are on page 15.

The VCR may not perform or continue a timer recording if a power interruption of more than one minute occurs.

If you have a Cable Box/Direct Broadcast System, timer recordings are programmed differently. Details are on page eight.

Finish programming a timer recording at least five minutes before the recording is set to begin.

12 p.m. is noon; 12 a.m. is midnight.

There is no playback picture or the playback picture is noisy or contains streaks.

Make sure the TV is on the same channel as the VCR’s CH3/CH4 switch.

Make sure the VCR is in VCR position. (The VCR/TV light will appear on the display panel.)

Make sure channel 03 or 04 is properly adjusted at the TV.

Adjust the tracking. Details are on page 36.

TVs placed too close to the VCR can cause interference during tape playback. Move the VCR away from the TV.

The VCR cannot be controlled with the remote control.

Make sure the VCR/TV light appears on the display panel. If it does not, press the VCR/TV button once.

Aim the remote control directly at the VCR’s remote sensor. Details are on page 22.

Remove all obstacles between the remote control and the VCR.

Inspect and/or replace the batteries in the remote control. Details are on page five.

The Number buttons won’t work for channels above 69.

Enter channel numbers as a two-digit number. If you want to select channels 100 and above, enter chan- nel numbers as a three-digit number. Details are on page 18.

Page 38
Image 38
Magnavox VR201BMG owner manual Helpful Hints

VR201BMG specifications

The Magnavox VR201BMG is a noteworthy model in the realm of VHS players, showcasing the brand’s commitment to delivering quality home entertainment solutions. Designed with the user in mind, the VR201BMG offers a range of features that cater to both casual viewers and serious home theater enthusiasts.

One of the standout characteristics of the VR201BMG is its video quality. The model is equipped with a high-quality playback system that ensures clear and vibrant images, allowing users to enjoy their favorite films and shows without sacrificing visual fidelity. The incorporation of advanced noise reduction technologies helps to enhance the overall viewing experience by minimizing artifacts that can sometimes accompany VHS tapes.

The VR201BMG also features a convenient programmable timer, enabling users to schedule recordings up to a week in advance. This functionality is especially useful for those who wish to capture their favorite television programs without needing to be present at the time of broadcast. Setup is straightforward, making this feature accessible even to less tech-savvy consumers.

A notable technology included in the VR201BMG is its multi-format playback capability. This flexibility allows users to enjoy a range of tape formats beyond standard VHS, broadening the library of content available at their fingertips. Additionally, the unit is equipped with both audio and video outputs, making it easy to connect to a variety of television sets and sound systems.

Ease of use is another significant selling point. The VR201BMG features a user-friendly interface, with clearly marked buttons and an intuitive navigation system that simplifies operation. Insert the tape, and with just a few taps, users can control playback functions, thus enhancing the overall convenience.

Compact and sleek in design, the Magnavox VR201BMG fits comfortably into most home entertainment setups, offering versatility without taking up excessive space. Durability and longevity are also hallmarks of this model, making it a dependable choice for those wishing to relive the nostalgia of classic films and shows.

In summary, the Magnavox VR201BMG stands out as a reliable VHS player that combines quality, innovation, and user-friendly features. Its capability to provide excellent playback, along with advanced recording options, makes it a beloved choice for enthusiasts and casual viewers alike. For those looking to preserve and enjoy their VHS collections, the VR201BMG is a compelling option in today's market.