3703 specifications
The Makita 3703 is a compact and versatile router designed for both professional woodworkers and DIY enthusiasts. Known for its powerful performance and user-friendly features, this router has become a favorite among those looking to achieve precision in their woodworking projects.One standout feature of the Makita 3703 is its lightweight design, weighing just around 3.9 pounds, which makes it easy to maneuver without causing fatigue during extended use. Its ergonomic handle is designed for comfort, providing a secure grip that enhances control and accuracy while routing.
In terms of power, the Makita 3703 is equipped with a 1.25 horsepower motor that delivers a maximum speed of 30,000 RPM. This high RPM allows users to achieve clean and precise cuts across a variety of materials, including hardwoods and softwoods. The router’s variable speed control ensures versatility, enabling users to adjust the speed according to their specific routing needs.
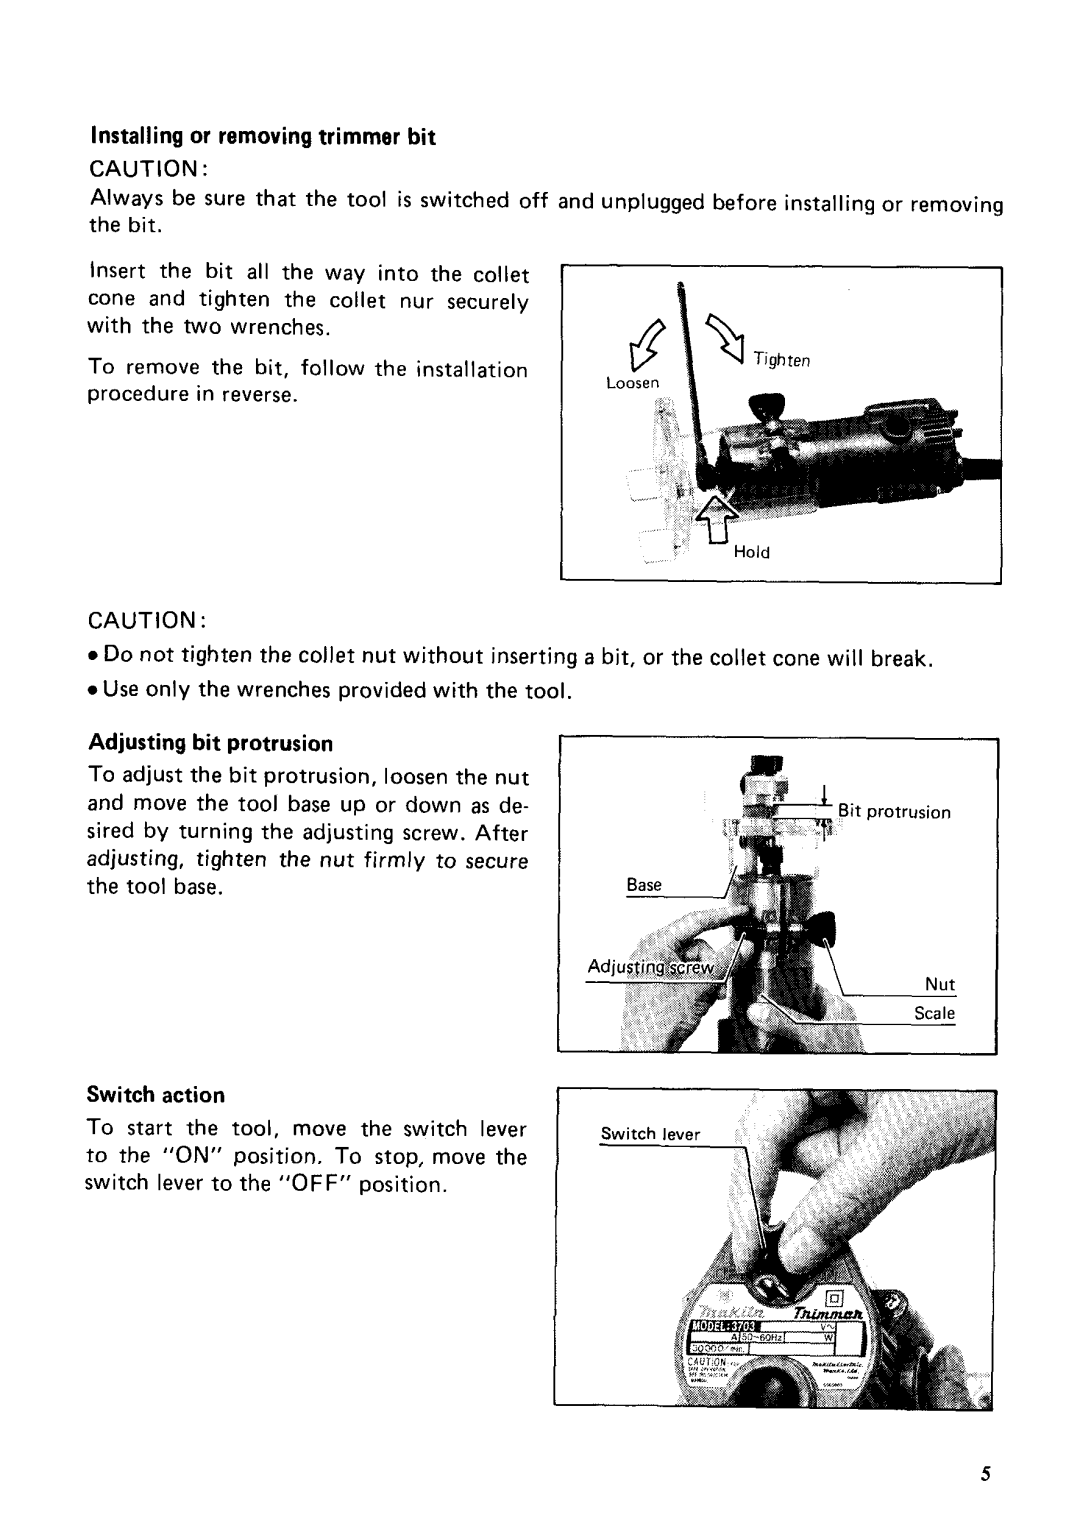
Another notable feature is the depth adjustment system, which allows for quick and accurate changes in depth settings. The fine depth adjustment with a micro-bit depth adjustment mechanism facilitates precise depth control, leading to enhanced accuracy in intricate tasks such as edge profiling or decorative edges.
The Makita 3703 also incorporates innovative technologies that enhance its performance. The router features a plunge base that allows for smooth plunging, making it ideal for mortising and other applications requiring depth control. Additionally, its built-in LED light illuminates the workspace, providing better visibility for intricate tasks.
Durability is also a key characteristic of the Makita 3703. The router is constructed with high-quality materials that ensure it can withstand the rigors of professional use. Its smooth roller bearing system contributes to a quieter operation, further enhancing the user experience.
Overall, the Makita 3703 is a reliable and efficient router that embodies precision and versatility. Whether you are routing edges, hollowing out areas, or creating decorative designs, this router offers the performance and features needed to tackle a wide range of woodworking tasks. With its combination of power, ease of use, and durability, the Makita 3703 is an excellent choice for both novice and experienced woodworkers alike.

