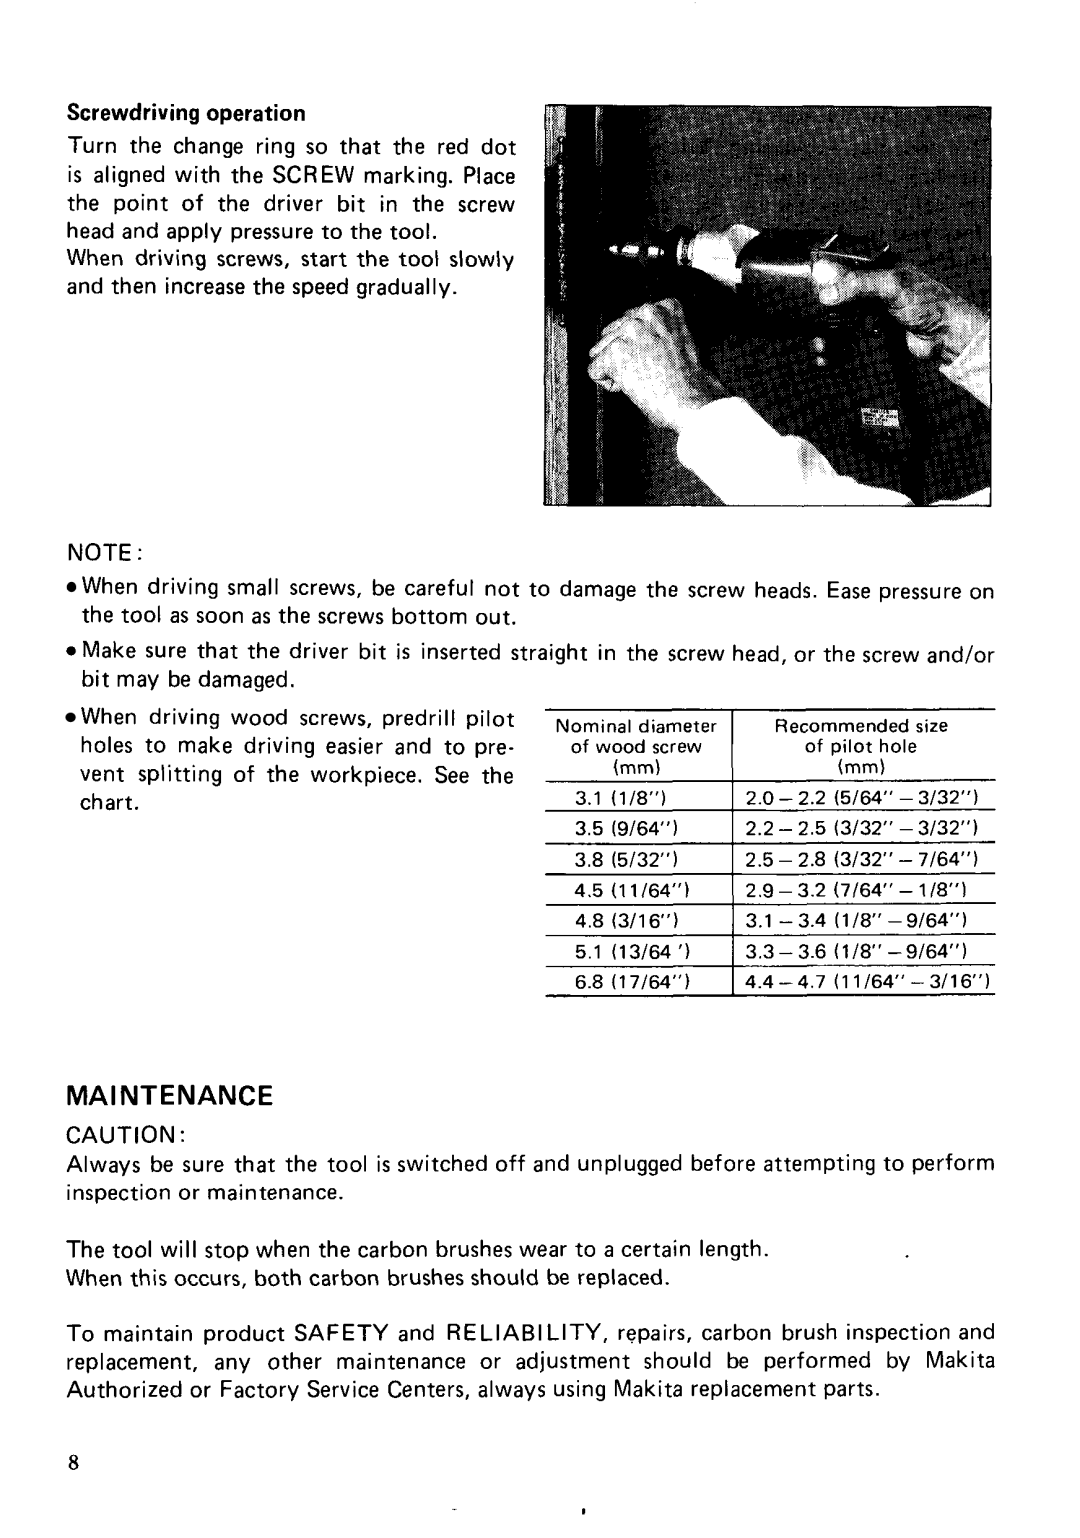
Screwdriving operation
Turn the change ring so that the red dot is aligned with the SCREW marking. Place the point of the driver bit in the screw head and apply pressure to the tool.
When driving screws, start the tool slowly and then increase the speed gradually.
NOTE :
![]() When driving small screws, be careful not to damage the screw heads. Ease pressure on the tool as soon as the screws bottom out.
When driving small screws, be careful not to damage the screw heads. Ease pressure on the tool as soon as the screws bottom out.
0 Make sure that the driver bit is inserted straight in the screw head, or the screw and/or
bit may be damaged. |
|
|
When driving wood screws, predrill Pilot |
|
|
holes to make driving easier and to pre- | of wood screw | of pilot hole |
vent splitting of the workpiece. See the |
|
|
chart. |
|
|
| 3.8 (5/32") | 2.5 - 2.8 (3/32" - 7/64") |
| 4.5 (11/64") | 2.9 - 3.2 (7164" - 1/8"1 |
| 4.8 (3/16") | 3.1 - 3 . 4 (1/8" - 9/64") |
| 5.1 (13/64 ') | 3 . 3 - 3 . 6 (1/8" - 9/64") |
| 6.8 (17164") | 4 . 4 - 4 . 7 (11/64" - 3/16") |
MA1NTENANCE
CAUTION :
Always be sure that the tool is switched off and unplugged before attempting to perform inspection or maintenance.
The tool will stop when the carbon brushes wear to a certain length. When this occurs, both carbon brushes should be replaced.
To maintain product SAFETY and RELlABl LITY, repairs, carbon brush inspection and replacement, any other maintenance or adjustment should be performed by Makita Authorized or Factory Service Centers, always using Makita replacement parts.
8
