3. Loosen the three screws which secure the driver guide a half turn. | 4 |
|
4. Turn the adjusting bolt until the desired depth of nailing can be obtained. The adjusting bolt |
| |
moves 0.7 mm (1 /32") per turn. |
| e' |
5. Tighten the three screws while holding the driver guide so that the projection of the center | ||
plate contacts the adjusting bolt. |
| |
6. If nails are driven too deep even when the driver guide is set at the lowest position, decrease | ||
the air pressure. If nails cannot be driven deep enough even when the driver guide is set at the highest position, increase the air pressure.
Nose adapter
CAUTION :
Always lock the trigger and disconnect the hose before installing or removing the nose adapter.
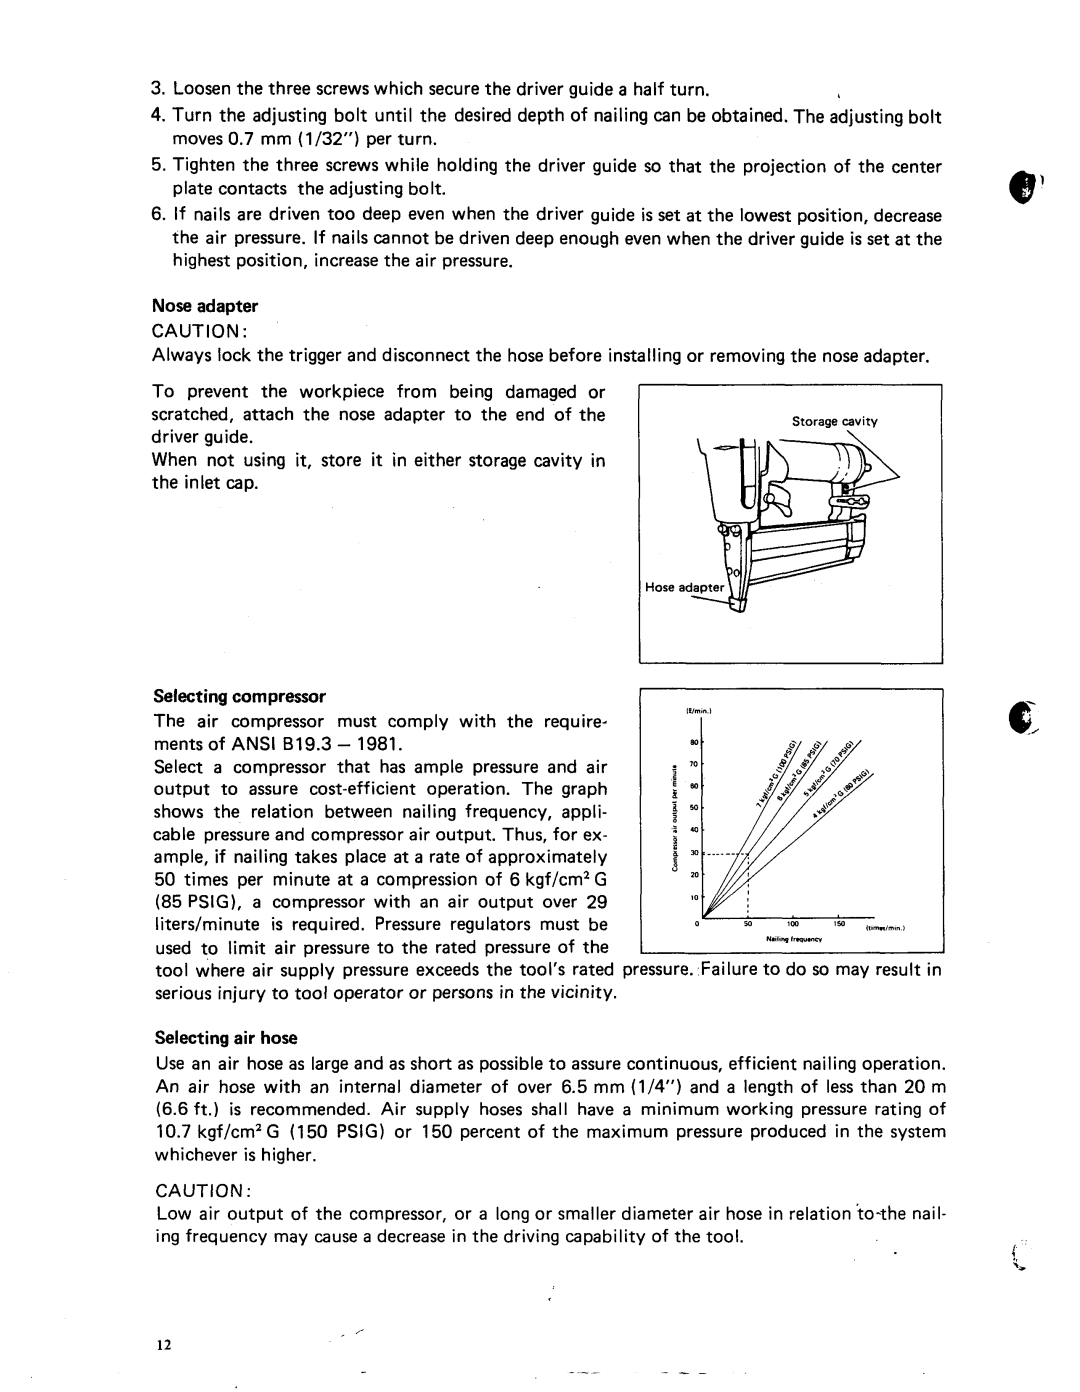
To prevent the workpiece from being damaged or I scratched, attach the nose adapter to the end of the driver guide.
When not using it, store it in either storage cavity in the inlet cap.
Storage cavity
Hose
Selecting compressor
The air compressor must comply with the require- ments of ANSI B19.3 - 1981.
Select a compressor that has ample pressure and air output to assure
(85 PSIG), a compressor with an air output over 29 literdminute is required. Pressure regulators must be used to limit air pressure to the rated pressure of the
tool where air supply pressure exceeds the tool's rated pressure. Failure to do so may result in serious injury to tool operator or persons in the vicinity.
Selecting air hose
Use an air hose as large and as short as possible to assure continuous, efficient nailing operation. An air hose with an internal diameter of over 6.5 mm (1/4") and a length of less than 20 m (6.6ft . ) is recommended. Air supply hoses shall have a minimum working pressure rating of
10.7kgf/cm2G (150 PSIG) or 150 percent of the maximum pressure produced in the system whichever is higher.
CAUTION :
Low air output of the compressor, or a long or smaller diameter air hose in relation
,
12
