Lighting up the front lamp (Fig. 4)

CAUTION:

• Do not look in the light or see the source of the light directly.

Pull the switch trigger to light up the lamp. The lamp keeps on lighting while the switch trigger is being pulled. The lamp goes out 10 -15 seconds after releasing the trigger.

NOTE:

Use a dry cloth to wipe the dirt off the lens of lamp. Be careful not to scratch the lens of lamp, or it may lower the illumination.

Reversing switch action (Fig. 5)

This tool has a reversing switch to change the direction of rotation. Depress the reversing switch lever from the “A” side for clockwise rotation or from the “B” side for counterclockwise rotation.

When the reversing switch lever is in the neutral position, the switch trigger cannot be pulled.

CAUTION:

Always check the direction of rotation before operation.

Use the reversing switch only after the tool comes to a complete stop. Changing the direction of rotation before the tool stops may damage the tool.

When not operating the tool, always set the reversing switch lever to the neutral position.

Speed change (Fig. 6)

To change the speed, first switch off the tool and then slide the speed change lever to the “2” side for high speed or, “1” side for low speed. Be sure that the speed change lever is set to the correct position before operation. Use the right speed for your job.

CAUTION:

Always set the speed change lever fully to the correct position. If you operate the tool with the speed change lever positioned halfway between the “1” side and, “2” side, the tool may be damaged.

Do not use the speed change lever while the tool is running. The tool may be damaged.

Selecting the action mode (Fig. 7)

This tool employs an action mode change lever. Select one of the three modes suitable for your work needs by using this lever.

For rotation only, slide the lever so that it points toward the mark on the tool body. For rotation with hammering, slide the lever so that it points toward the mark on the tool body. For rotation with clutch, slide the lever so that the it points toward the mark on the tool body.

NOTE:

When changing the position from “ ” to “ ”, it may be a little difficult to slide the mode change lever. At this

time, switch on and run the tool for a second at the “ ” position, then stop the tool and slide to your desired position.

CAUTION:

Always set the lever correctly to your desired mode mark. If you operate the tool with the lever positioned

halfway between the mode marks, the tool may be damaged.

Adjusting the fastening torque (Fig. 8)

The fastening torque can be adjusted in 16 steps by turning the adjusting ring so that its graduations are aligned with the arrow on the tool body. The fastening torque is minimum when the number 1 is aligned with the arrow, and maximum when the number 16 is aligned with the arrow.

Before actual operation, drive a trial screw into your material or a piece of duplicate material to determine which torque level is required for a particular application.

ASSEMBLY

CAUTION:

Always be sure that the tool is switched off and the battery cartridge is removed before carrying out any work on the tool.

Installing side grip (auxiliary handle) (Fig. 9)

Always use the side grip to ensure operating safety. Insert the side grip so that the protrusions on the grip base and steel band fit in between the grooves on the tool barrel. Then tighten the grip by turning clockwise.

Installing or removing driver bit or drill bit (Fig. 10)

Turn the sleeve counterclockwise to open the chuck jaws. Place the bit in the chuck as far as it will go. Turn the sleeve clockwise to tighten the chuck.

To remove the bit, turn the sleeve counterclockwise.

Installing bit holder (Fig. 11)

Fit the bit holder into the protrusion at the tool foot on either right or left side and secure it with a screw. When not using the driver bit, keep it in the bit holders. Bits 45 mm long can be kept there.

Adjustable depth rod (Fig. 12)

The adjustable depth rod is used to drill holes of uniform depth. Loosen the clamp screw, set to desired position, then tighten the clamp screw.

Hook (Fig. 13)

The hook is convenient for temporarily hanging the tool. This can be installed on either side of the tool.

To install the hook, insert it into a groove in the tool housing on either side and then secure it with a screw. To remove, loosen the screw and then take it out.

OPERATION

Hammer drilling operation (Fig. 14)

CAUTION:

There is a tremendous and sudden twisting force exerted on the tool/bit at the time of hole break- through, when the hole becomes clogged with chips and particles, or when striking reinforcing rods embedded in the concrete. Always use the side grip (auxiliary handle) and firmly hold the tool by both side

7

Page 7
Image 7
Makita BHP444, BHP454 instruction manual Assembly, Operation

BHP454, BHP444 specifications

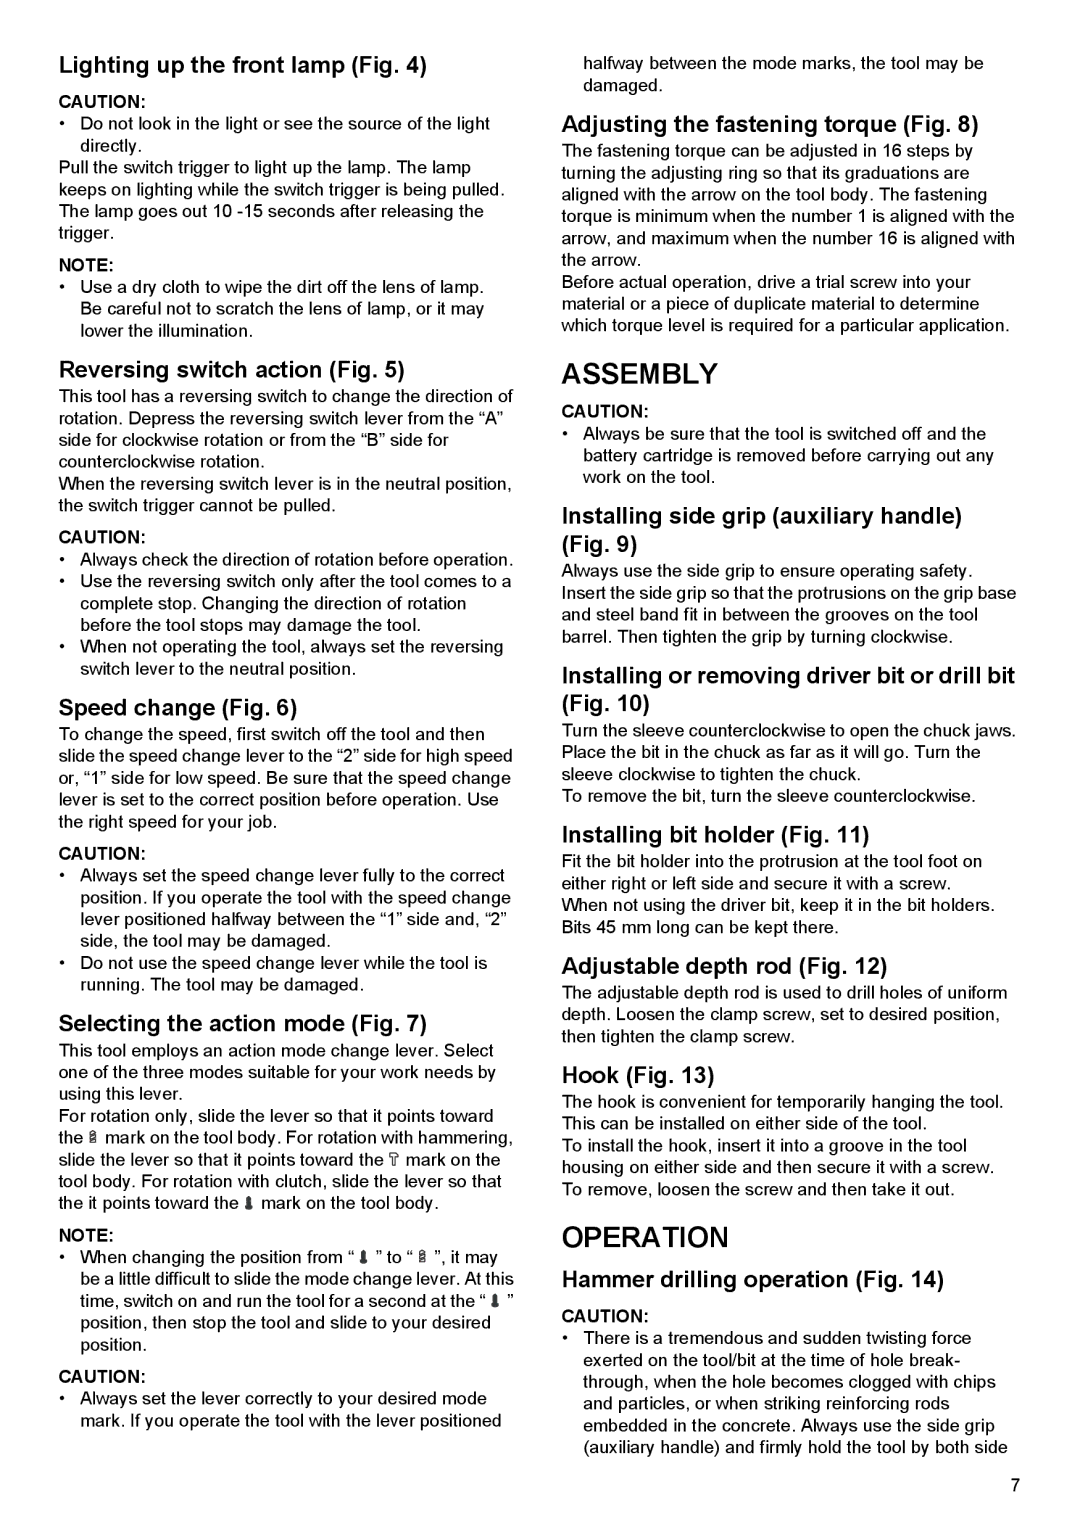
The Makita BHP444 and BHP454 are powerful and versatile cordless hammer drills, designed to meet the needs of both professionals and DIY enthusiasts. These tools are engineered with advanced technologies to enhance performance, durability, and user comfort.

One of the standout features of the BHP444 is its compact design, which makes it easy to maneuver in tight spaces. With a lightweight frame, this model offers a comfortable grip, allowing users to work for extended periods without fatigue. The BHP454, on the other hand, is slightly heavier but compensates with its enhanced power and battery life. Both drills come equipped with a 2-speed mechanical gear system, enabling users to adjust the speed to match the task at hand. This flexibility is essential for both drilling and fastening applications.

A notable technological advancement in these models is the incorporation of brushless motors. The BHP444 and BHP454 utilize Makita's efficient brushless technology, resulting in higher energy efficiency and longer tool life. The absence of brushes reduces friction, which not only enhances power delivery but also minimizes wear, leading to reduced maintenance requirements.

Both models feature a hammer function, allowing users to drill into tough materials such as concrete and masonry. The adjustable torque settings provide precise control for various applications, ensuring consistent results whether working with wood, metal, or concrete. The 13mm keyless chuck prevents bit slippage during operation, allowing for quick bit changes and increased productivity on the job.

Battery performance is another critical aspect of the BHP444 and BHP454. Both drills are compatible with Makita's 18V lithium-ion battery platform, known for its rapid charging capabilities and long runtime. The built-in battery protection circuit helps to extend the lifespan of the battery, making these tools a reliable choice for extended work sessions.

Safety features include an ergonomic handle designed to provide a firm grip and reduce vibration during operation. This design minimizes user fatigue and enhances control, which is crucial for precision work.

In conclusion, the Makita BHP444 and BHP454 hammer drills showcase a blend of power, technology, and user-friendly design. Whether tackling home improvement projects or professional construction tasks, these tools provide the reliability and performance needed to get the job done efficiently.