SA7000C specifications
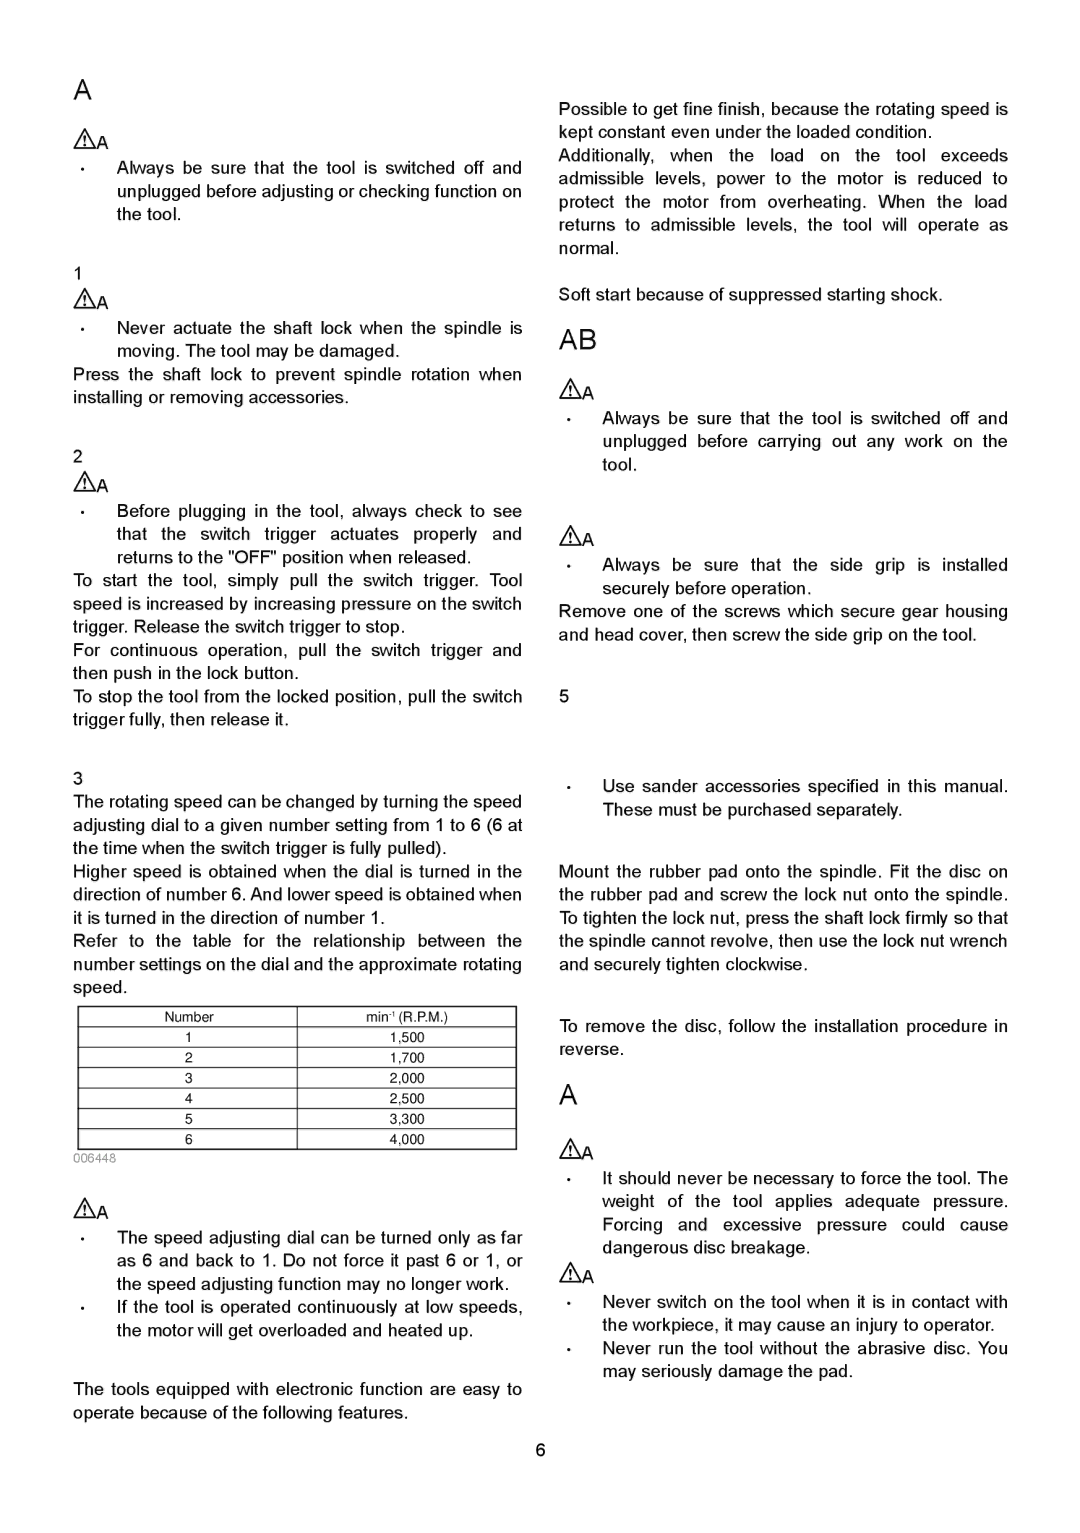
The Makita SA7000C is an exceptional angle grinder designed to meet the demanding needs of professionals and DIY enthusiasts alike. Offering a combination of power, performance, and durability, the SA7000C stands out in a crowded market with its robust feature set and advanced technologies.One of the most notable features of the SA7000C is its powerful 2000-watt motor, which generates high speed and torque, allowing users to tackle a wide range of grinding and cutting applications with ease. Whether you're working with metal, concrete, or masonry, the SA7000C delivers consistent and reliable performance.
The grinder offers variable speed control, ranging from 2,000 to 6,600 RPM, enabling users to select the optimal speed for different materials and tasks. This flexibility is particularly advantageous in a variety of settings, from metal fabrication to construction projects. The soft start feature further enhances the user experience, as it minimizes the risk of kickback and allows for smoother operation when beginning a task.
Ergonomics play a key role in the design of the SA7000C, which features a rubberized grip that provides enhanced comfort and control. The grinder's lightweight design, weighing in at approximately 5.1 kg, ensures ease of handling for extended periods without causing excessive fatigue. Additionally, the tool's side handle can be positioned on either side, accommodating left-handed and right-handed users.
Durability is a hallmark of the Makita SA7000C, featuring a double-insulated body that protects against dust and debris. Its labyrinth construction seals the motor and bearings, significantly extending the tool’s lifespan. The grinder is designed for heavy-duty applications, making it suitable for professionals in construction, metalworking, and fabricating industries.
Regarding safety, the SA7000C incorporates a gear housing that allows for easy access to the gear for maintenance. The protective cover can be adjusted without the need for tools, providing convenience and promoting user safety. Moreover, the spindle lock feature ensures quick and easy wheel changes.
In summary, the Makita SA7000C is a powerful and versatile angle grinder that excels in performance, ergonomics, and durability. Its advanced features and user-centric design make it a valuable tool for professionals and hobbyists looking for reliability and efficiency in their grinding and cutting tasks. Whether for industrial use or personal projects, the SA7000C stands as a testament to Makita's commitment to engineering excellence.