Option3 Settings Menu
Using the timer
This function sets the monitor to turn ON/OFF automatically at a set time.
Set “ADVANCED OSM” to “ON” in the main menu (1/ 2), then perform the following operations.
1.On the MAIN MENU, select “OPTION3”, then press the MENU/ENTER button.
The “OPTION3” screen appears.
2.Use the ▲ and ▼ buttons to select “TIMER”, then press the MENU/ENTER button.
The “TIMER” screen appears.
| TIMER |
PRESENT TIME |
|
PROGRAM | : OFF |
SEL. | MENU/ENTER | OK | EXIT | RETURN |
3.Set the TIMER using ▲▼ ◀ and ▶ buttons. See page 32 to set PRESENT TIME.
See page 33 to set PROGRAM.
Information
⬛Restoring the factory default settings
Select “ALL RESET” under the OPTION1 menu. Note that this also restores other settings to the factory defaults.
PRESENT TIME
This sets the day of the week and present time.
Example: Setting “WEDNESDAY”, “22:05”
Perform Steps 1-2 of TIMER, then...
3.Use the ▲ and ▼ buttons to select “PRESENT TIME”, then press the MENU/ENTER button.
The “PRESENT TIME” screen appears.
| PRESENT TIME | ||
RETURN |
|
|
|
DAYLIGHT |
|
|
|
SAVING TIME | : | OFF | |
| WEDNESDAY |
|
|
| 13 : 00 : 00 |
|
|
SEL. |
|
| RETURN |
ADJ. | EXIT | ||
4.Use the ▲ and ▼ buttons to select the item, then adjust using the ◀ and ▶ buttons.
| PRESENT TIME | |||
RETURN |
|
|
|
|
DAYLIGHT |
|
|
|
|
SAVING TIME | : | OFF | ||
| WEDNESDAY |
|
| |
|
| 22 : 05 : 00 |
|
|
SEL. |
|
|
| RETURN |
ADJ. | EXIT | |||
The mode switches as follows each time the ◀ or ▶ button is pressed:
• DAYLIGHT SAVING TIME
ON ↔ OFF
• Day
→ SUNDAY ↔ MONDAY ↔ ..... ↔ FRIDAY ↔ SATURDAY←
• Hour/Minutes
→ 00:00 ↔ 00:01 ↔ 00:02 ↔ ..... ↔ 23:58 ↔ 23:59←
5.Once the setting is completed...
Use the ▲ and ▼ buttons to select “SET”, then press the MENU/ENTER button.
The adjustments are stored and return to the TIMER menu.
|
|
|
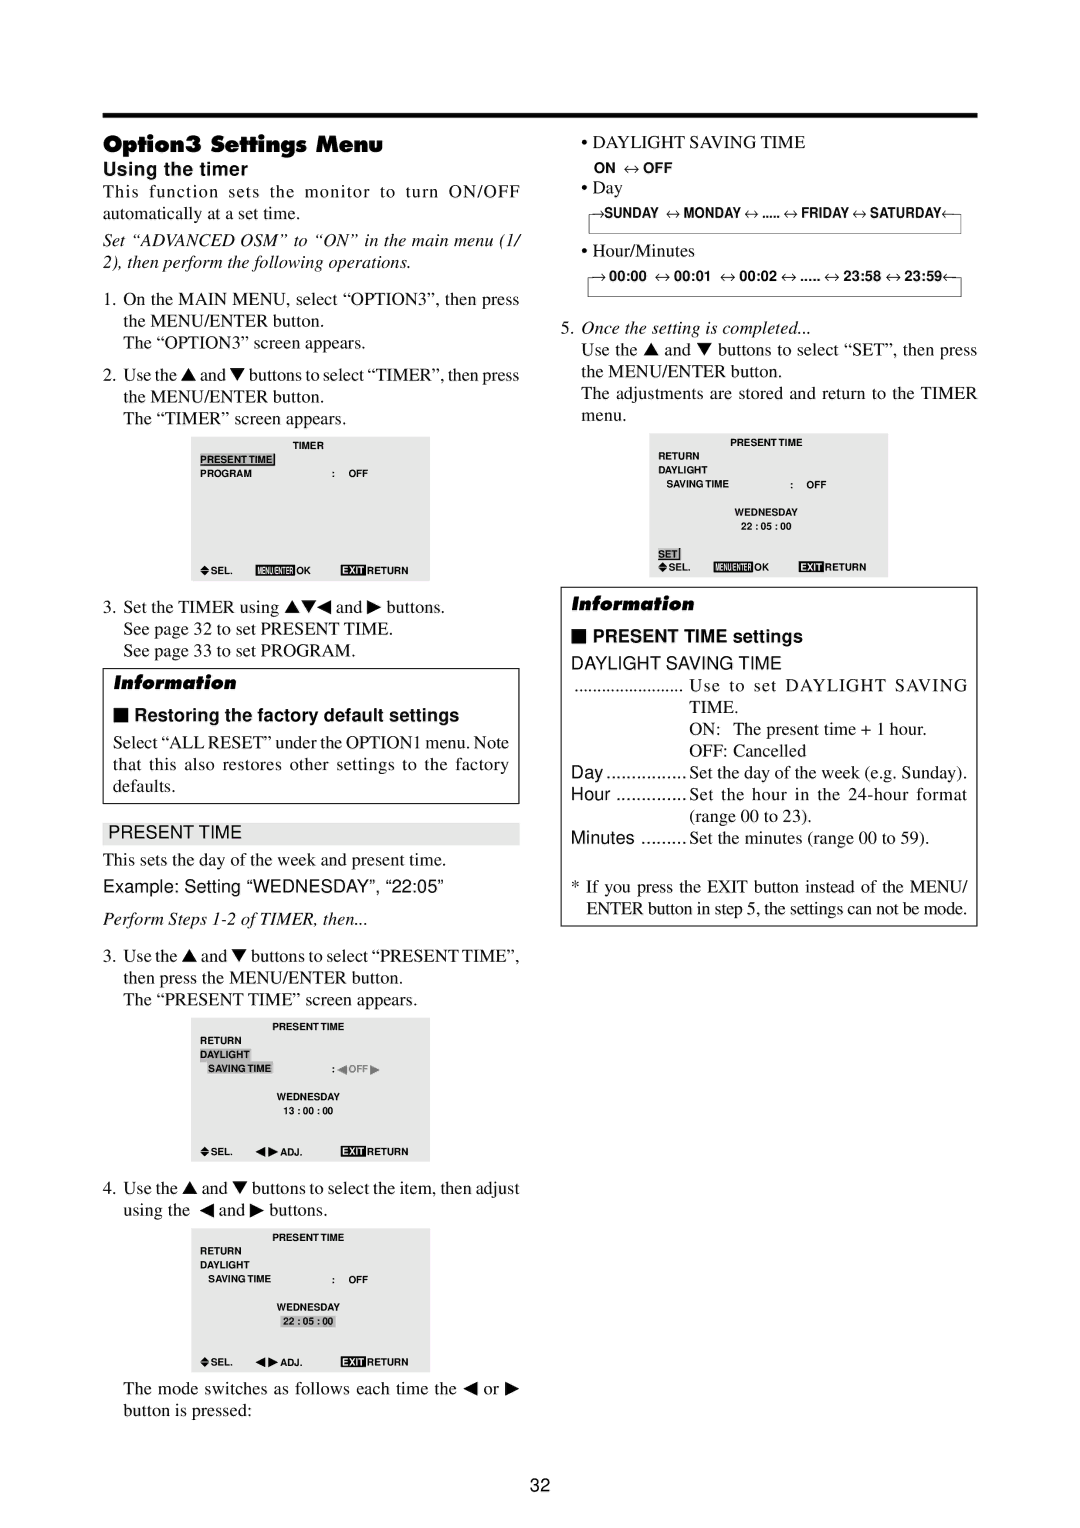
| PRESENT TIME | |||
RETURN |
|
|
|
|
| ||
DAYLIGHT |
|
|
|
|
| ||
| SAVING TIME | : | OFF | ||||
|
|
|
| WEDNESDAY |
|
| |
|
|
|
| 22 : 05 : 00 |
|
| |
|
|
|
|
|
|
|
|
| SET |
|
|
|
|
|
|
| SEL. | MENU/ENTER | OK | EXIT | RETURN | ||
Information
⬛PRESENT TIME settings
DAYLIGHT SAVING TIME
........................ | Use to set DAYLIGHT SAVING |
| TIME. |
| ON: The present time + 1 hour. |
| OFF: Cancelled |
Day | Set the day of the week (e.g. Sunday). |
Hour | Set the hour in the |
| (range 00 to 23). |
Minutes | Set the minutes (range 00 to 59). |
*If you press the EXIT button instead of the MENU/ ENTER button in step 5, the settings can not be mode.
32