REPEAT TIMER
Use this to set two timers. Each timer can use the DIVIDER, SOURCE and WORK TIME functions.
Turn on the AUTO ID and set the DIVIDER (at 1, 4 or 9) before the following operations.
Example:
TIMER1...VIDEO1 will be displayed for 3 minutes. TIMER2...RGB1 will be displayed for 6 minutes in a
2⋅ 2 video wall.
Perform Steps 1-2 of VIDEO WALL, then...
3. Use the ▲ and ▼ buttons to select “REPEAT TIMER”.
|
| VIDEO WALL |
|
|
DIVIDER | : | 1 |
| |
POSITION |
|
|
| |
DISP. MODE | : | SPLIT | ||
AUTO ID | : | OFF | ||
IMAGE ADJUST |
|
|
| |
P. ON DELAY | : | OFF | ||
PLE LINK | : | OFF | ||
|
|
|
| |
REPEAT TIMER | : | OFF | ||
| SEL. | ADJ. | EXIT | RETURN |
4.Use the ◀ and ▶ buttons to select “ON”, then press the MENU/ENTER button.
The “REPEAT TIMER” screen appears.
5.Adust using the ▲▼ ◀ and ▶ buttons.
The mode switches as follows each time the ◀ or ▶ button is pressed:
|
| REPEAT TIMER | ||
1 | DIVIDER | : | 1 |
|
| SOURCE | : | VIDEO1 | |
| WORK TIME | : | 00H03M | |
2 | DIVIDER | : | 4 |
|
| SOURCE | : | RGB1 | |
| WORK TIME | : | 00H06M | |
| SEL. | ADJ. |
| RETURN |
| EXIT | |||
• DIVIDER
→ 1 ↔ 4 ↔ 9 ←
•SOURCE
The available sources depend on the setting of “BNC INPUT”.
| → | VIDEO1 ↔ | VIDEO2 ↔ | VIDEO3 ↔ HD/DVD1 ← |
| |
|
|
| ||||
| → | RGB3 ↔ | RGB2 ↔ | RGB1 ↔ HD/DVD2 ← |
|
|
|
|
| ||||
• WORK TIME
→00H01M ↔ 00H02M ↔ 00H03M ↔ ..... ↔ 04H14M ↔ 04H15M ←
Information
⬛REPEAT TIMER settings
If you set both timers, Timer 1 and Timer 2 run consecutively.
In the case of the Video wall, timer No.1 can be used to control all the displays simultaneously.
*This becomes effective when the
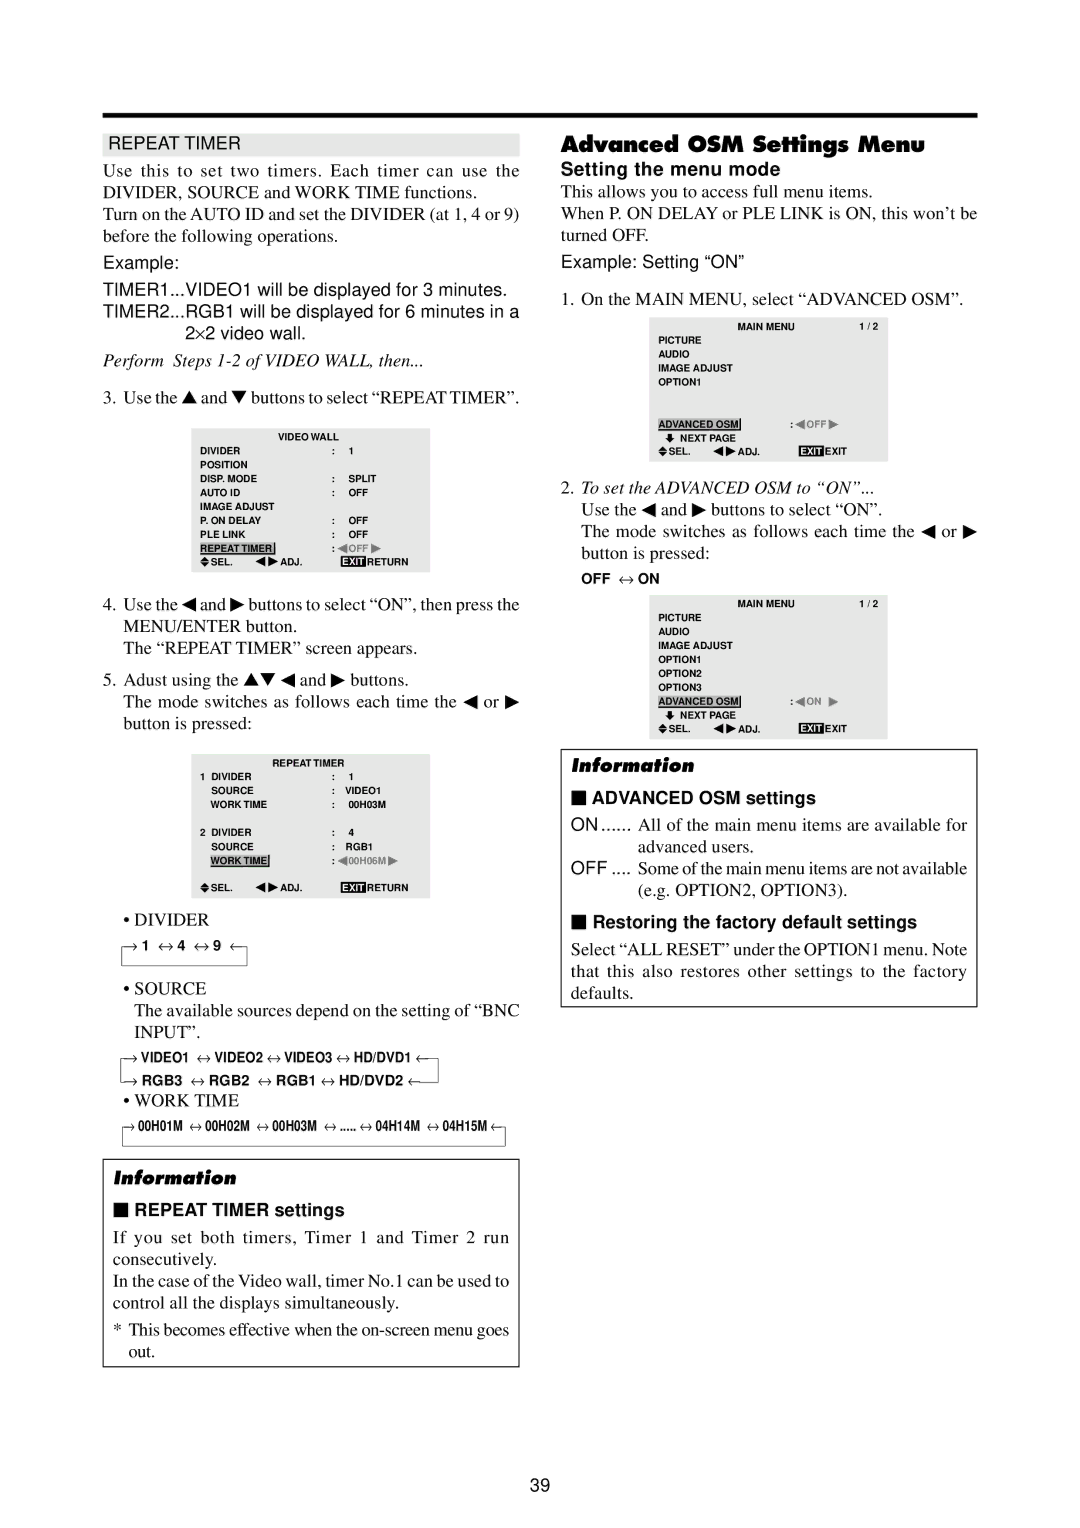
Advanced OSM Settings Menu
Setting the menu mode
This allows you to access full menu items.
When P. ON DELAY or PLE LINK is ON, this won’t be turned OFF.
Example: Setting “ON”
1. On the MAIN MENU, select “ADVANCED OSM”.
|
| MAIN MENU | 1 / 2 | ||||
PICTURE |
|
|
|
|
|
| |
AUDIO |
|
|
|
|
|
| |
IMAGE ADJUST |
|
|
|
|
|
| |
OPTION1 |
|
|
|
|
|
| |
ADVANCED OSM |
|
| : | OFF | |||
| |||||||
| NEXT PAGE |
|
|
|
|
|
|
| SEL. | ADJ. |
| EXIT | EXIT | ||
2.To set the ADVANCED OSM to “ON”...
Use the ◀ and ▶ buttons to select “ON”.
The mode switches as follows each time the ◀ or ▶ button is pressed:
OFF ↔ ON
|
| MAIN MENU | 1 / 2 | |||
PICTURE |
|
|
|
|
| |
AUDIO |
|
|
|
|
| |
IMAGE ADJUST |
|
|
|
|
| |
OPTION1 |
|
|
|
|
| |
OPTION2 |
|
|
|
|
| |
OPTION3 |
|
|
|
|
| |
ADVANCED OSM |
| : | ON | |||
| NEXT PAGE |
|
|
|
|
|
| SEL. | ADJ. |
| EXIT | EXIT | |
Information
⬛ADVANCED OSM settings
ON ...... All of the main menu items are available for
advanced users.
OFF .... Some of the main menu items are not available
(e.g. OPTION2, OPTION3).
⬛Restoring the factory default settings
Select “ALL RESET” under the OPTION1 menu. Note that this also restores other settings to the factory defaults.
39