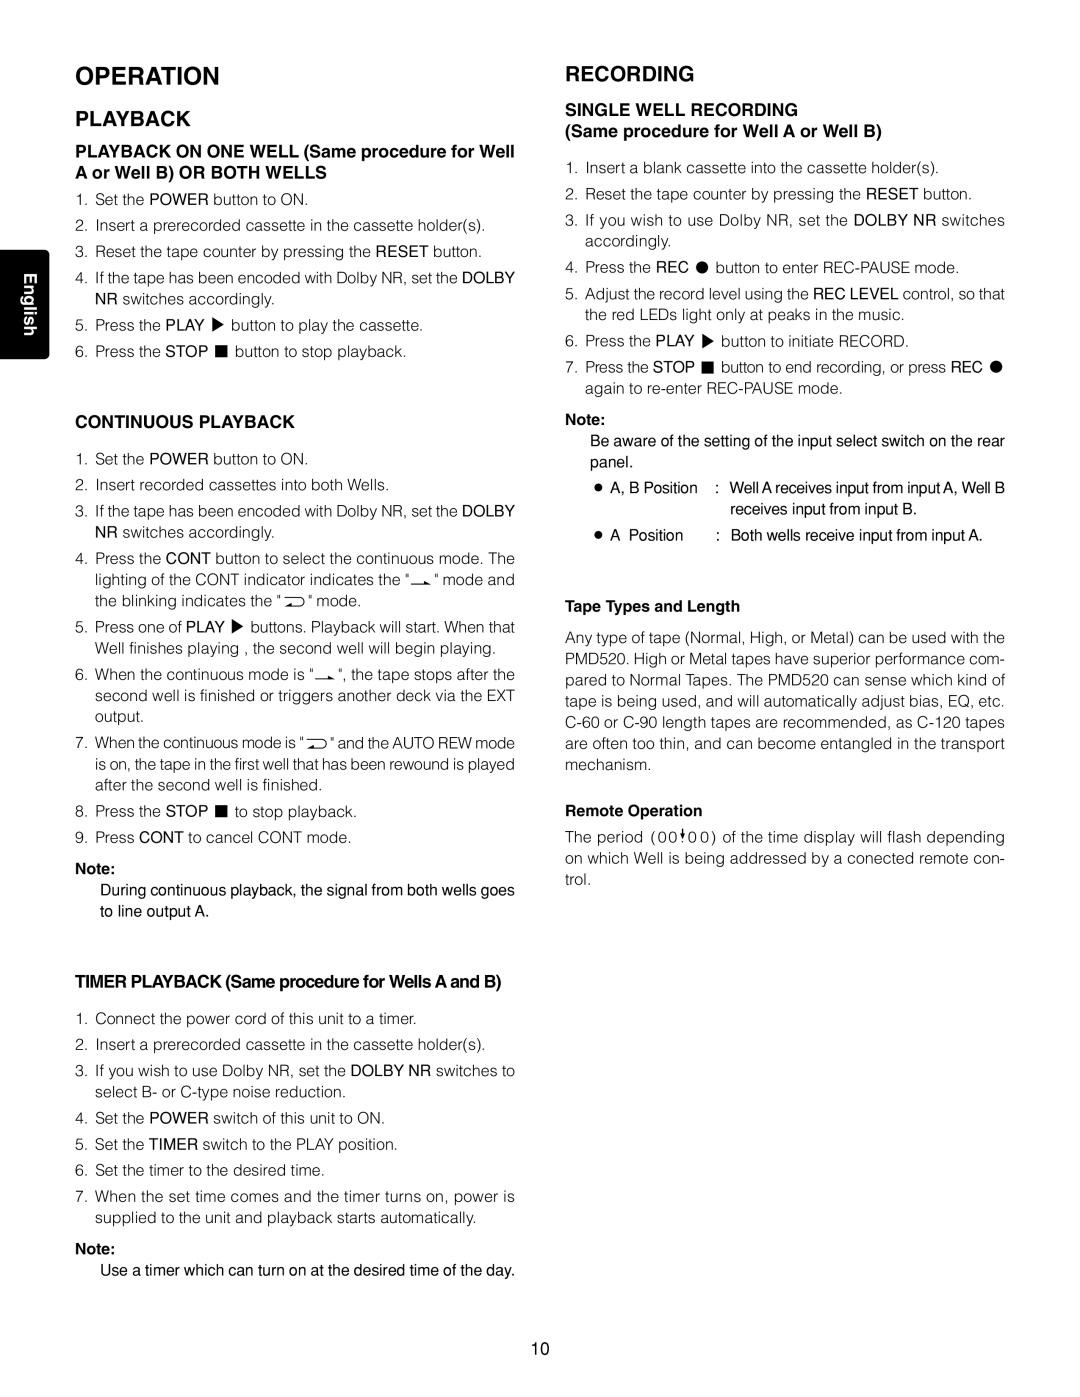
PMD520 specifications
The Marantz PMD520 is a professional-grade portable cassette deck designed primarily for musicians, audio engineers, and enthusiasts who require reliable recording and playback quality. This versatile device emerged in the late 20th century, catering to the specific needs of those who value high-fidelity audio performance in a compact format.One of the standout features of the PMD520 is its dual-capstan transport mechanism. This technology ensures precise tape handling, minimizing wow and flutter for an accurate playback experience. The dual-capstan design allows for more consistent tape tension, which translates into better sound quality and reliable performance, crucial for critical listening environments.
The PMD520 also includes a built-in microphone preamp with phono or line-level switchable inputs, facilitating seamless connection to various audio sources. This flexibility makes it an ideal choice for on-location recordings, interviews, and rehearsals, where different types of microphones and instruments might be utilized. Additionally, the device is capable of supporting high-speed dubbing, enabling quick duplication of tapes without compromising audio quality.
Another notable aspect of the PMD520 is its ability to handle different tape types, including standard cassette as well as metal and chrome formulations. This versatility ensures that users can choose the tape that best suits their recording requirements, further optimizing sound fidelity. The cassette deck is engineered for low noise operation, featuring advanced circuitry that minimizes unwanted interference.
The user interface of the PMD520 is straightforward and user-friendly, with clearly labeled buttons and a solid construction that stands up to the rigors of professional use. It features a sturdy, rack-mountable design, which makes it suitable for studio setups, as well as portable applications. The front panel provides easy access to record, play, stop, and fast-forward functionalities.
In addition to its high-quality audio features, the Marantz PMD520 is known for its durability and reliability. Constructed with robust materials, it is designed to withstand the challenges of frequent transportation and use in various environments. Overall, the Marantz PMD520 remains a respected choice for anyone seeking a reliable cassette deck that excels in audio performance and operational efficiency. As the nostalgia for analog recording continues to captivate new generations, the PMD520 stands as a prime example of Marantz's commitment to quality and innovation in sound technology.

