SPEAKERS SETUP
The home theater system you already have installed should function provided that there are left, center and right front speakers, left and right rear/surround speakers and a subwoofer. For best results we recommend that all front speakers be of the same type, with identical or similar driver units. This will deliver smooth pans across the front sound stage as the action moves from side to side.
Your center channel speaker is very important as over 80 % of the dialog from a typical motion picture emanates from the center channel. It should possess similar sonic characteristics to the main speakers.
Surround channel speakers need not be identical to the front channel speakers, but they should be of high quality.
The surround center speaker is useful for playback of Dolby Digital Surround EX or
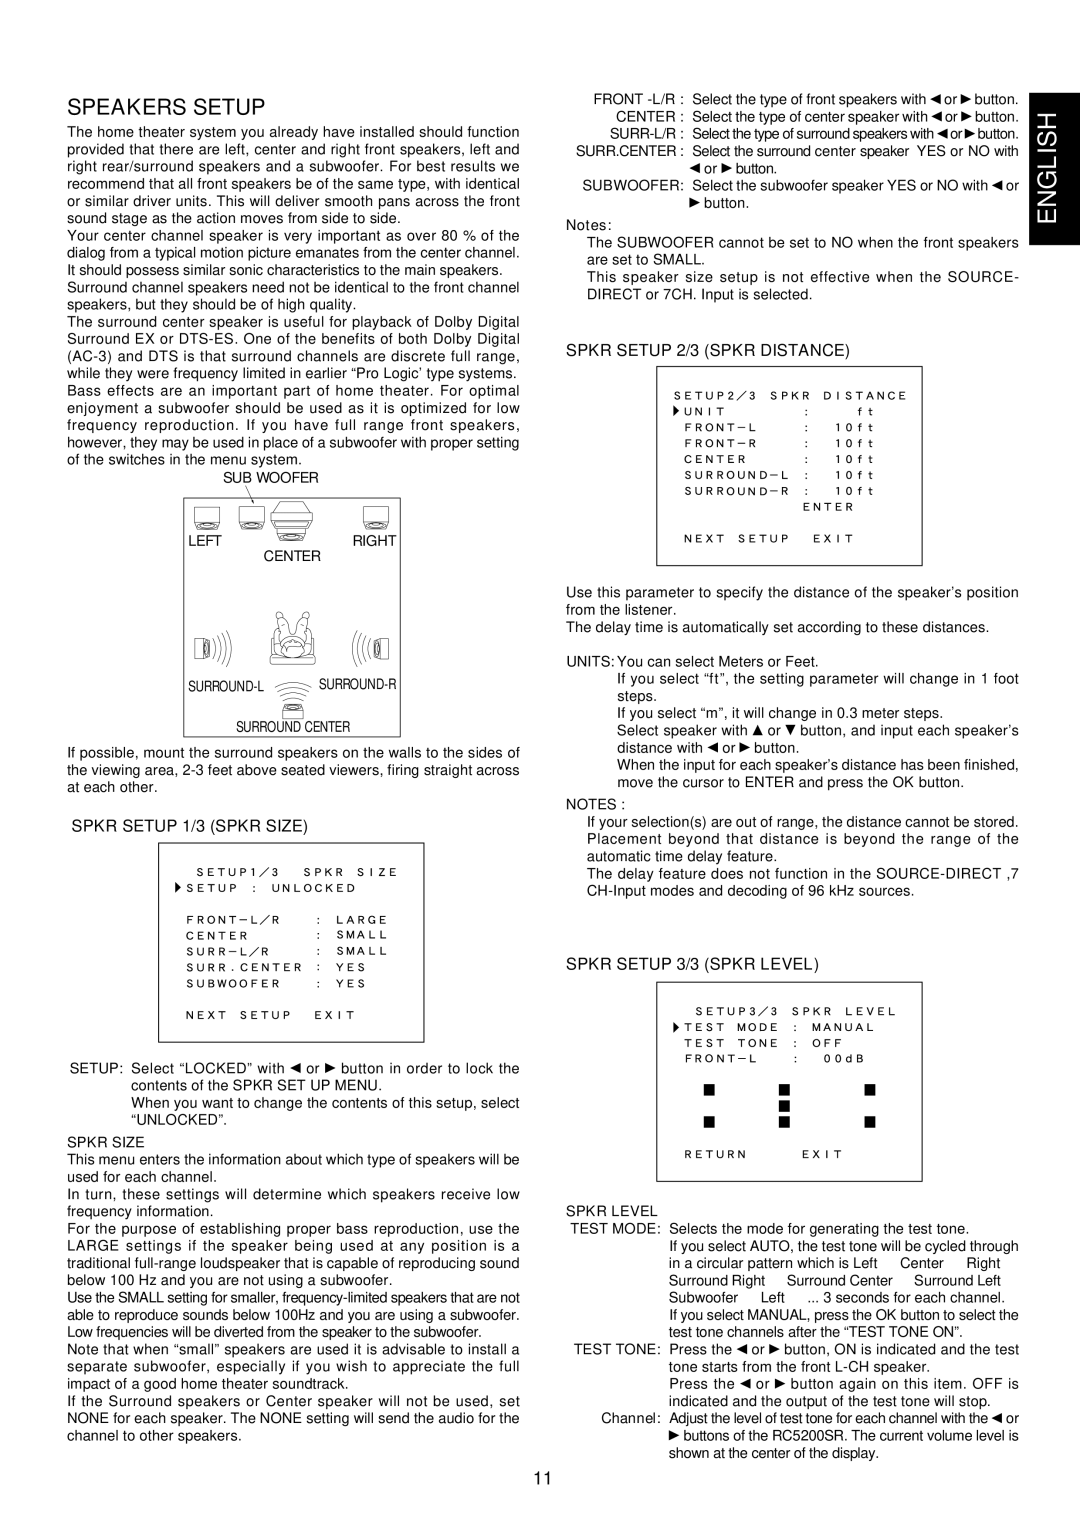
SUB WOOFER
FRONT | or | button. | ENGLISH | |
CENTER : Select the type of center speaker with | or | button. | ||
or | button. | |||
|
SURR.CENTER : Select the surround center speaker YES or NO with or ![]() button.
button.
SUBWOOFER: Select the subwoofer speaker YES or NO with or
![]() button.
button.
Notes:
The SUBWOOFER cannot be set to NO when the front speakers are set to SMALL.
This speaker size setup is not effective when the SOURCE- DIRECT or 7CH. Input is selected.
SPKR SETUP 2/3 (SPKR DISTANCE)
LEFTRIGHT
CENTER
SURROUND-L SURROUND-R
SURROUND CENTER
If possible, mount the surround speakers on the walls to the sides of the viewing area,
SPKR SETUP 1/3 (SPKR SIZE)
Use this parameter to specify the distance of the speaker’s position from the listener.
The delay time is automatically set according to these distances.
UNITS: You can select Meters or Feet.
If you select “ft”, the setting parameter will change in 1 foot steps.
If you select “m”, it will change in 0.3 meter steps.
Select speaker with | or button, and input each speaker’s |
distance with or | button. |
When the input for each speaker’s distance has been finished, move the cursor to ENTER and press the OK button.
NOTES :
If your selection(s) are out of range, the distance cannot be stored. Placement beyond that distance is beyond the range of the automatic time delay feature.
The delay feature does not function in the
SETUP: Select “LOCKED” with or ![]() button in order to lock the contents of the SPKR SET UP MENU.
button in order to lock the contents of the SPKR SET UP MENU.
When you want to change the contents of this setup, select “UNLOCKED”.
SPKR SIZE
This menu enters the information about which type of speakers will be used for each channel.
In turn, these settings will determine which speakers receive low frequency information.
For the purpose of establishing proper bass reproduction, use the LARGE settings if the speaker being used at any position is a traditional
Use the SMALL setting for smaller,
Note that when “small” speakers are used it is advisable to install a separate subwoofer, especially if you wish to appreciate the full impact of a good home theater soundtrack.
If the Surround speakers or Center speaker will not be used, set NONE for each speaker. The NONE setting will send the audio for the channel to other speakers.
SPKR SETUP 3/3 (SPKR LEVEL)
![]() �
� ![]()
![]()
![]()
![]()
SPKR LEVEL
TEST MODE: Selects the mode for generating the test tone.
If you select AUTO, the test tone will be cycled through in a circular pattern which is Left → Center → Right → Surround Right → Surround Center → Surround Left → Subwoofer → Left → ... 3 seconds for each channel.
If you select MANUAL, press the OK button to select the test tone channels after the “TEST TONE ON”.
TEST TONE: Press the | or | button, ON is indicated and the test |
tone starts from the front | ||
Press the | or | button again on this item. OFF is |
indicated and the output of the test tone will stop. Channel: Adjust the level of test tone for each channel with the or
![]() buttons of the RC5200SR. The current volume level is shown at the center of the display.
buttons of the RC5200SR. The current volume level is shown at the center of the display.
11